The second part in our two-part series about Hell’s Canyon from our resident TL Jake Castle. Below, Jake reviews and summarizes the major rapids and features for this multi-day permitted river trip.
See his first part here with recommendations on how to access and fill out a Hell’s Canyon permit appropriately.
Rapids
There are two bigger rapids and two minor rapids that are worth mentioning. Several are generally class IV at all levels and will test your big water boating skills. These rapids feel very similar to those that you would encounter on the Colorado through the Grand Canyon. They are in quick succession and gear boats should scout at all levels.
Wild Sheep Rapid:
Scout path on the left, difficult to see from the water, closer to the horizon of the rapid than you think.
The standard move is similar at all flows. Enter the rapid center left, pulling towards the center and pulling into the slackwater behind midriver boulders to avoid a very large boat-swallowing lateral pour-over on river left at the bottom of the rapid.
When you make the move correctly, you’ll feel your boat get yanked by a cross-current that pulls you away from the danger and towards a fun, splashy wavetrain at the end of the rapid

This rapid is pretty technical and the entry to it can be difficult to spot when the water is under ~15,000 CFS. It becomes easier at higher water as many of the guard rocks that force you into a left entry at lower water are washed out at high water, allowing for a more conservative line choice
Granite Rapid:
This rapid should for sure be scouted, as it’s hard to see anything at all until you drop in. Scout is on river right and is a well-maintained path that is relatively easy to spot from the water.

There are two line choices, generally. Neither are great, nor are they clean.
Option #1 “Green Room”
Setup is nearly dead center with a slight 2:00 angle (facing right). Your goal is to drop over the horizon, tee-up, and smash the cresting tongue formed in-between two rocks at the head of the rapid, busting through the fence and avoiding all further hazards for the rest of the rapid.
A little left of this line and you’ll find yourself squared up to a huge crashing wave that will likely flip you.
A little right of this line and you will catch a lateral wave that is very strong, which will shuttle you a couple feet right and slam you sideways into a lateral coming from river right.
However, dead center on this line hardly affects you at all, save for a quick dunk in the “green room” as you bust the fence. This line is easier said than done, as it’s very difficult to spot your line until you are committed.
Option #2 Center Left
This is a better run for small boats, as there is much less of an initial drop into the rapid. There is a lane that you’ll see when you scout that forms in the center-left of the rapid and threads its way through a shallow rock bar that comes from the left bank.
The line is narrow and there are a lot of holes and shallow water that can really mess with bigger rigs on this line if it’s not run precisely. This line looks more inviting from the scout, but you’re in the red-zone for a bit longer on this line as it’s way more technical.
Waterspout Rapid:
This is one of two rapids that can sneak up on you depending on conditions. At standard flows, this rapid is an easy class II. At low flows, its class IV, as the whole current funnels into a hole that forms in the tail of the rapid. Scout under 10,000 CFS (river right), laugh your way through it at any flow over that.
Rush Creek Rapid:
This rapid can get dicey if you get lazy after you think the rapids are over. It’s Class III and is the last one worth paying any attention to. There is a staircase of impressive shelf-pourovers on river left that will cause problems for you if you aren’t paying attention.
A run down the center right makes this rapid hardly eventful, and you don’t even really notice the danger of the rapid unless you look back upstream after it’s over. In short, go right.
Camps
Camps in Hell’s Canyon above Pittsburg Landing aren’t the greatest. Camps are generally rocky and flat tent sites are few and far between. There are rules for how long you can spend at the few decent camps above Pittsburg landing, and no camps are marked.
Camping on river left may offer some much-needed afternoon shade. If possible, camp on river left.
There are some fantastic camps below Pittsburg Landing, but be aware that they are in high demand depending on the time of year. Some are road accessible, and the further you go down, the more you will run into jetboat campers. Since you’re moving pretty quickly thanks for high flows, get into the habit of taking a look at any camp your guidebook says is half decent.

You might consider camping there instead of risking missing out on camps downstream.
While there are no rapids below the Salmon confluence, it’s obvious that the huge volume of water coming out of that river will push you along. The section below the confluence is known as the Snake lake, which brings me to my own major buzzkill about Hell’s Canyon:
Jet boaters are frequent below Pittsburgh landing, and do not need a permit to recreate there.

Permits
You get four dates to apply for a Hell’s Canyon launch, I typically choose two dates in June and two dates in July. Keep in mind – the water can be scary high in May and early June.
If you strike out on a Hell's Canyon permit in the normal lottery, but end up on a trip for the Salmon River, you can try to pick up a cancellation permit for after your main Salmon trip.
Logistically speaking – you can set shuttle yourself at Pittsburgh landing fairly easily from Carey bar / Main Salmon takeout and then run up to Hell’s Canyon dam.
Cancellation permits and low use season permits are common, inexpensive, and easy to obtain for Hell's Canyon later in the year
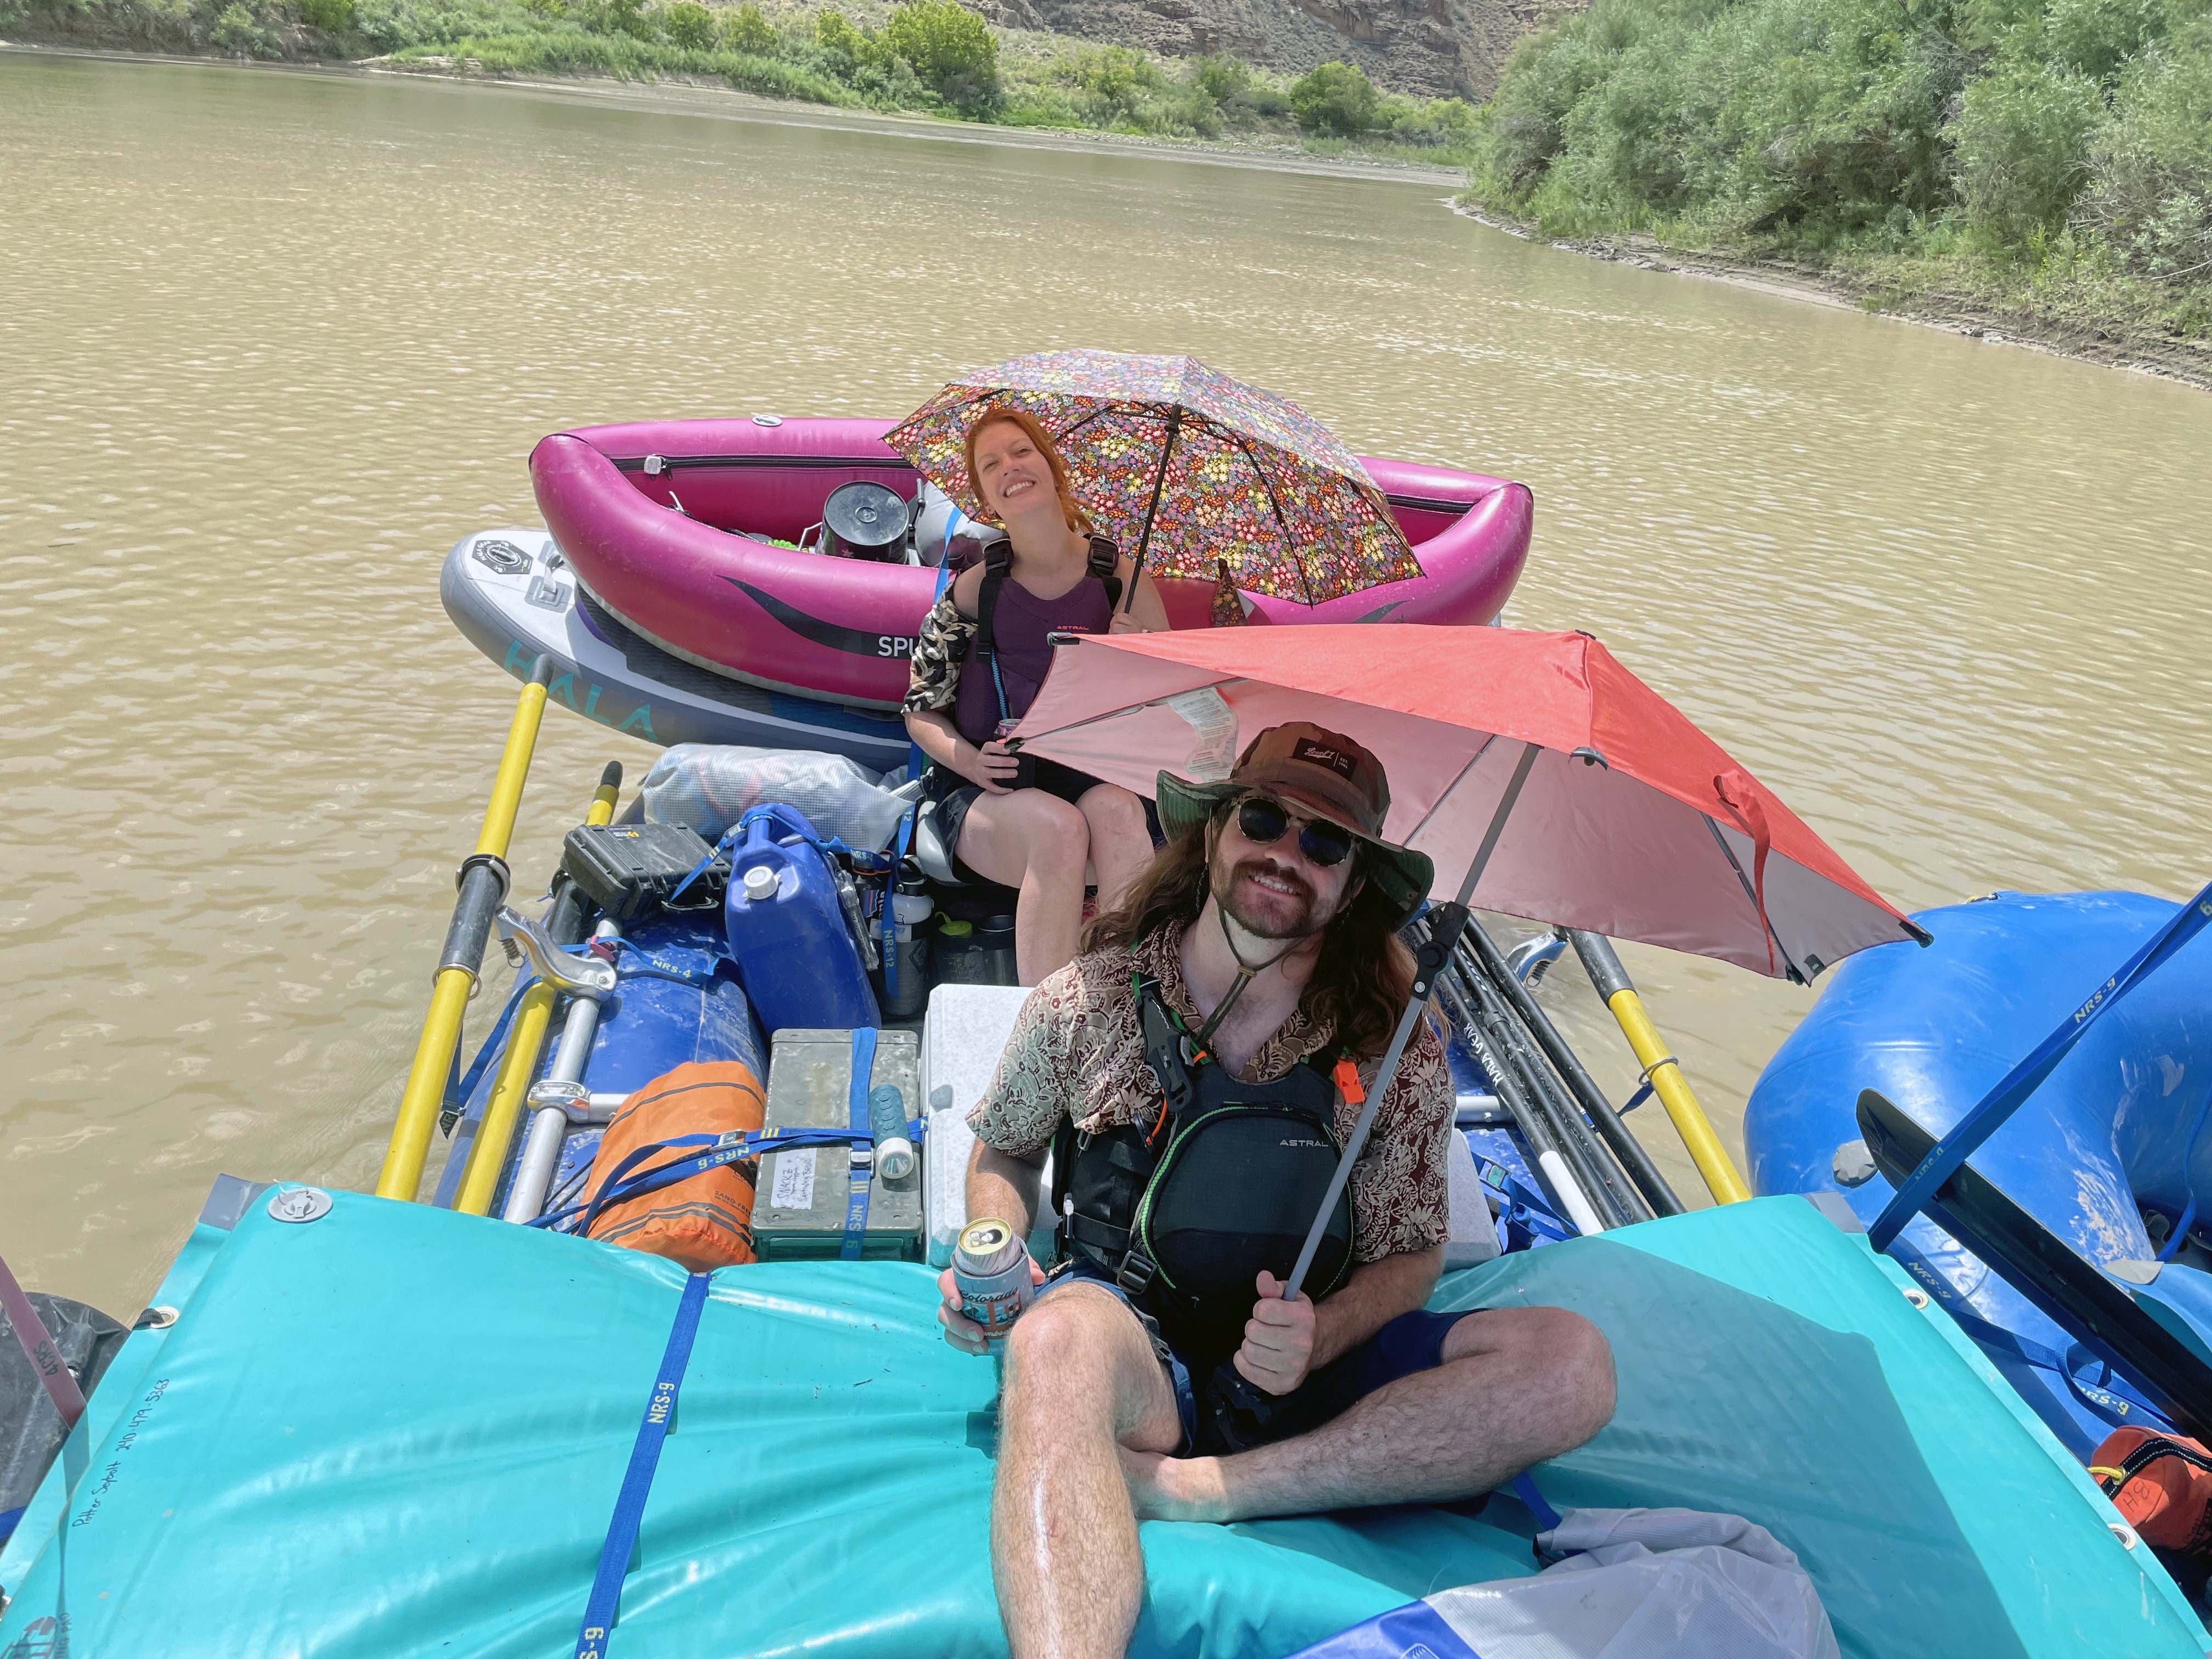
Lastly but not leastly, I must mention that Hell’s Canyon is HOT. It was over a hundred degrees every single day of the trip in July 2020. You spend most of every day after your first or second day hiding from the sun. Plan to have a lot of biminis, shade shelters and umbrellas available and rigged to your craft.