Outfitting Your Raft? You're in the Right Place.
Now that you've got your raft, frame, and everything else you need to row, it's time to get your new rig dialed in. But here's a secret--there is no secret to customizing the perfect raft setup. Most outfitting additions are expendable in terms of getting you down the river, but can definitely make rigging and rowing a lot more convenient. Everything from here on out pretty much boils down to budget and personal preference!
Hold Up - I Don't Know Which Frame I Need Yet
1. Decide What You Will Be Using Your Raft For
You likely had this mostly figured out when you purchased your raft and frame so this section will be a refresher.
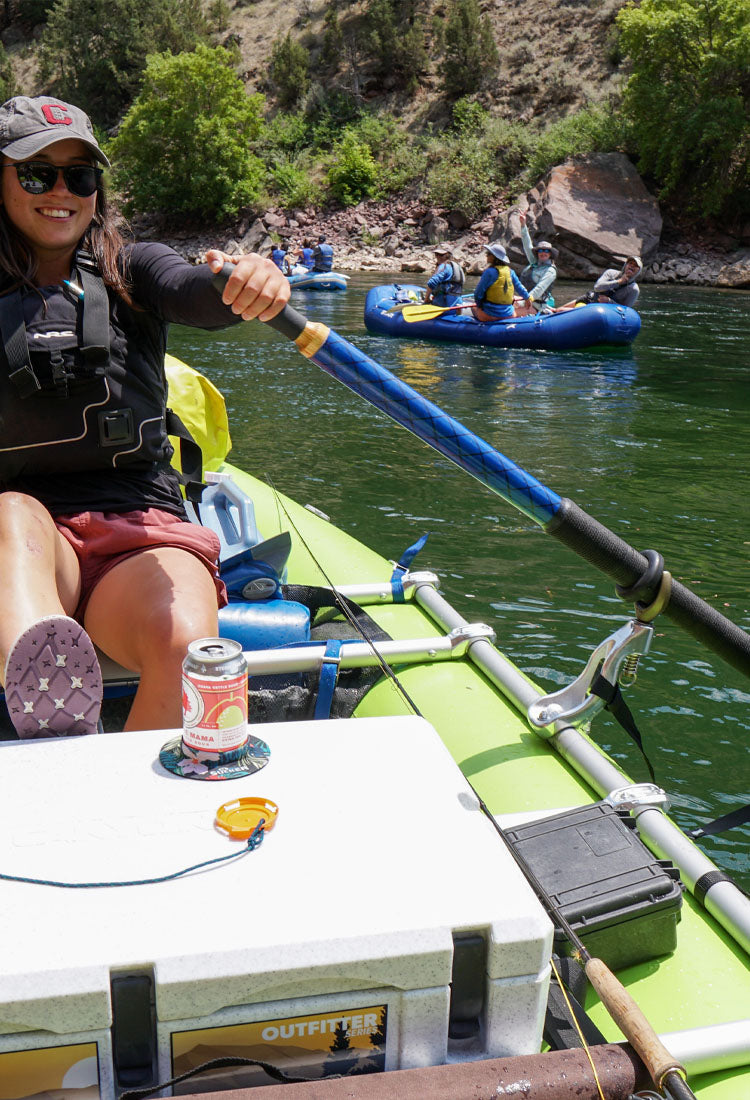
Do you need a cooler? Dry box? Tackle box? Seats or benches for passengers? Fishing frame components?
It never hurts to get your bare-bones setup out on the water a few times to really start to understand what you need and what you want to install and haul with you for future trips.
Glossary
We'll be using some potentially new terminology throughout this guide and want to make sure that no reader is left in the dark.
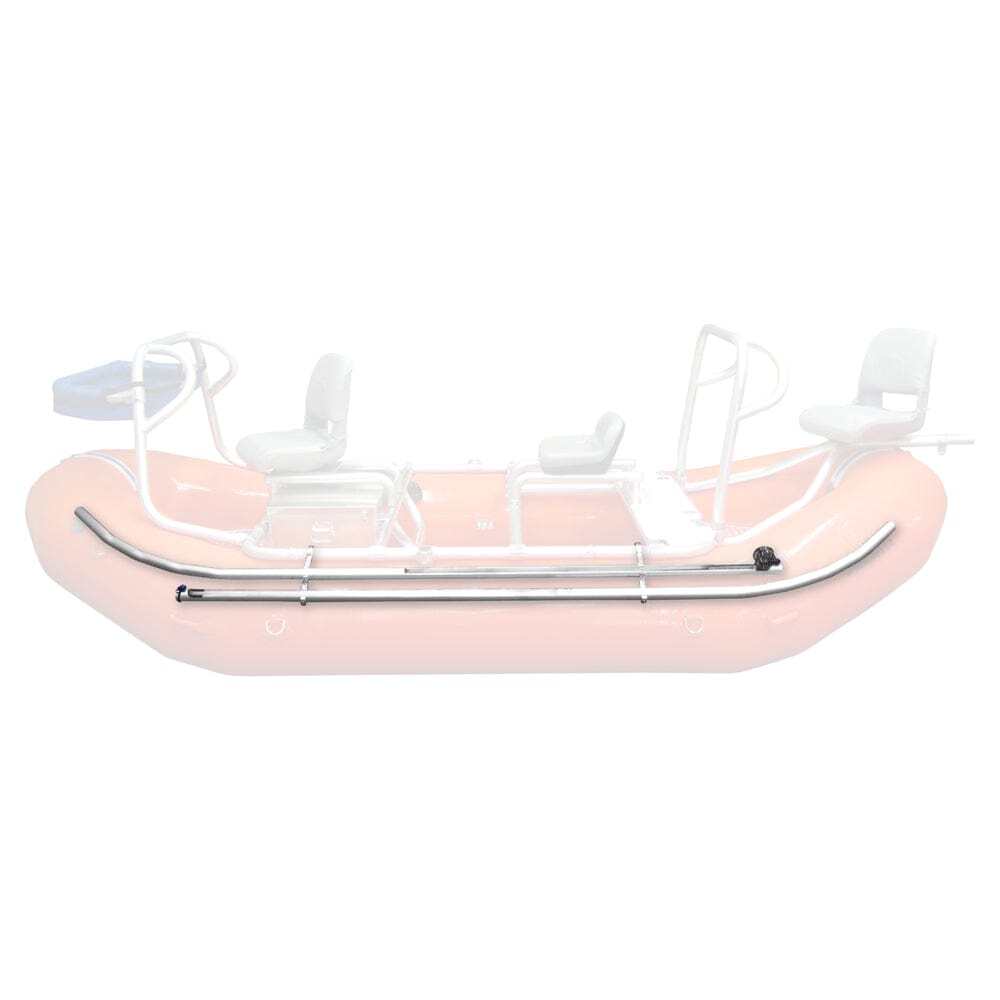
Side Rail: Each frame needs two side rails that sit along the raft's side tubes. Oar towers attach to side rails so you are able to row your boat.
Double Rail: Typically seen on larger rigs, a double rail setup includes two side rails on either side of the frame. This allows the rower to add decking to their setup to create additional rigging points and walking spaces.
Cross Bar: The pipes that run from side rail to side rail are called cross bars. Each complete frame needs at least two cross bars, and bays are created by adding more cross bars to your frame.
Foot Bar: A type of cross bar (or a frame component that fastens to a cross bar) that allows the rower to brace their feet while they are pushing or pulling on the oars.
Bay: The space between two cross bars. Bays are where the rower can place and secure gear like coolers and dry boxes.
Bay Width: The distance between cross bars (not side rails!).
Foot/Captain's Bay: The bay where the rower (captain) places their feet. Captains typically do not rig any gear in this bay for lack of space. Larger rafts, however, may have room for rocket boxes, water jugs, or small coolers on either side of the rowers' legs.
Hatch: The space beneath a bay. Hatches are created by rigging a drop bag underneath the bay and covering it with a drop bag cover, a kitchen table, or decking.
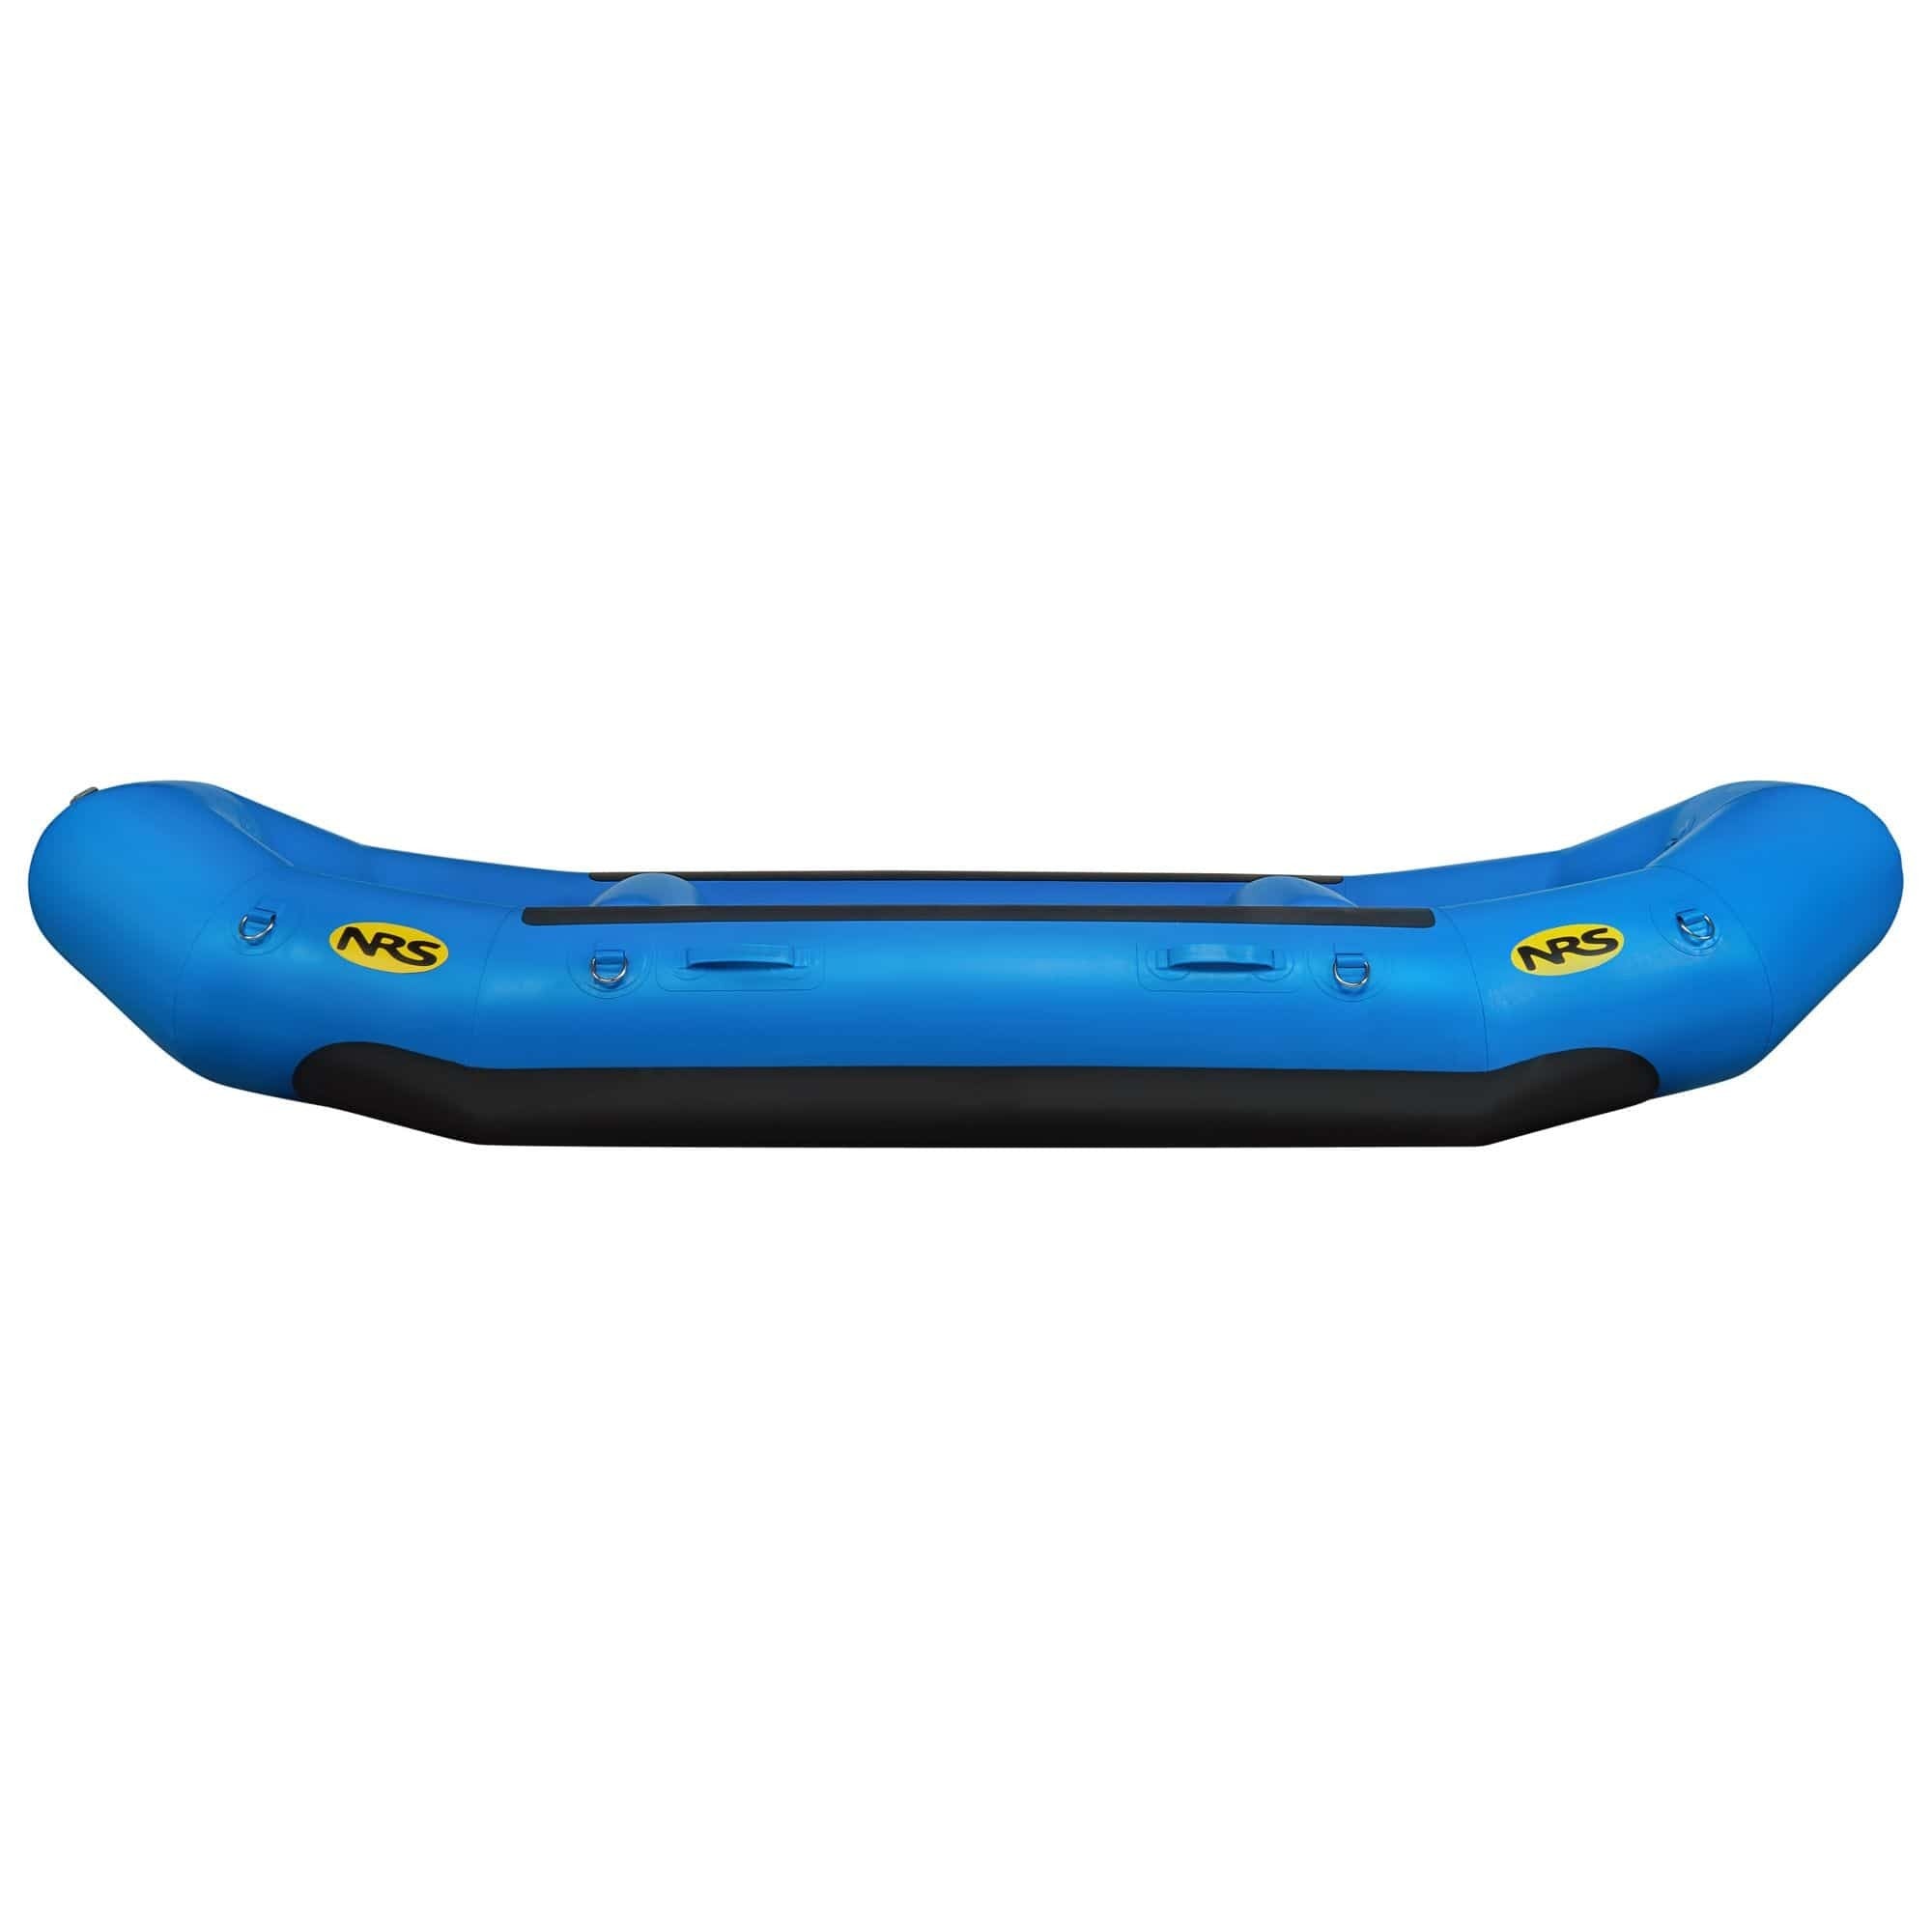
Your New Boat?
View detailsExplore our In-Stock Inventory

2. Measure Your Raft + Frame (Again)
Everything about building a raft setup is fun, but now it gets really fun! Now that you've chosen the right size frame for your raft, and have an idea of what gear you need to carry, you get to start personalizing your raft and making it yours.
Grab the Tape Measure
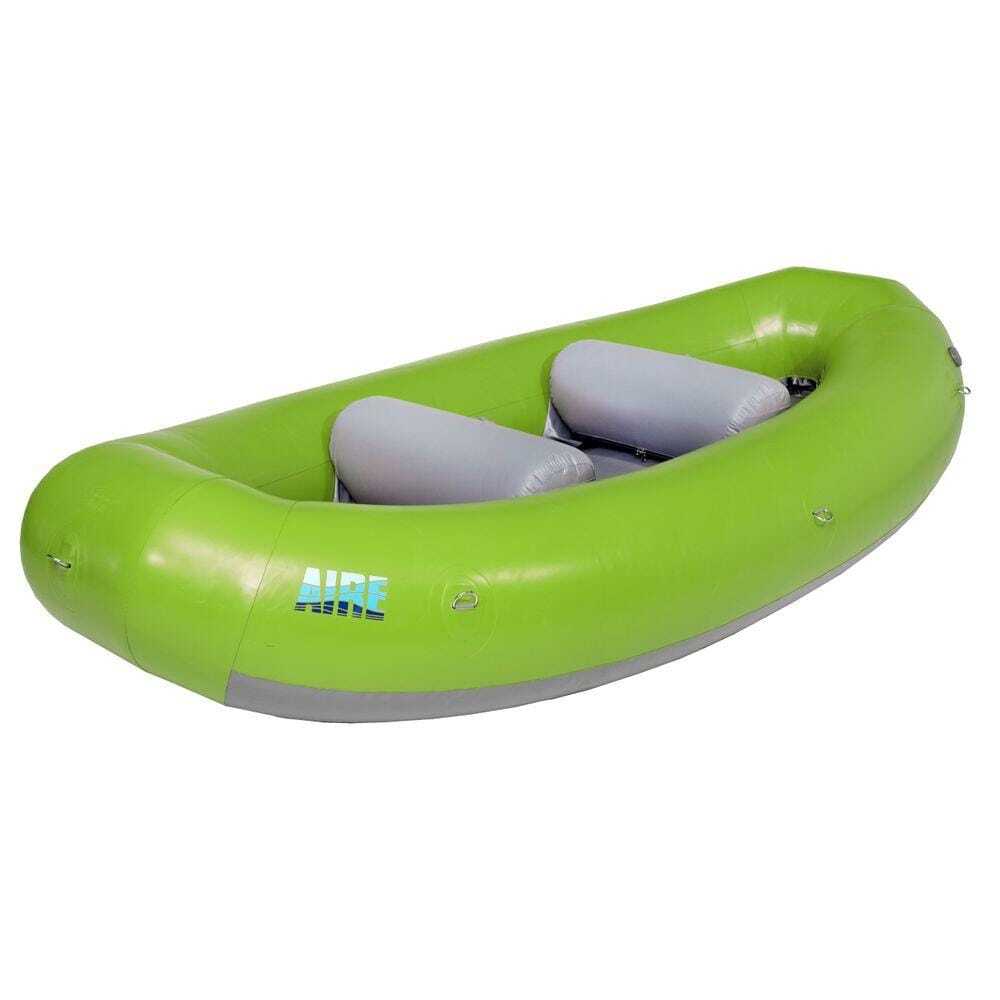
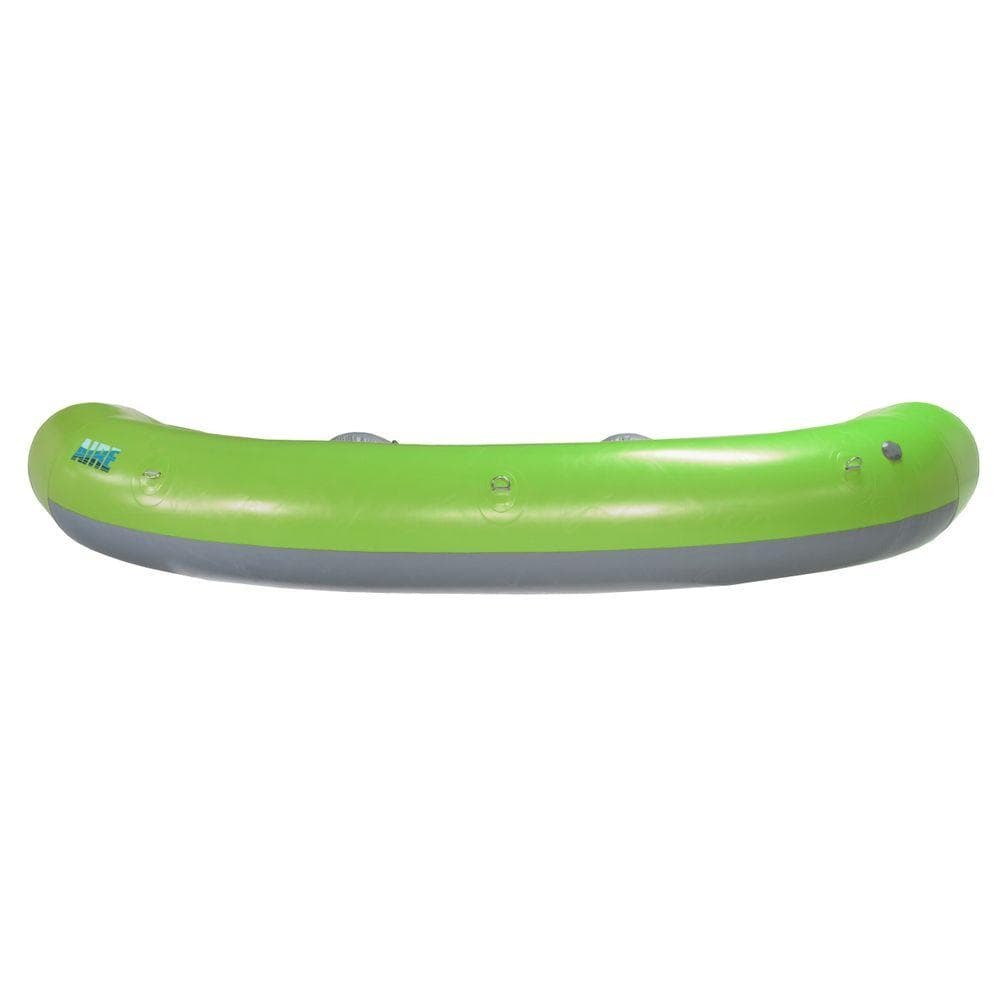
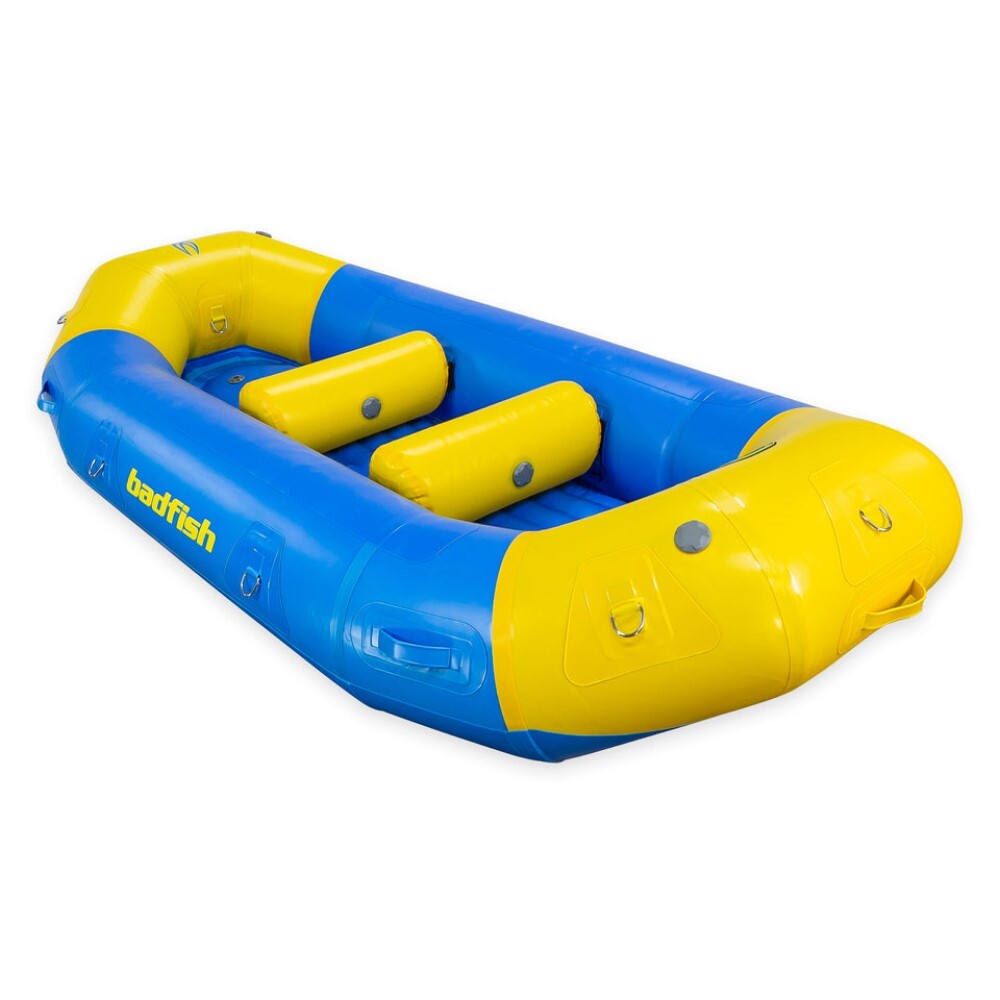
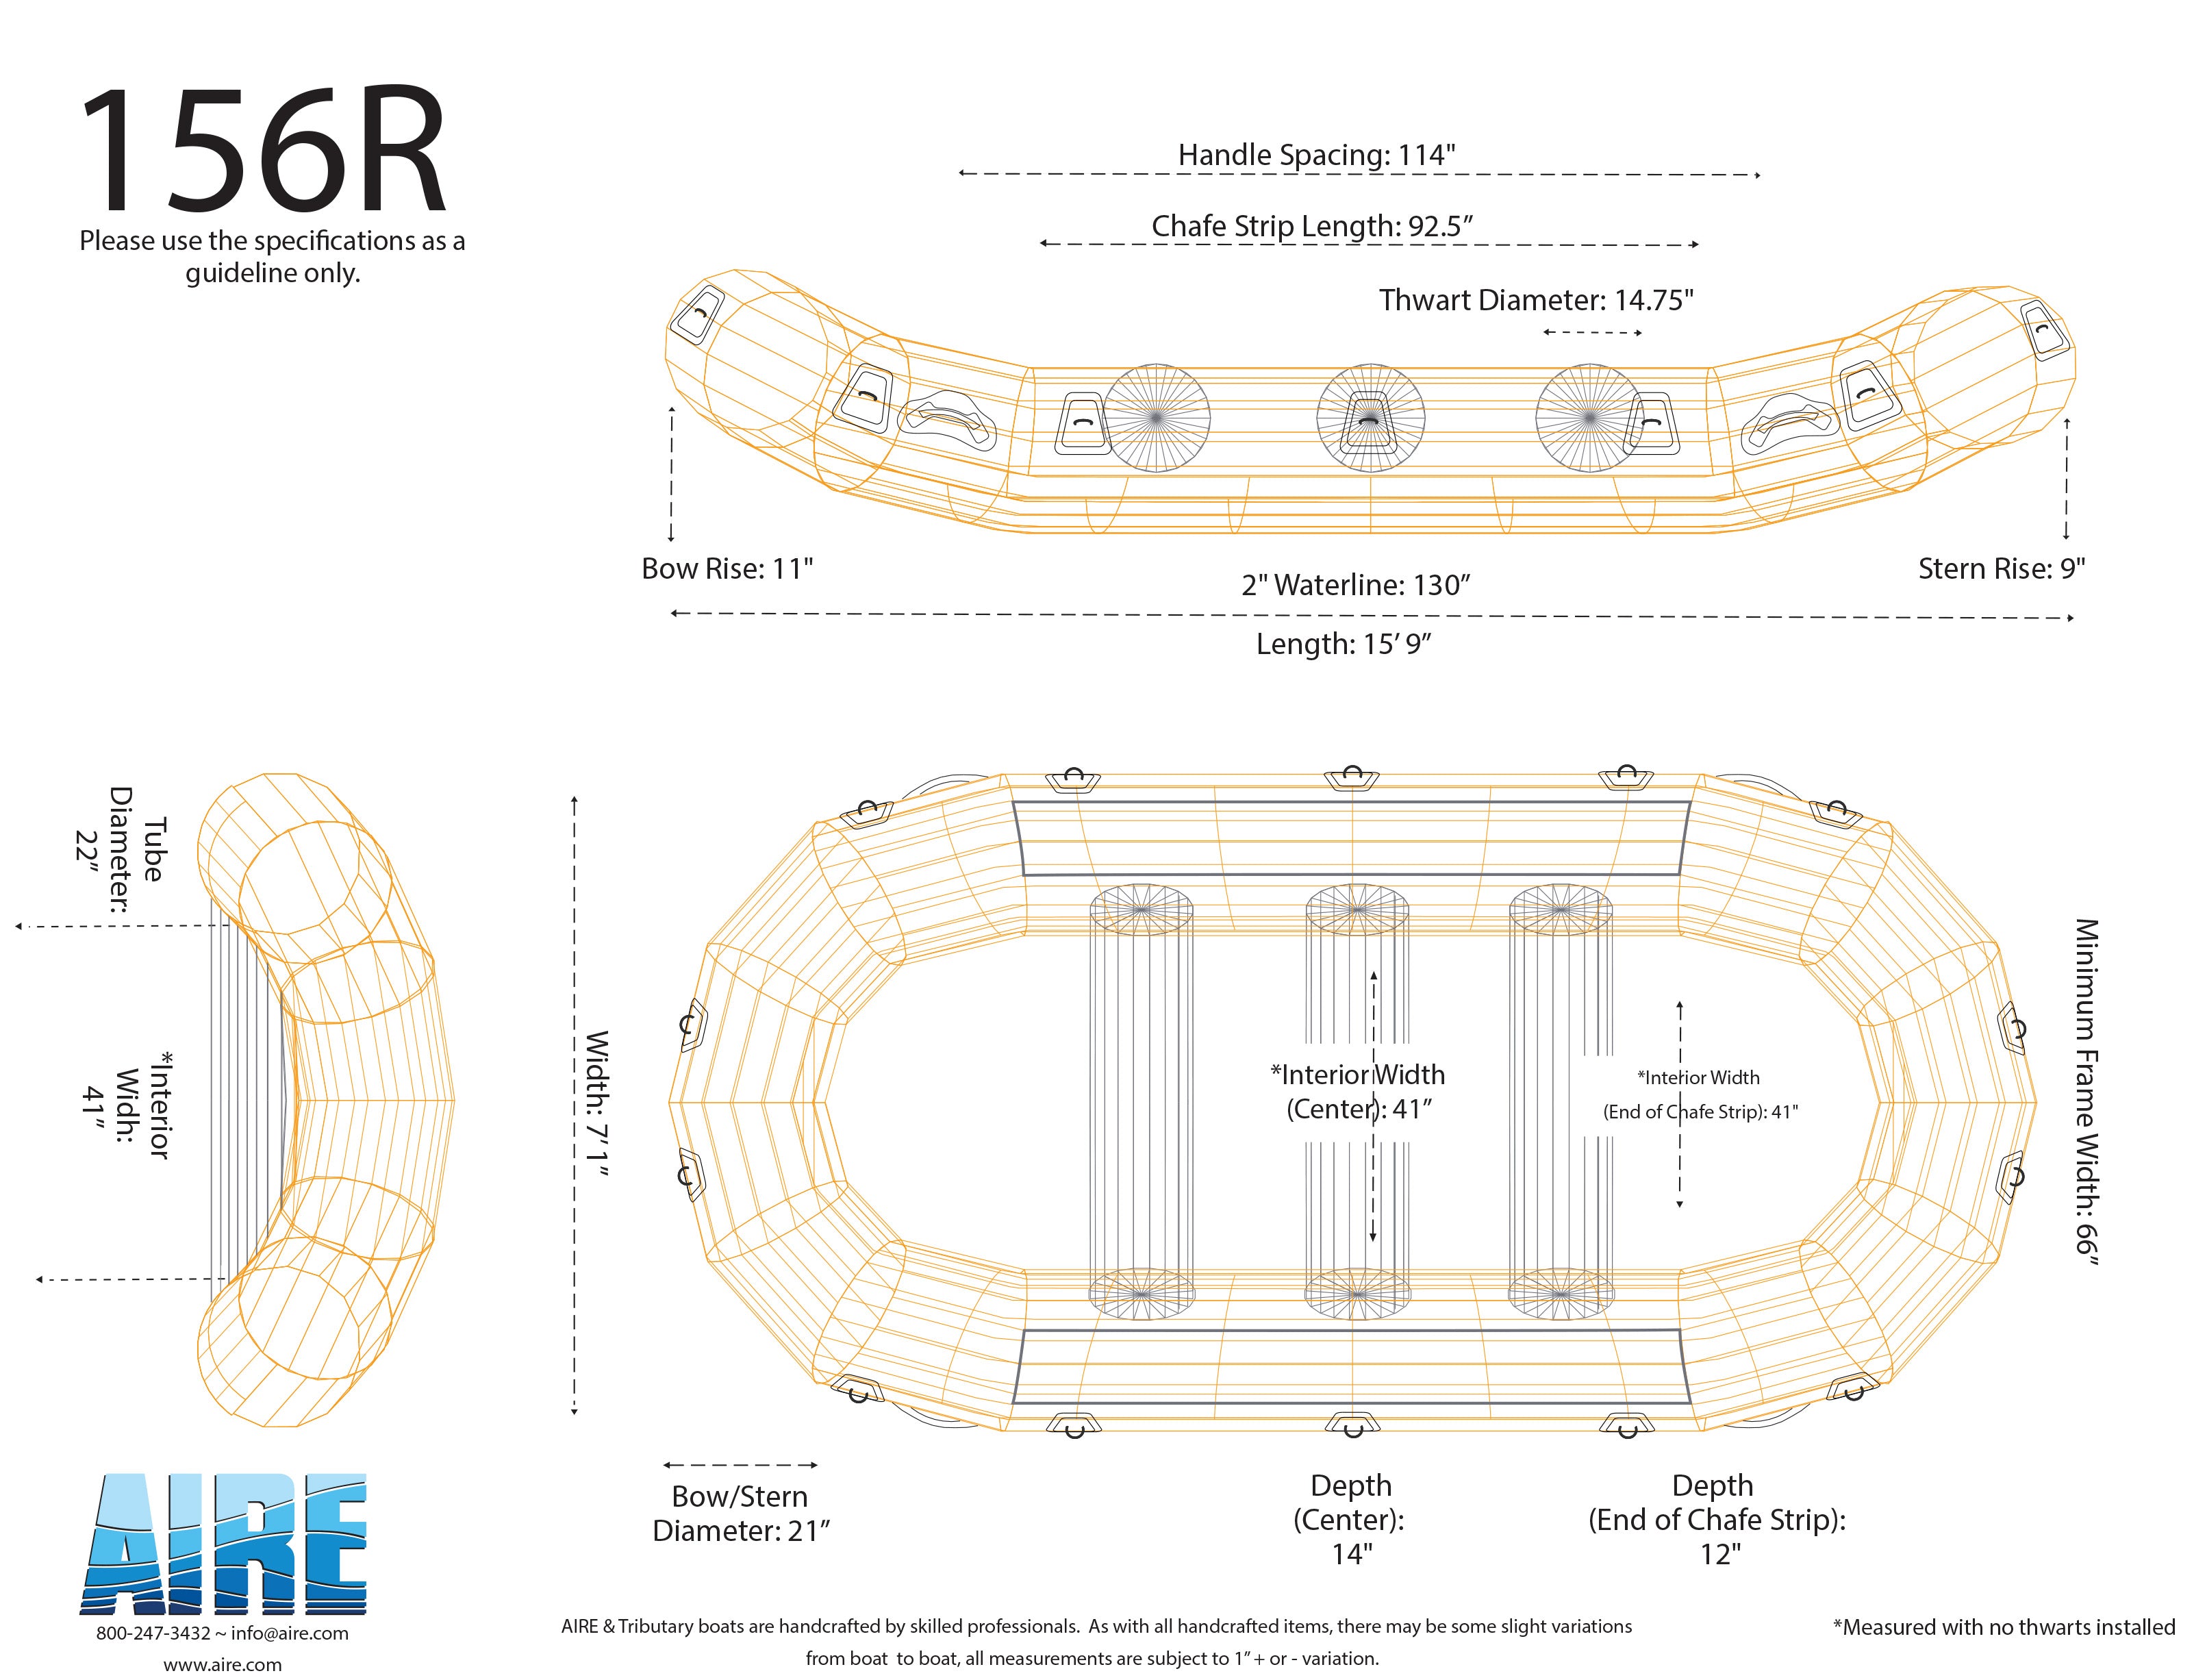
Sure, you can easily find most raft specifications online. However, most rafts are handcrafted and their specifications are subject to up to 2" of variation.
Sure, you know the nominal dimensions of your new frame and bays, but just because two cross bars are 19" apart center-to-center does not mean an 19" wide rocket box will be able to easily drop into the bay.
All of this to say, you need to measure your raft again!
The most important dimensions to note will be your raft's interior width, and your actual bay widths (remember, cross bars are easy to move if needed).
The Easiest Way to Rig a Cooler or Dry Box
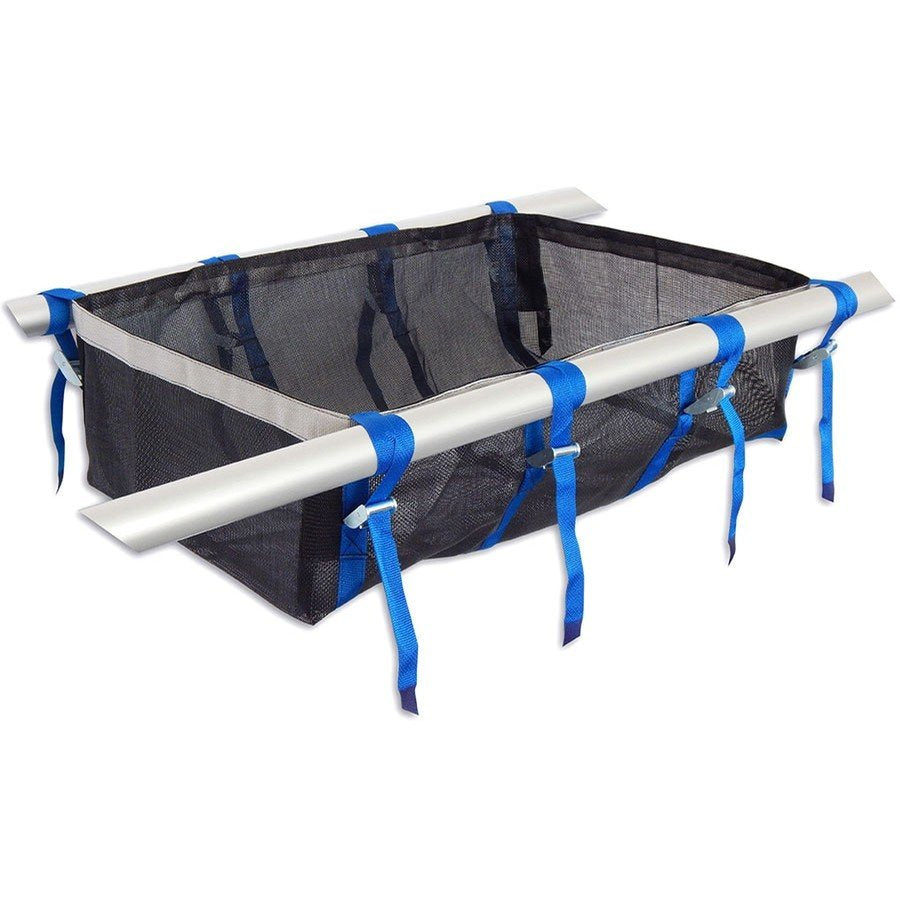
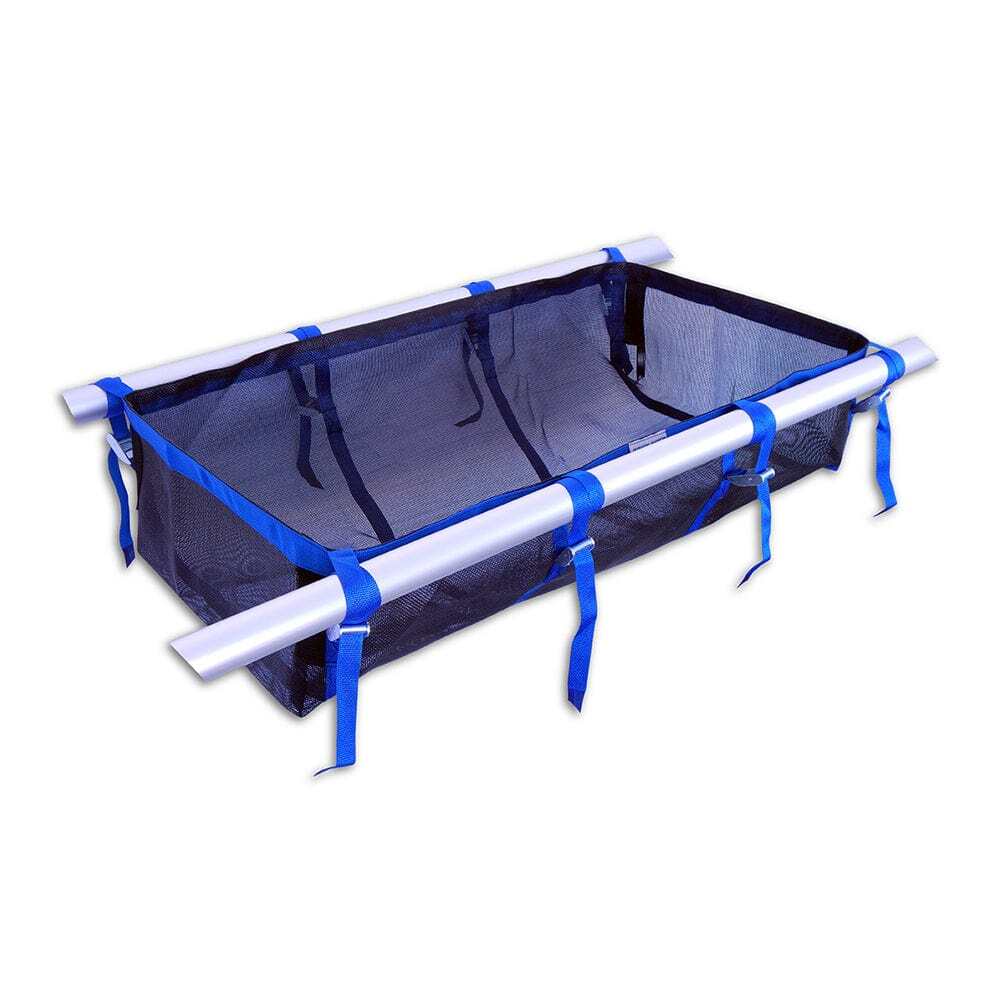
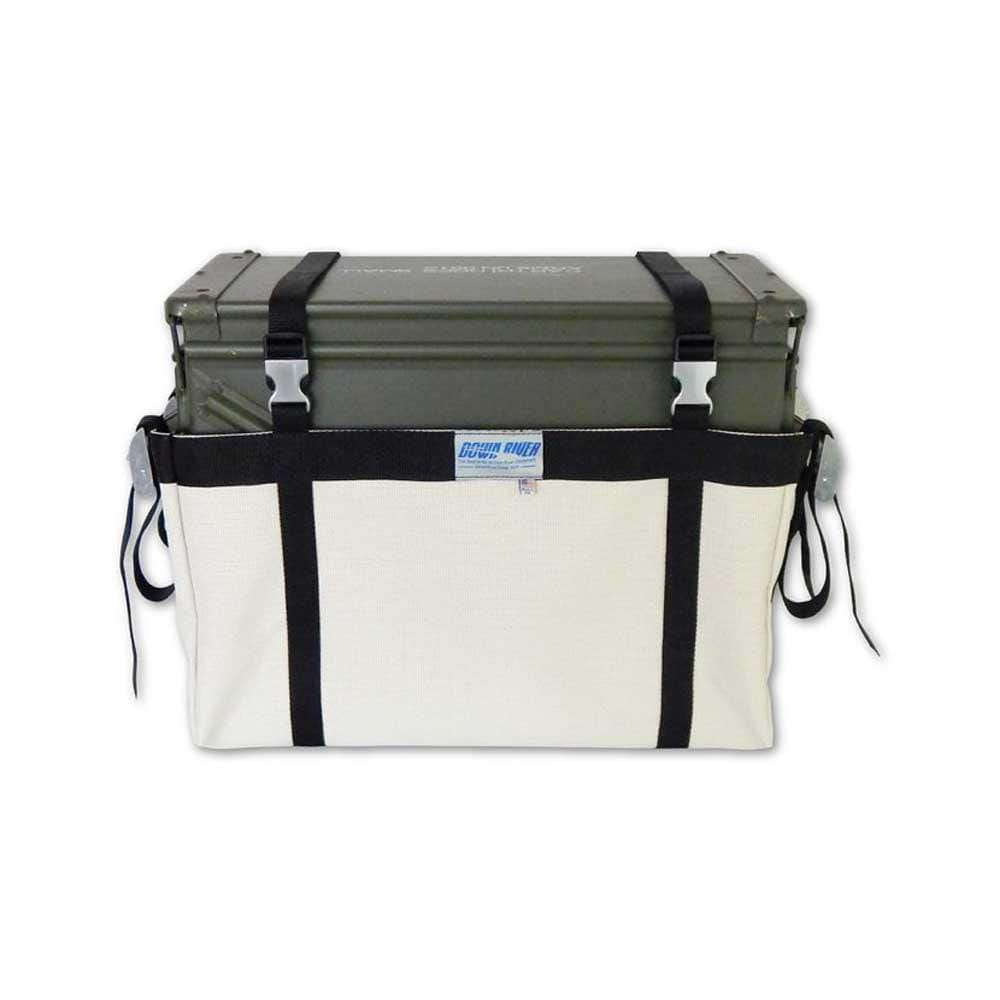
Simply measure your boat's interior width and decide on a bay width to properly size your new drop bag. Make sure that your desired cooler or dry box will fit inside of your raft and frame, as well. Once you attach the drop bag to your cross bars, "drop" the cooler or dry box in, and rig it down using Loop Straps over the top. Bonus points if you tuck a Sleeping Pad under the straps before tightening them down to make an ultra-comfy bench!
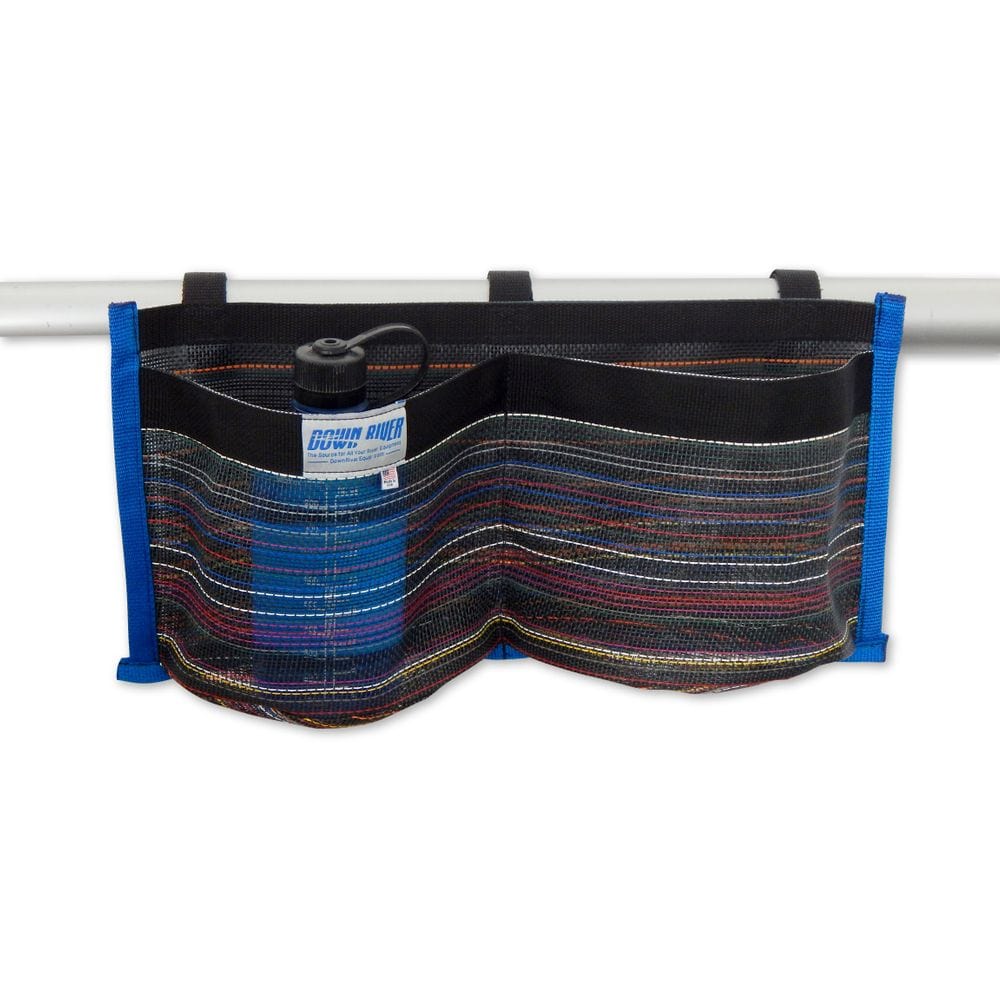
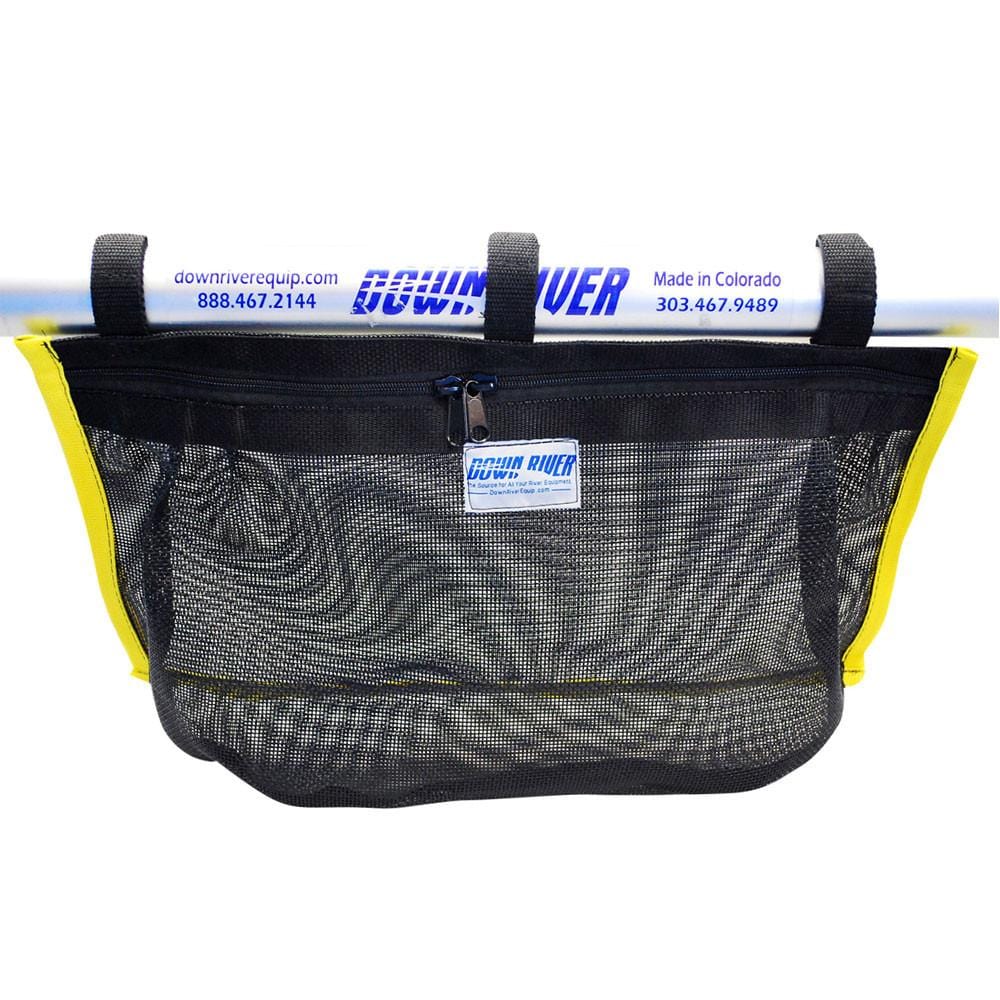
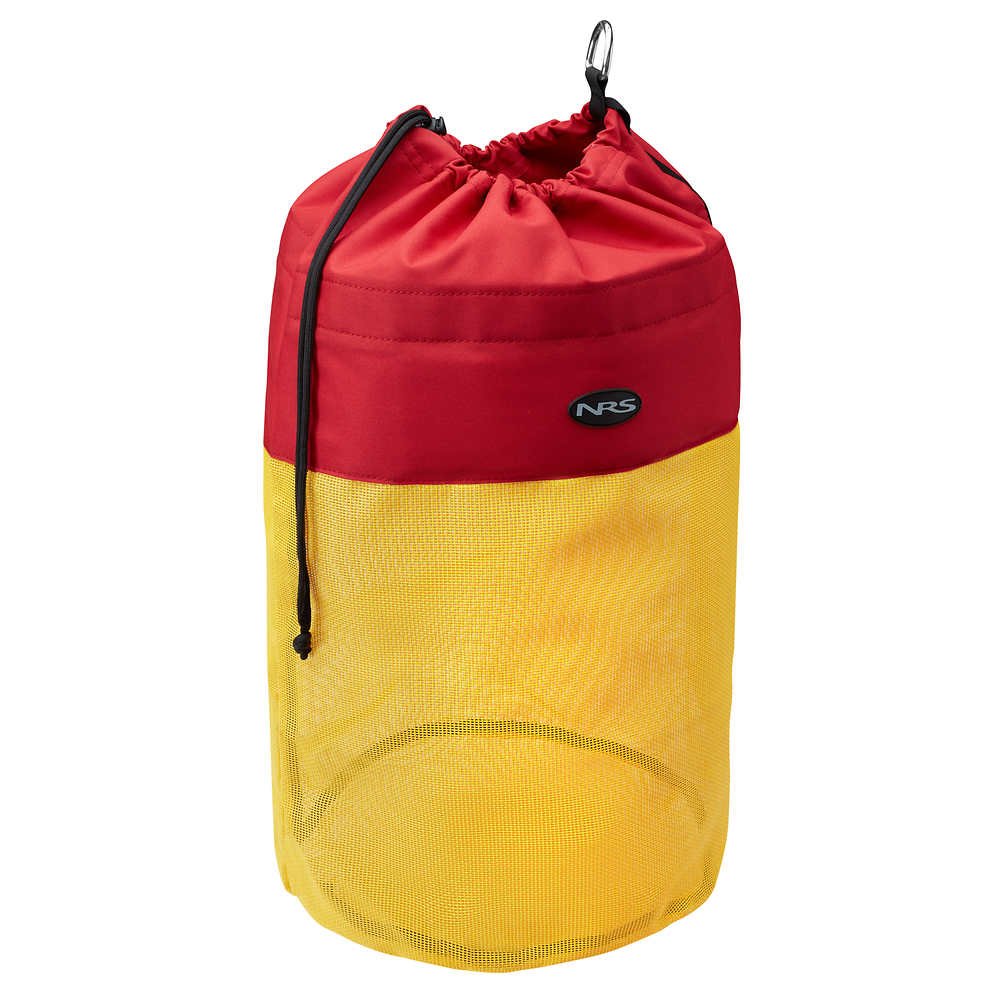
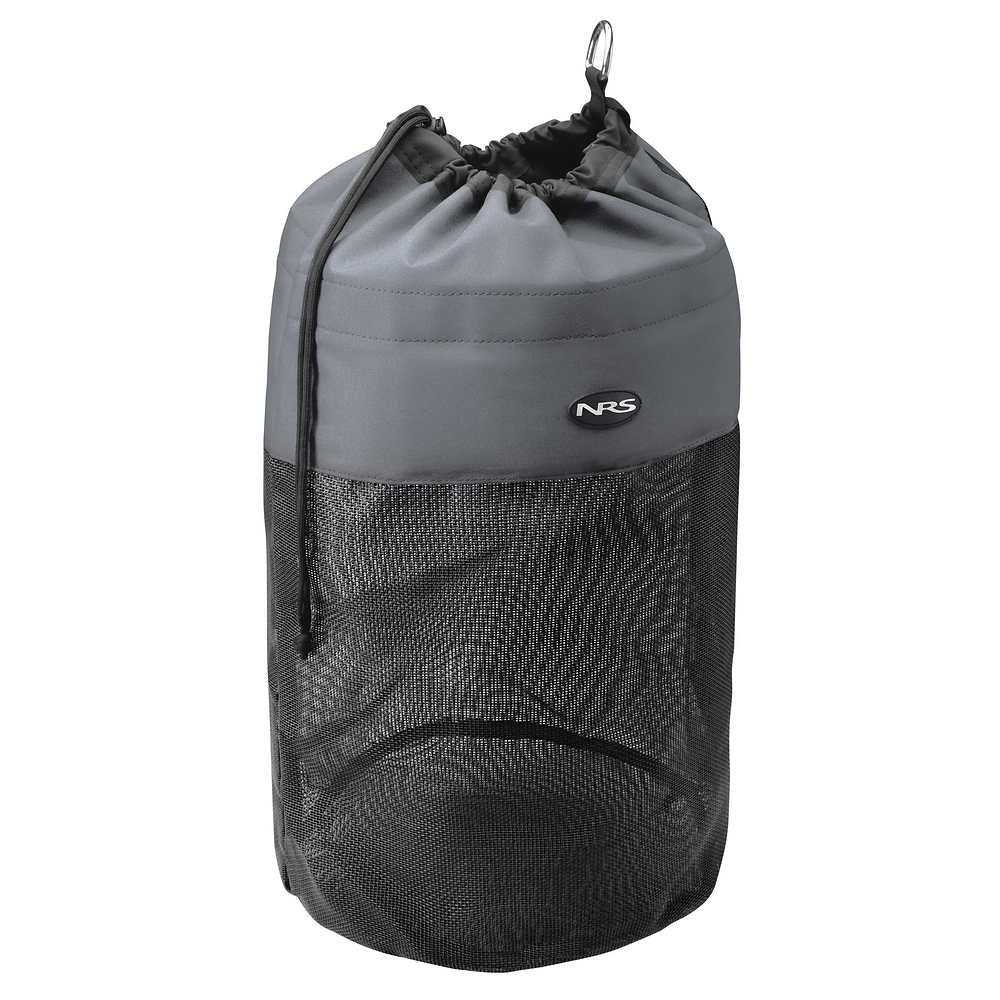
Drop bags can also be used to stash loose and hard-to-rig items such as sand stakes, camp chairs, beach games, etc. Top it off with a Drop Bag Cover so everything stays nice and neat!
Learn more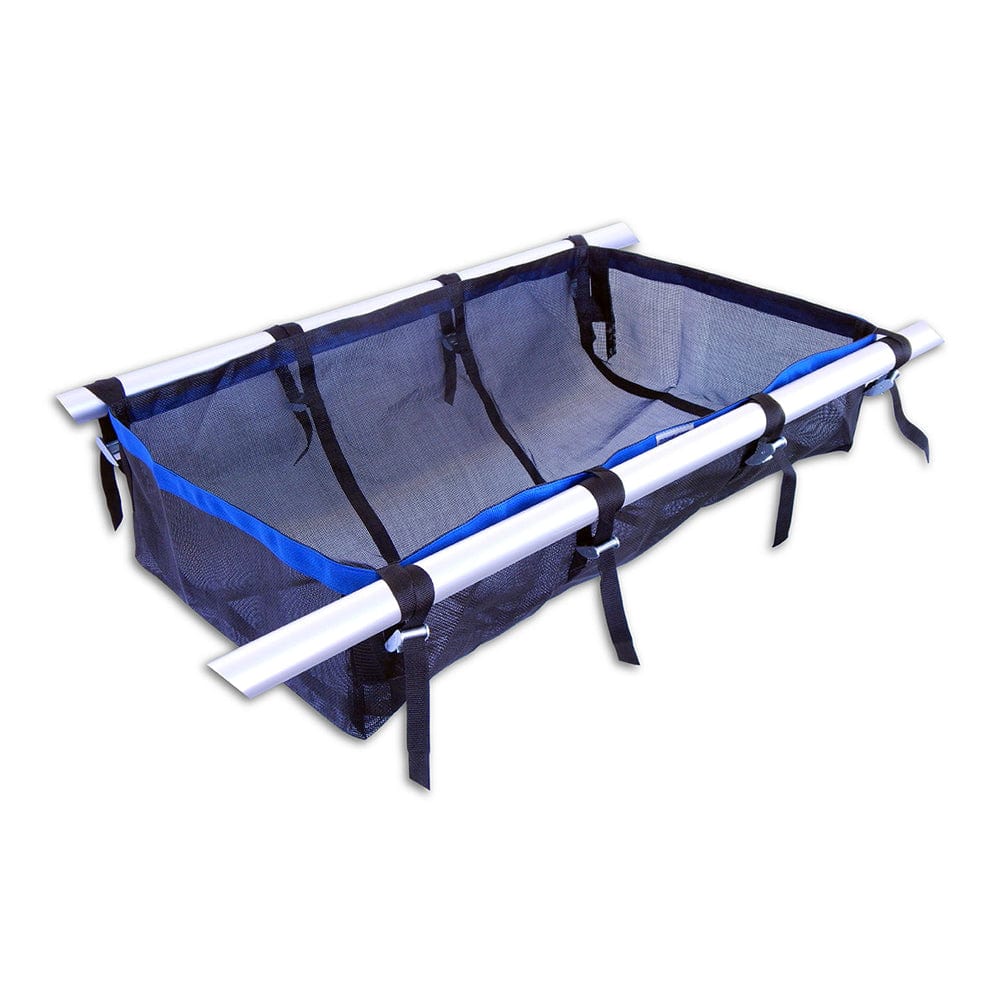
Check Out Other Ways to Organize Your Boat

3. Choose Your New Gear
Yup, that's really about all we can teach you! The rest is up to you. There are a million ways to skin a cat, or so they say.
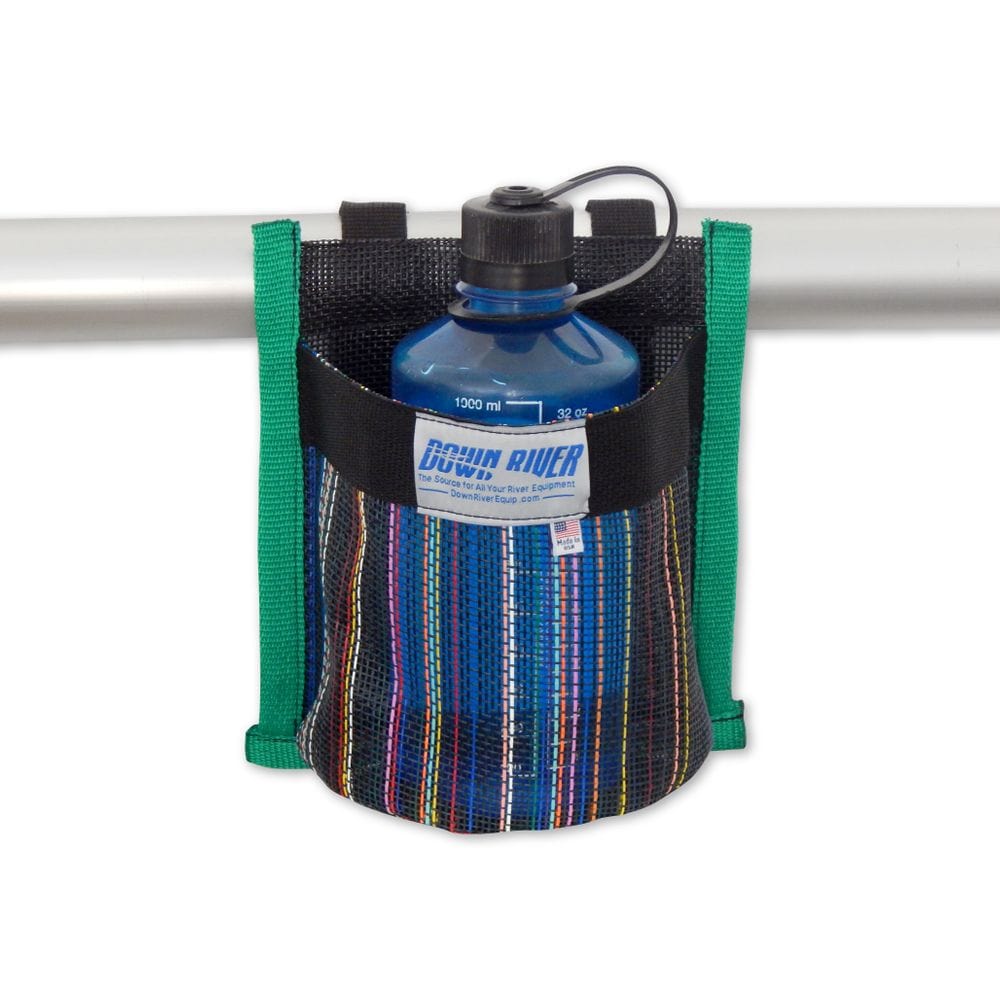
However, here are a few more of our favorite products to help guide you through setting up your ever-evolving rig.
Decking
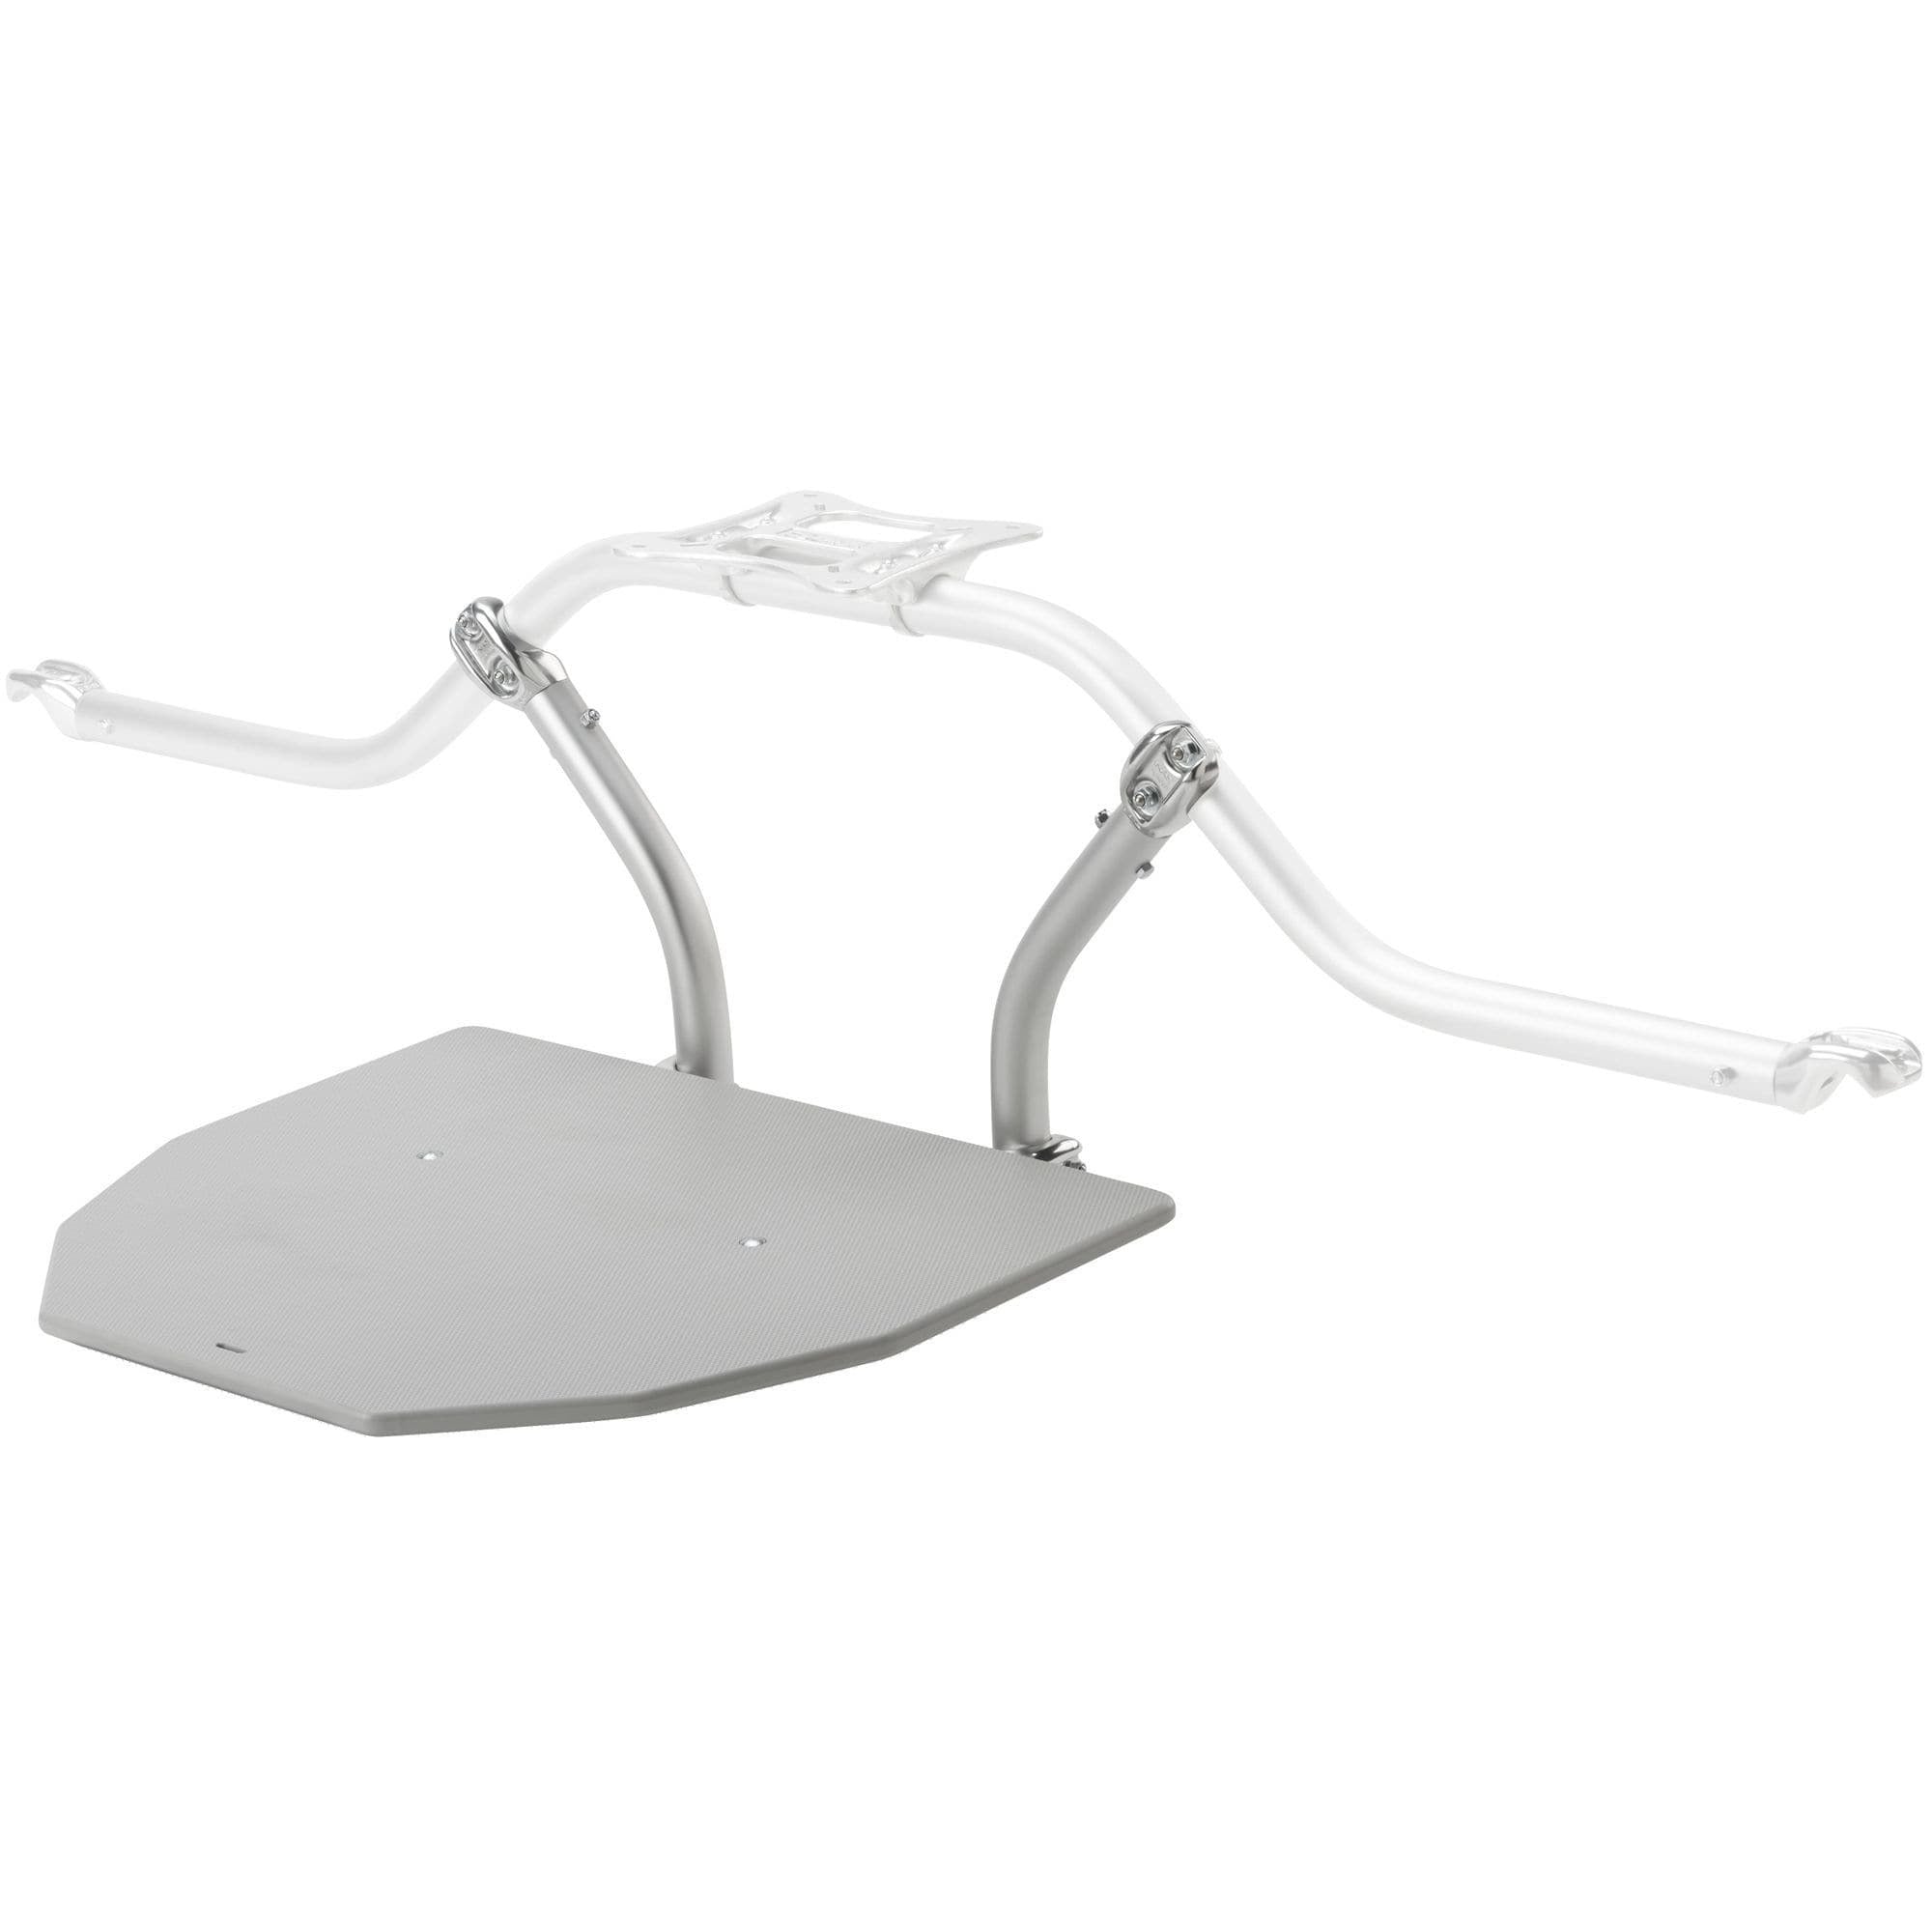
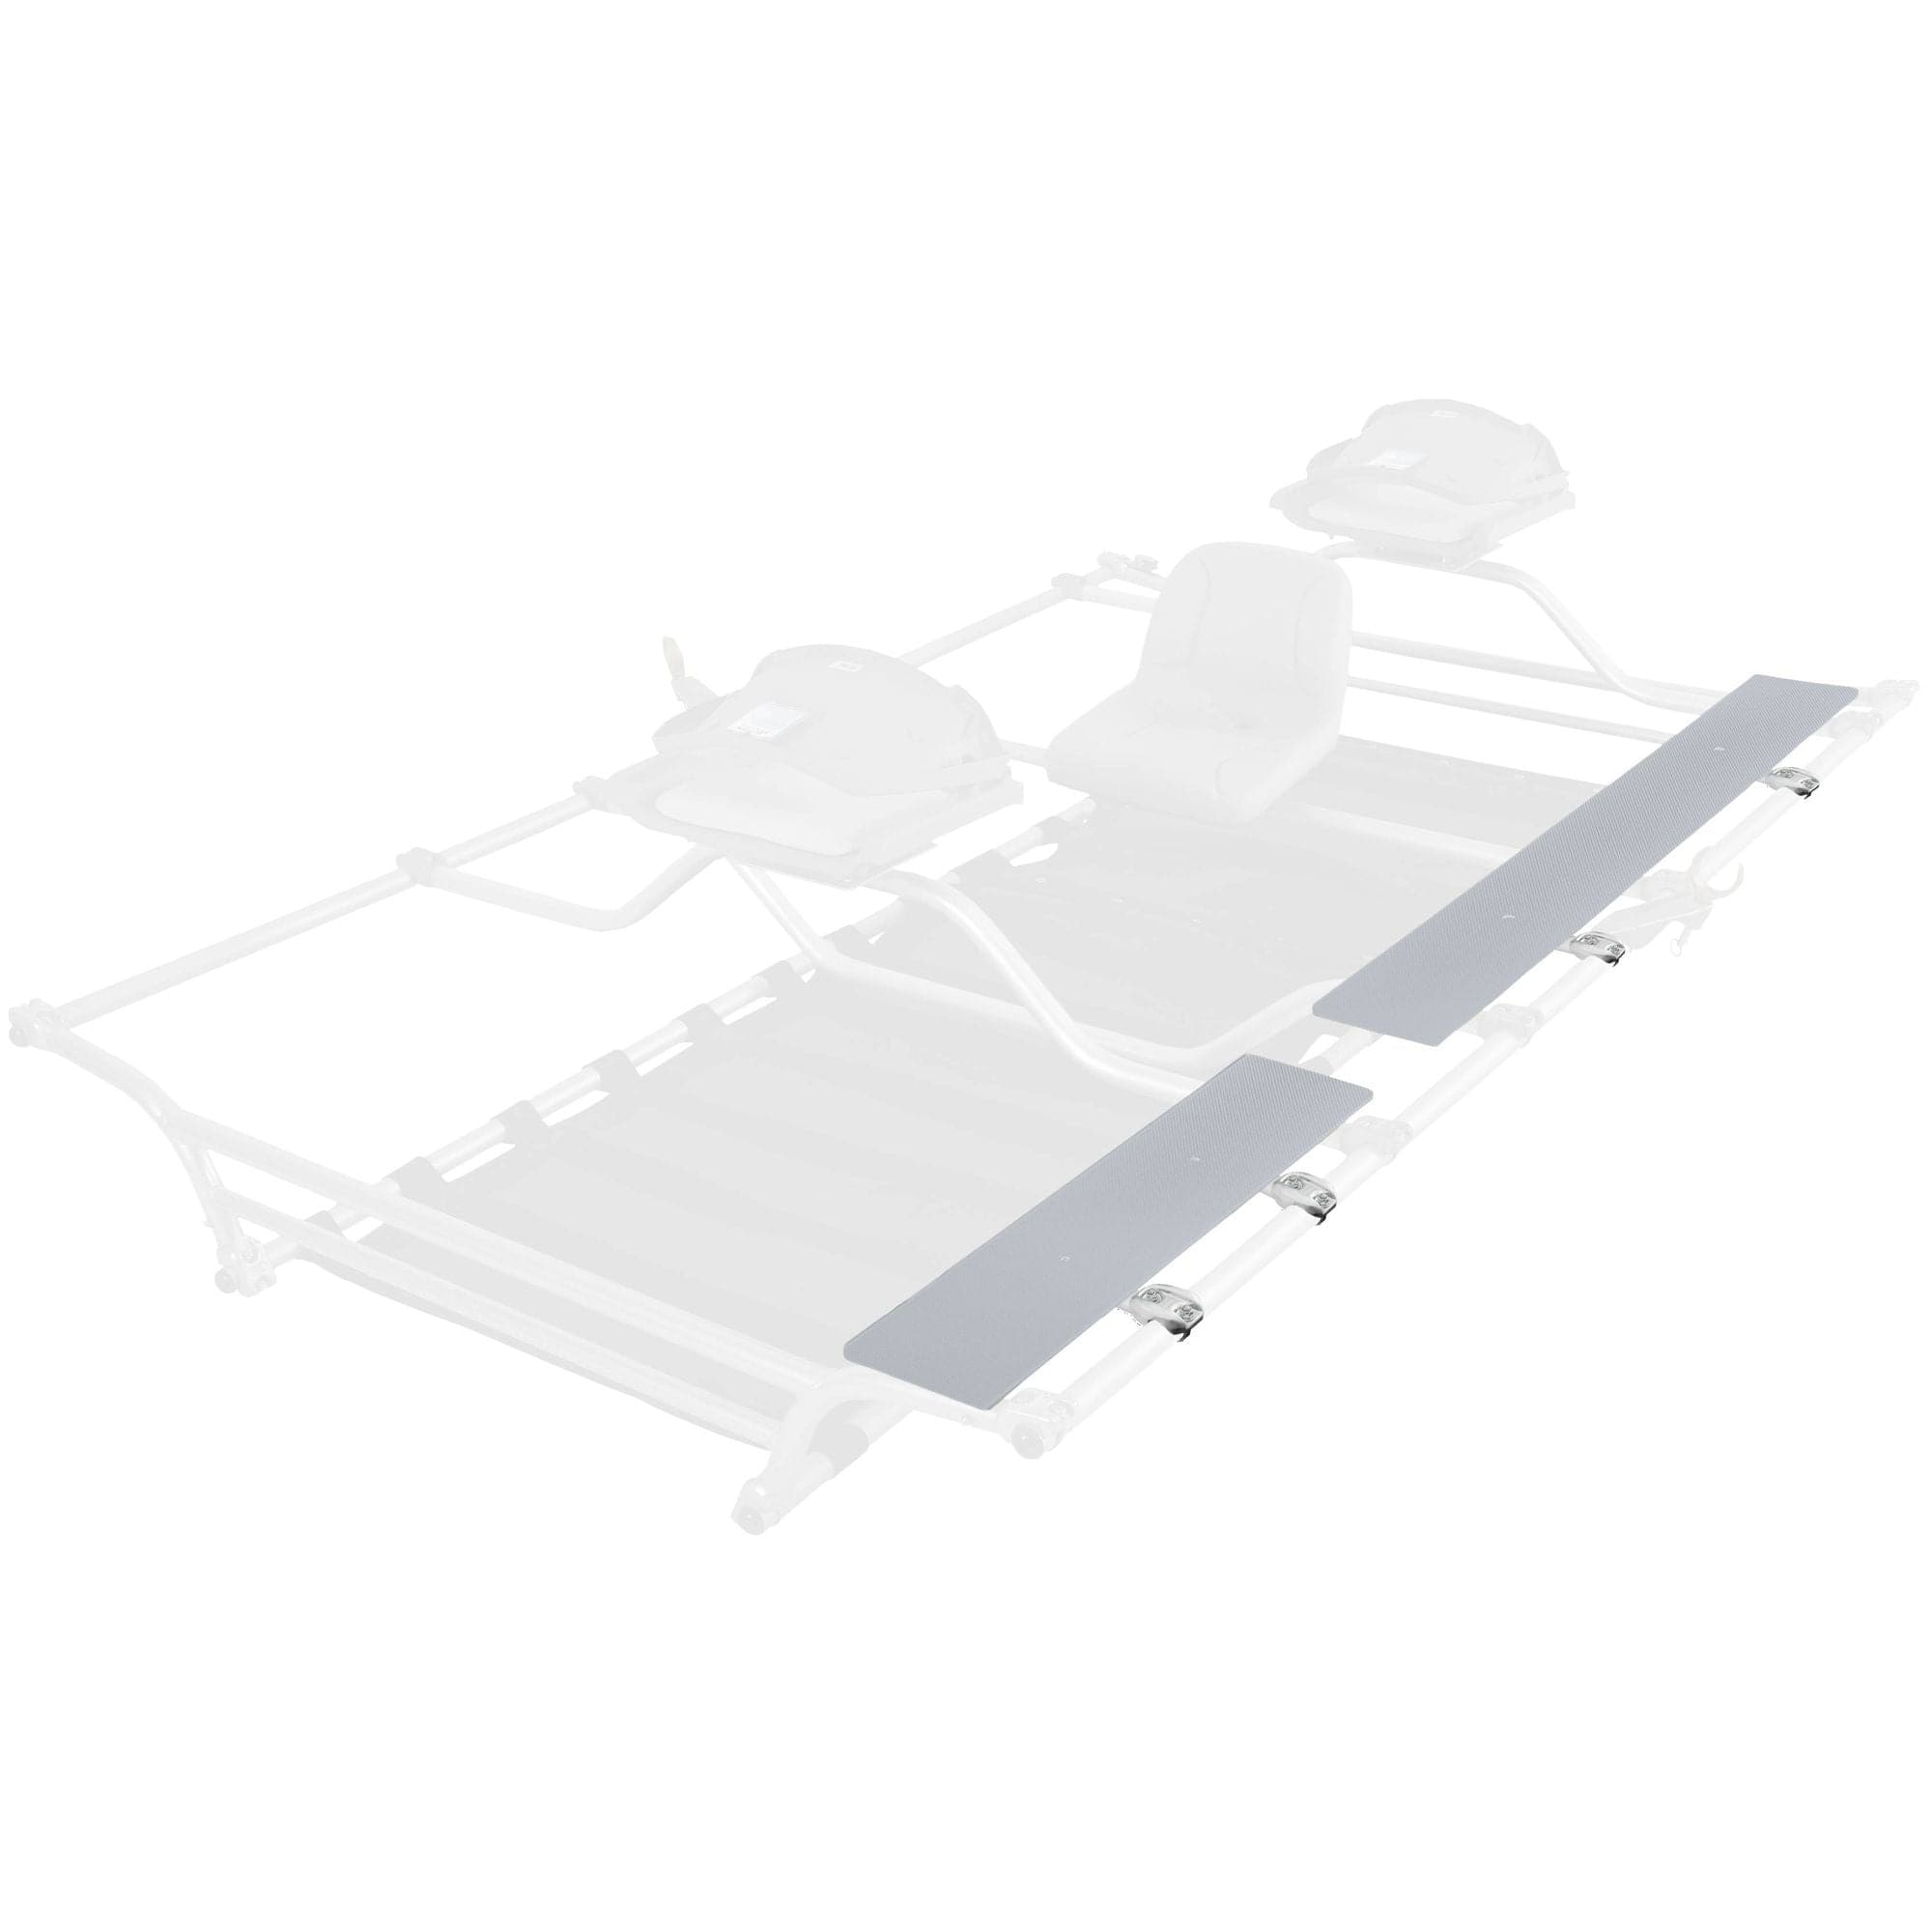
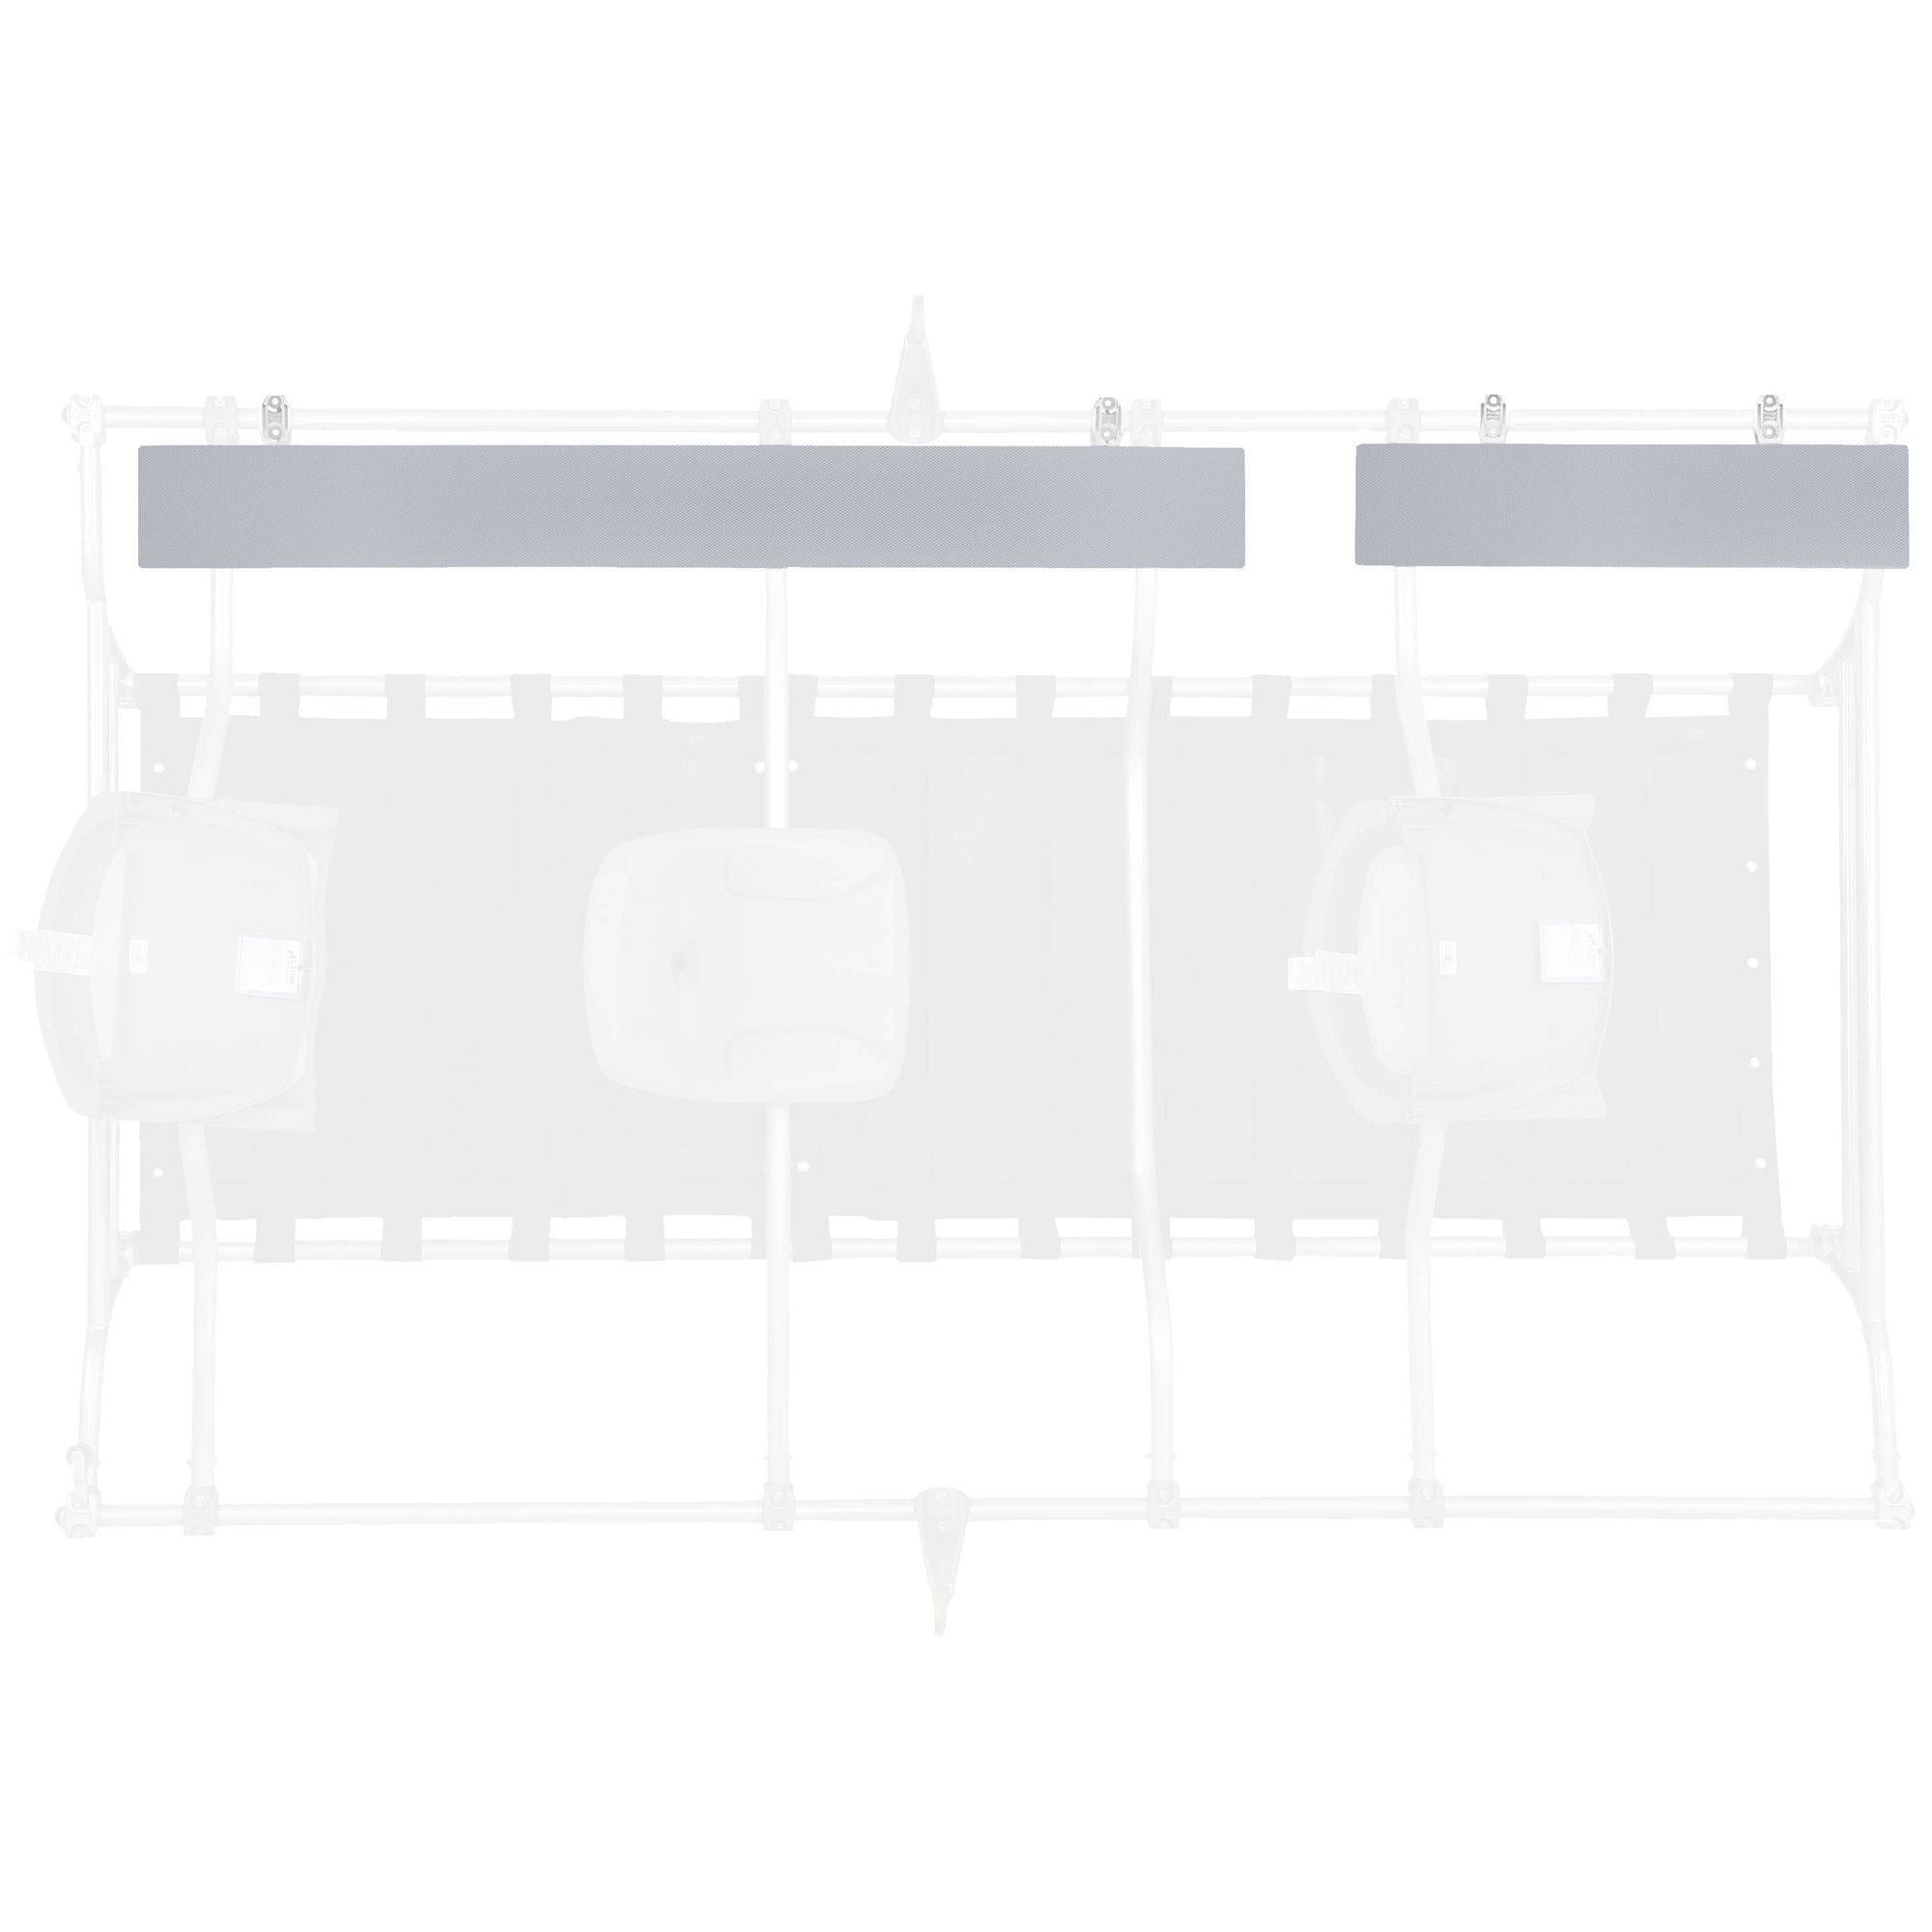
A lot of folks eventually end up adding decking to their frames. Decking allows for more rigging points along the sides of your raft (think ammo cans), as well as more space to walk comfortably around the boat on.
Cutting your own wood or plastic decking requires various power tools, expertise, planning and patience. While it's a fun project for some, for others it could seem like too much work!
That's where the NRS Side Rail Racks come in. These frame components simply attach to your side rails, above the cross bars, to create an instant non-slip platform.
Learn more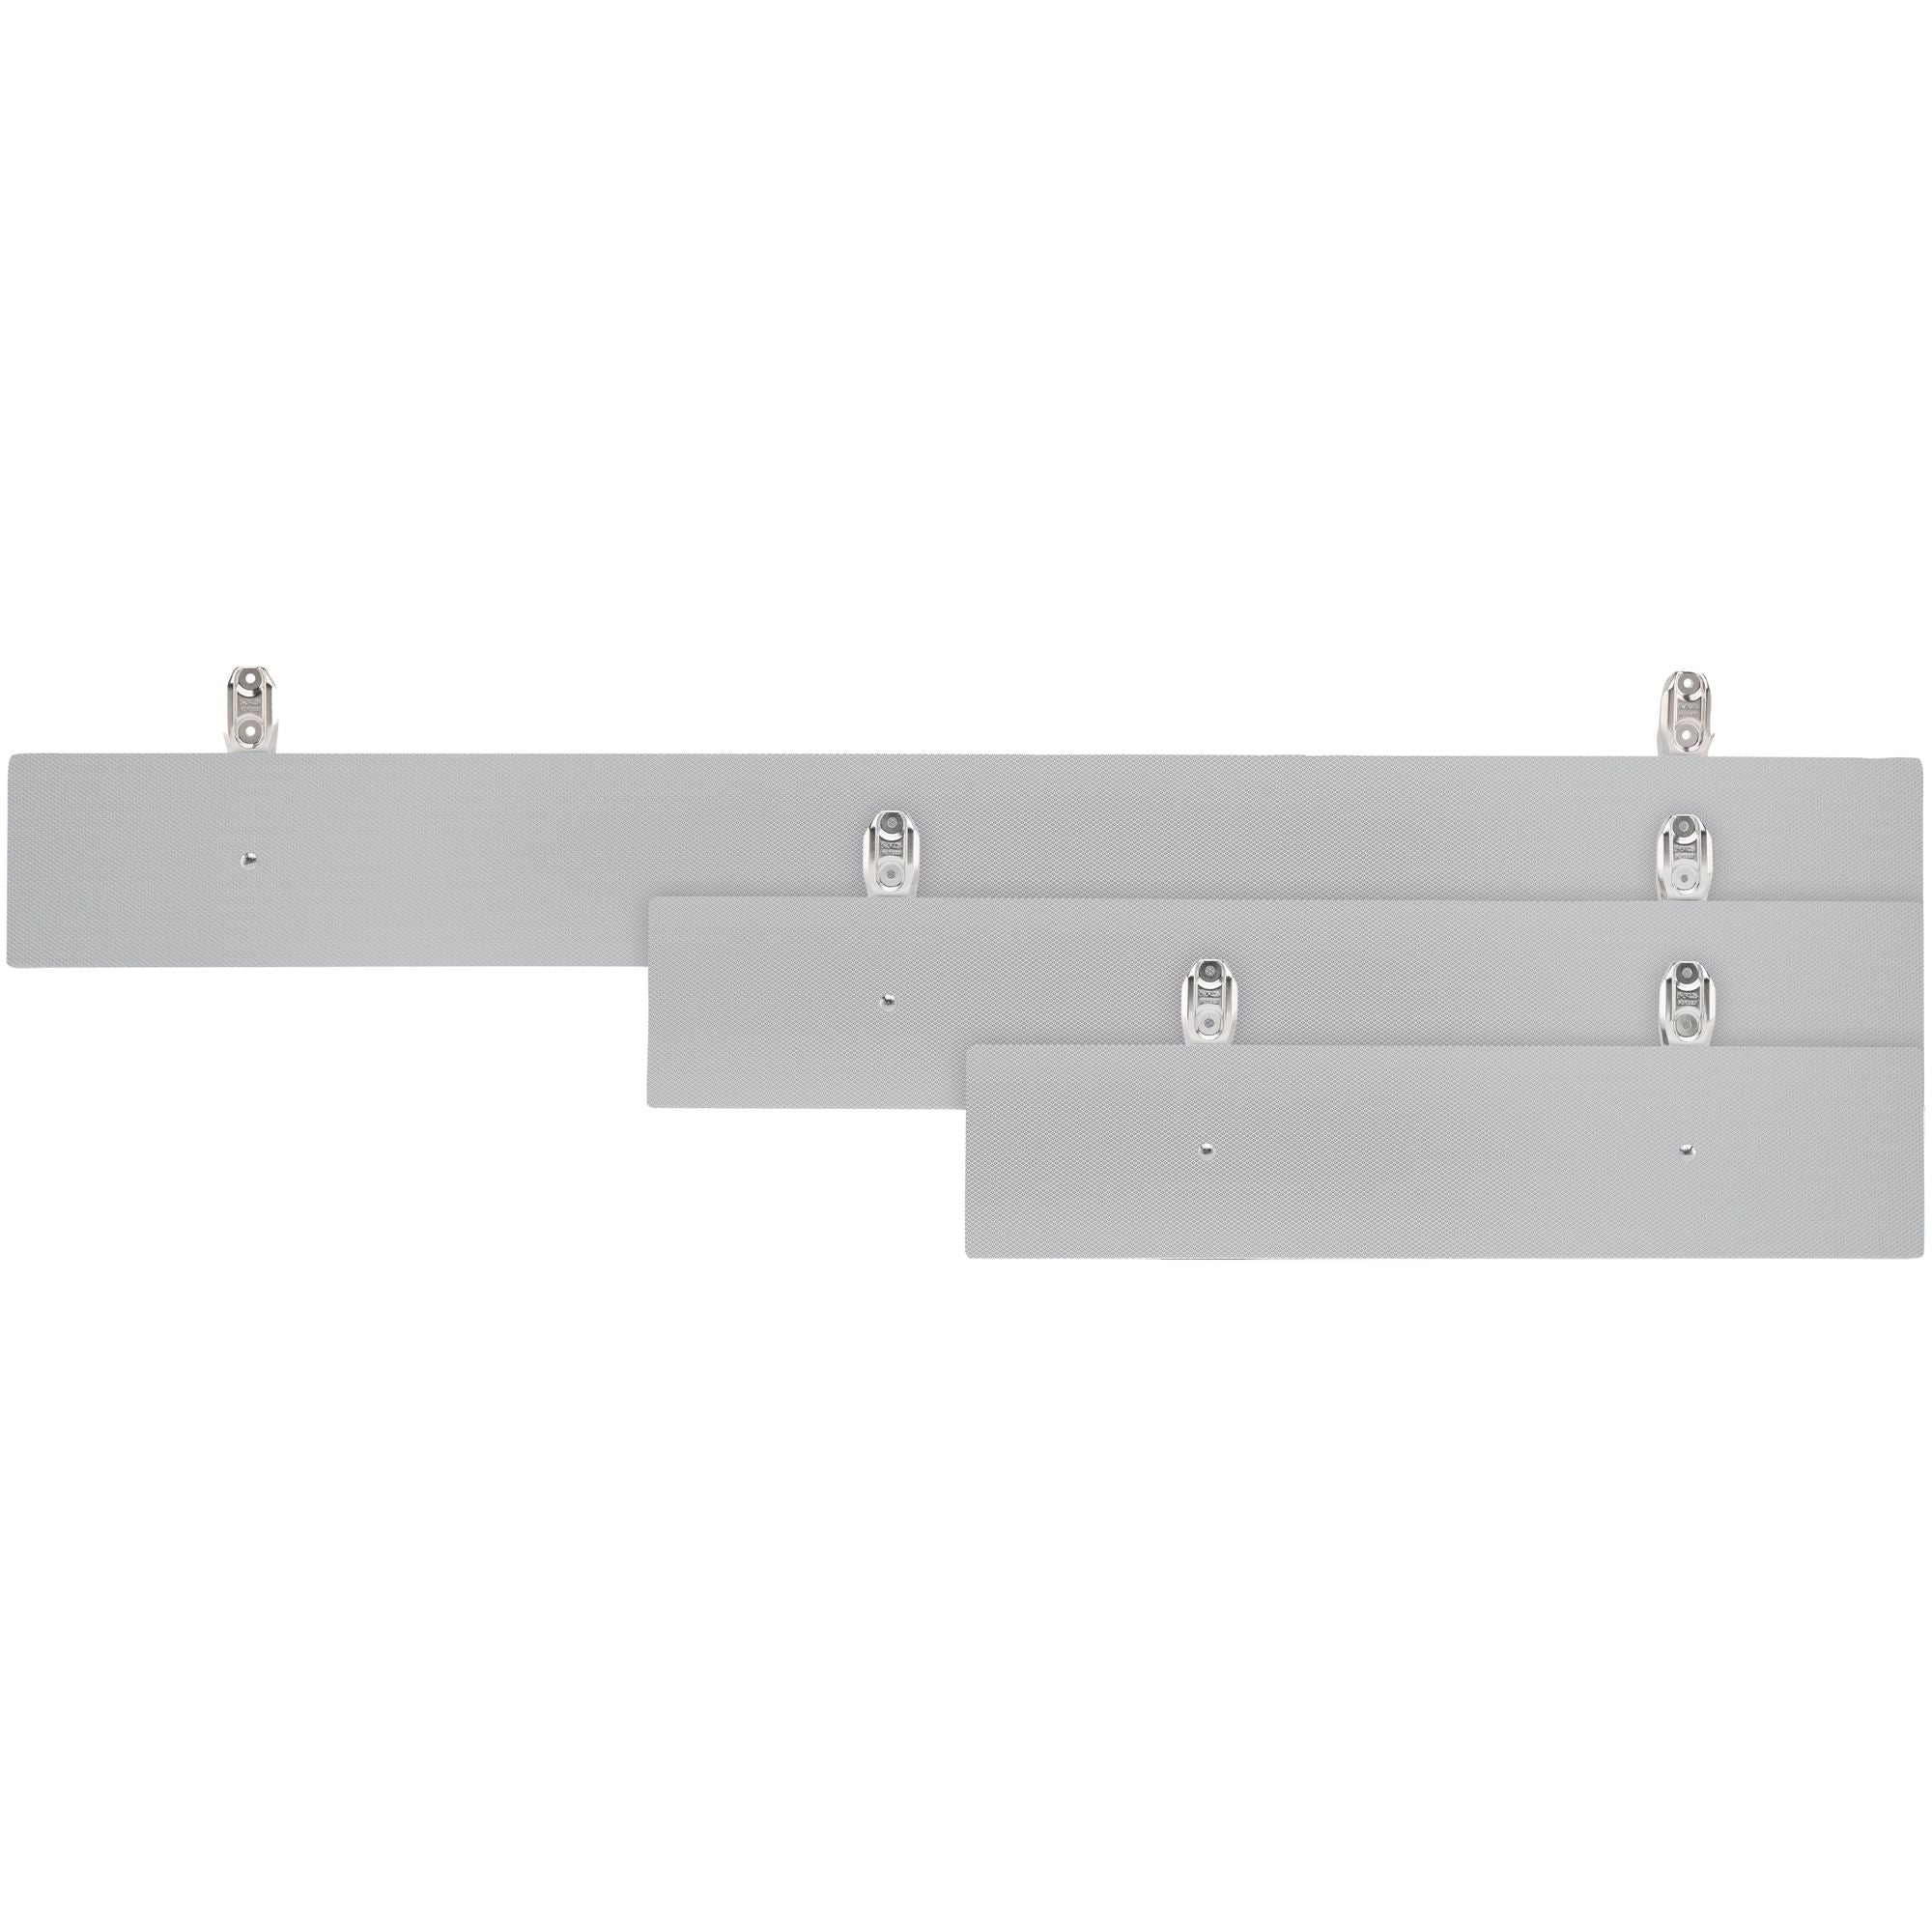
We've All Been (Sun)Burned. Don't Let it Happen on Your Next River Trip!
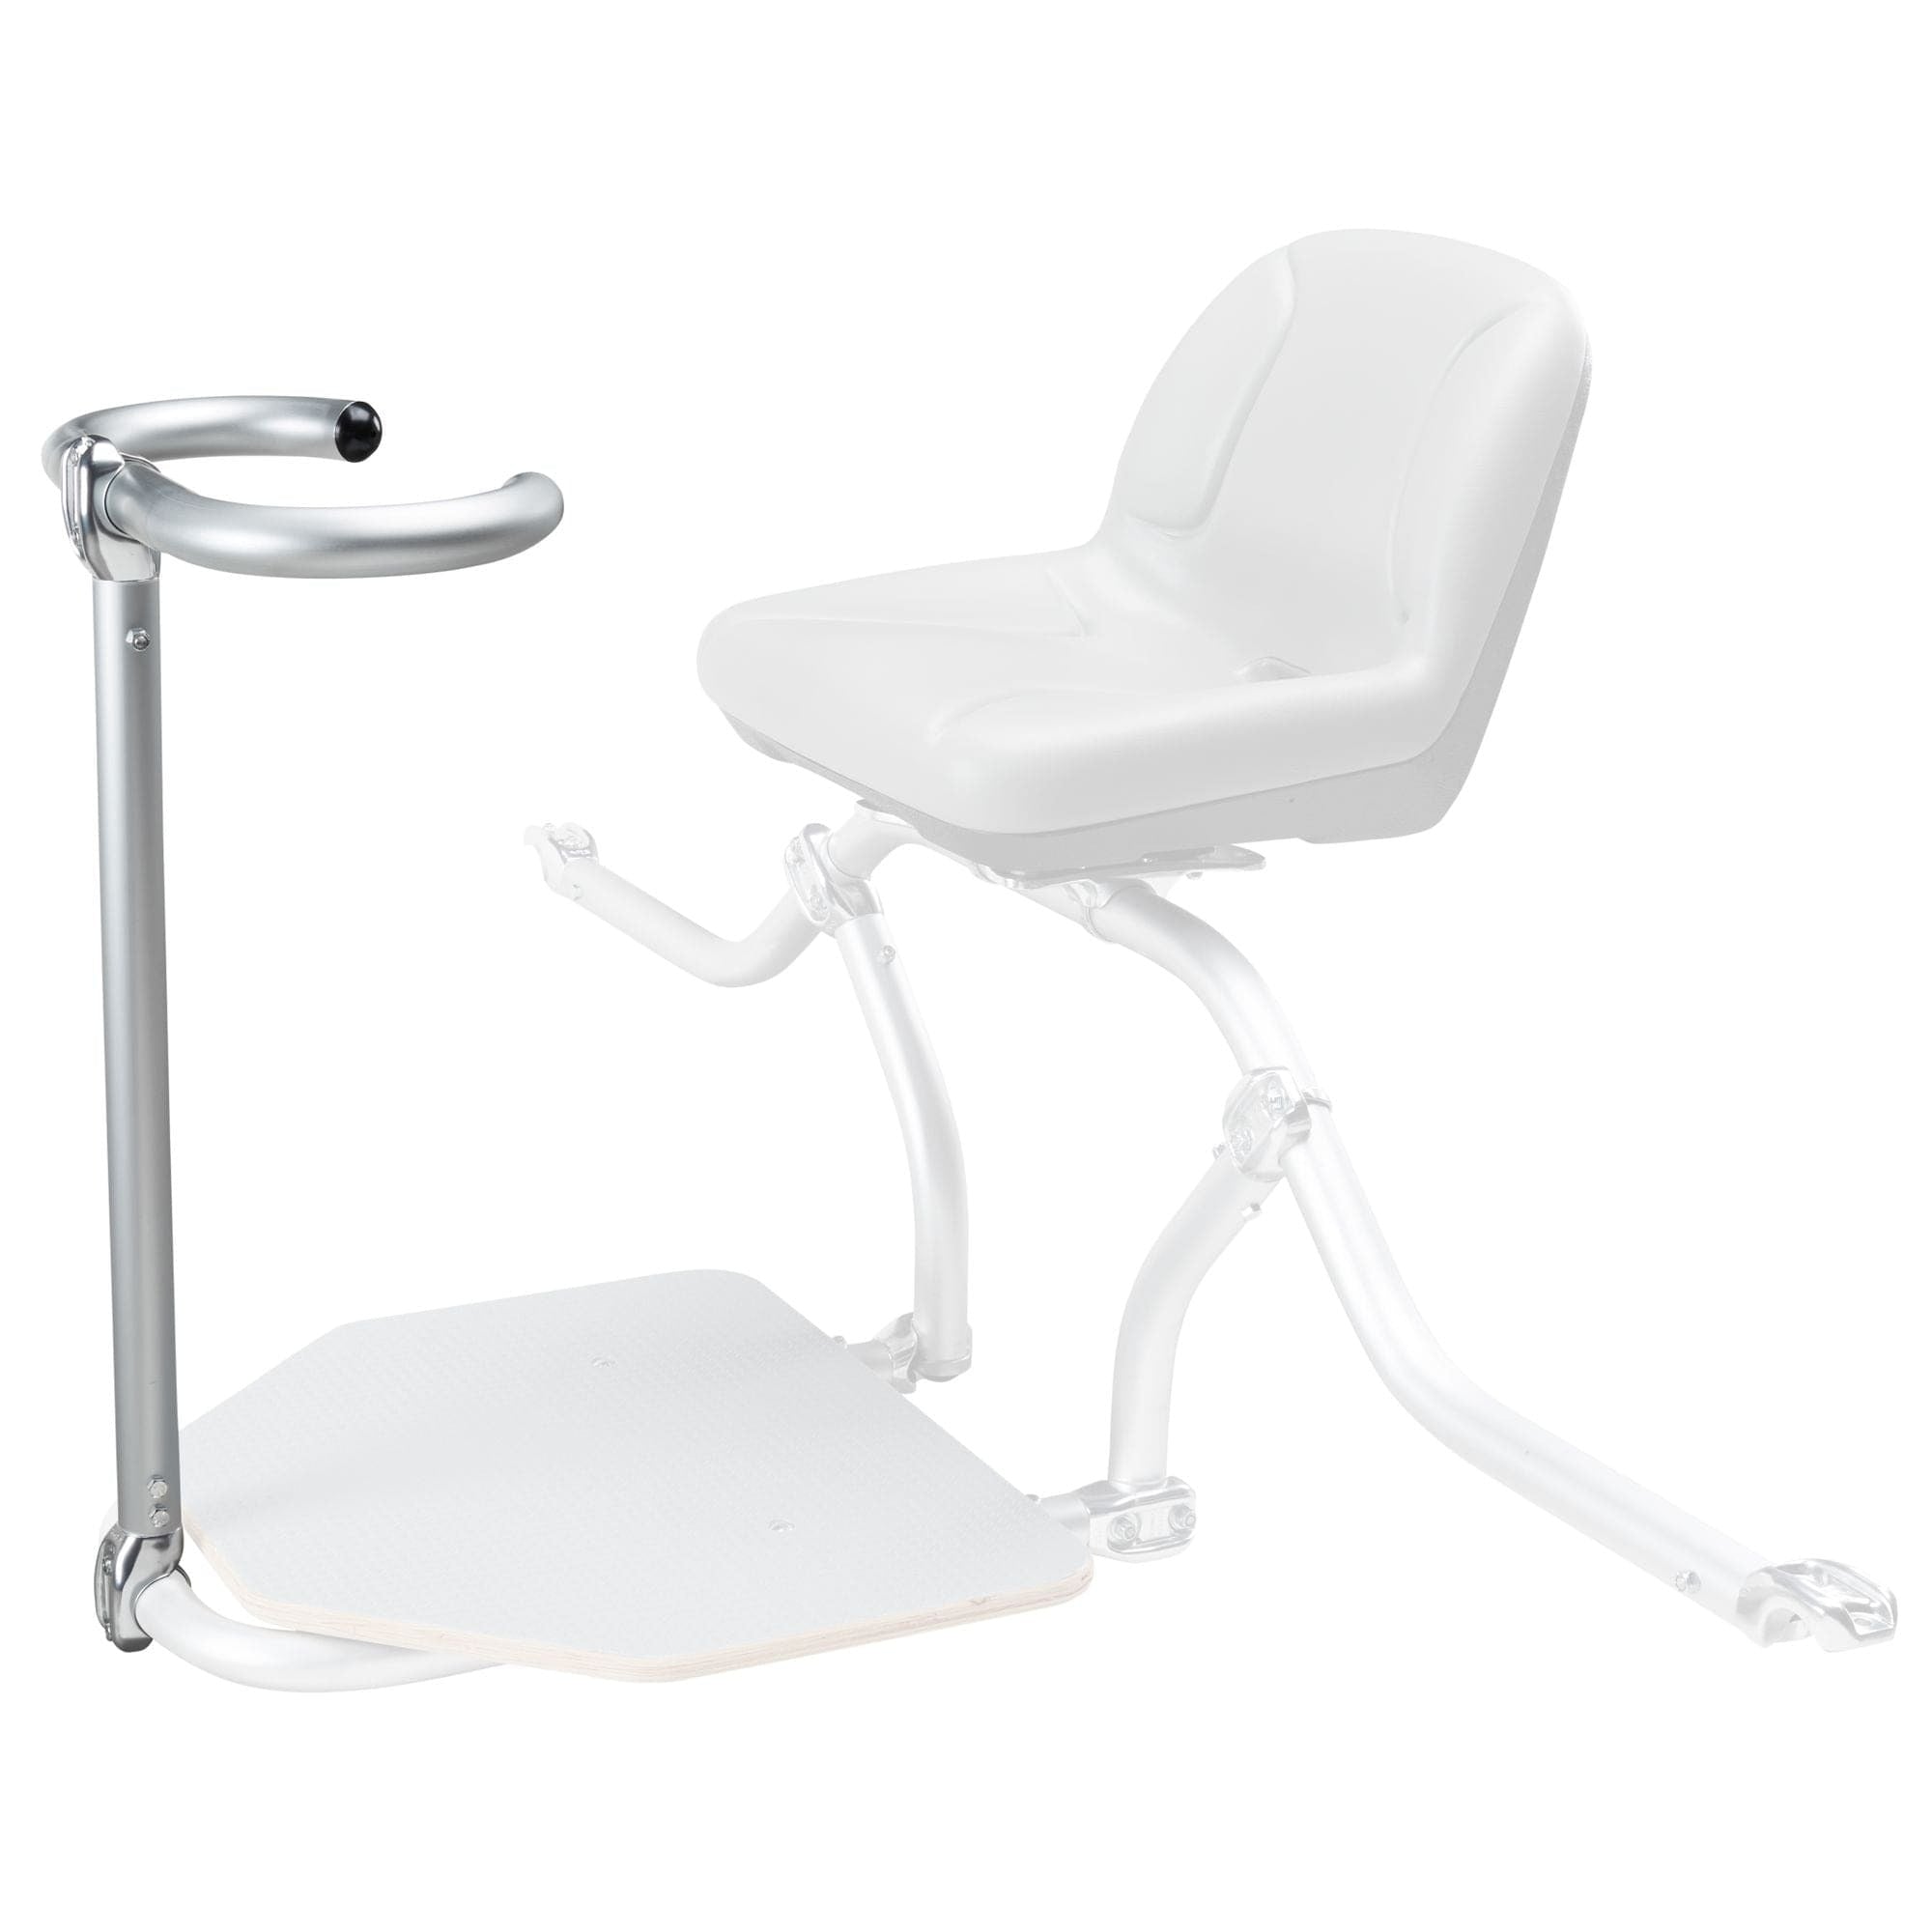
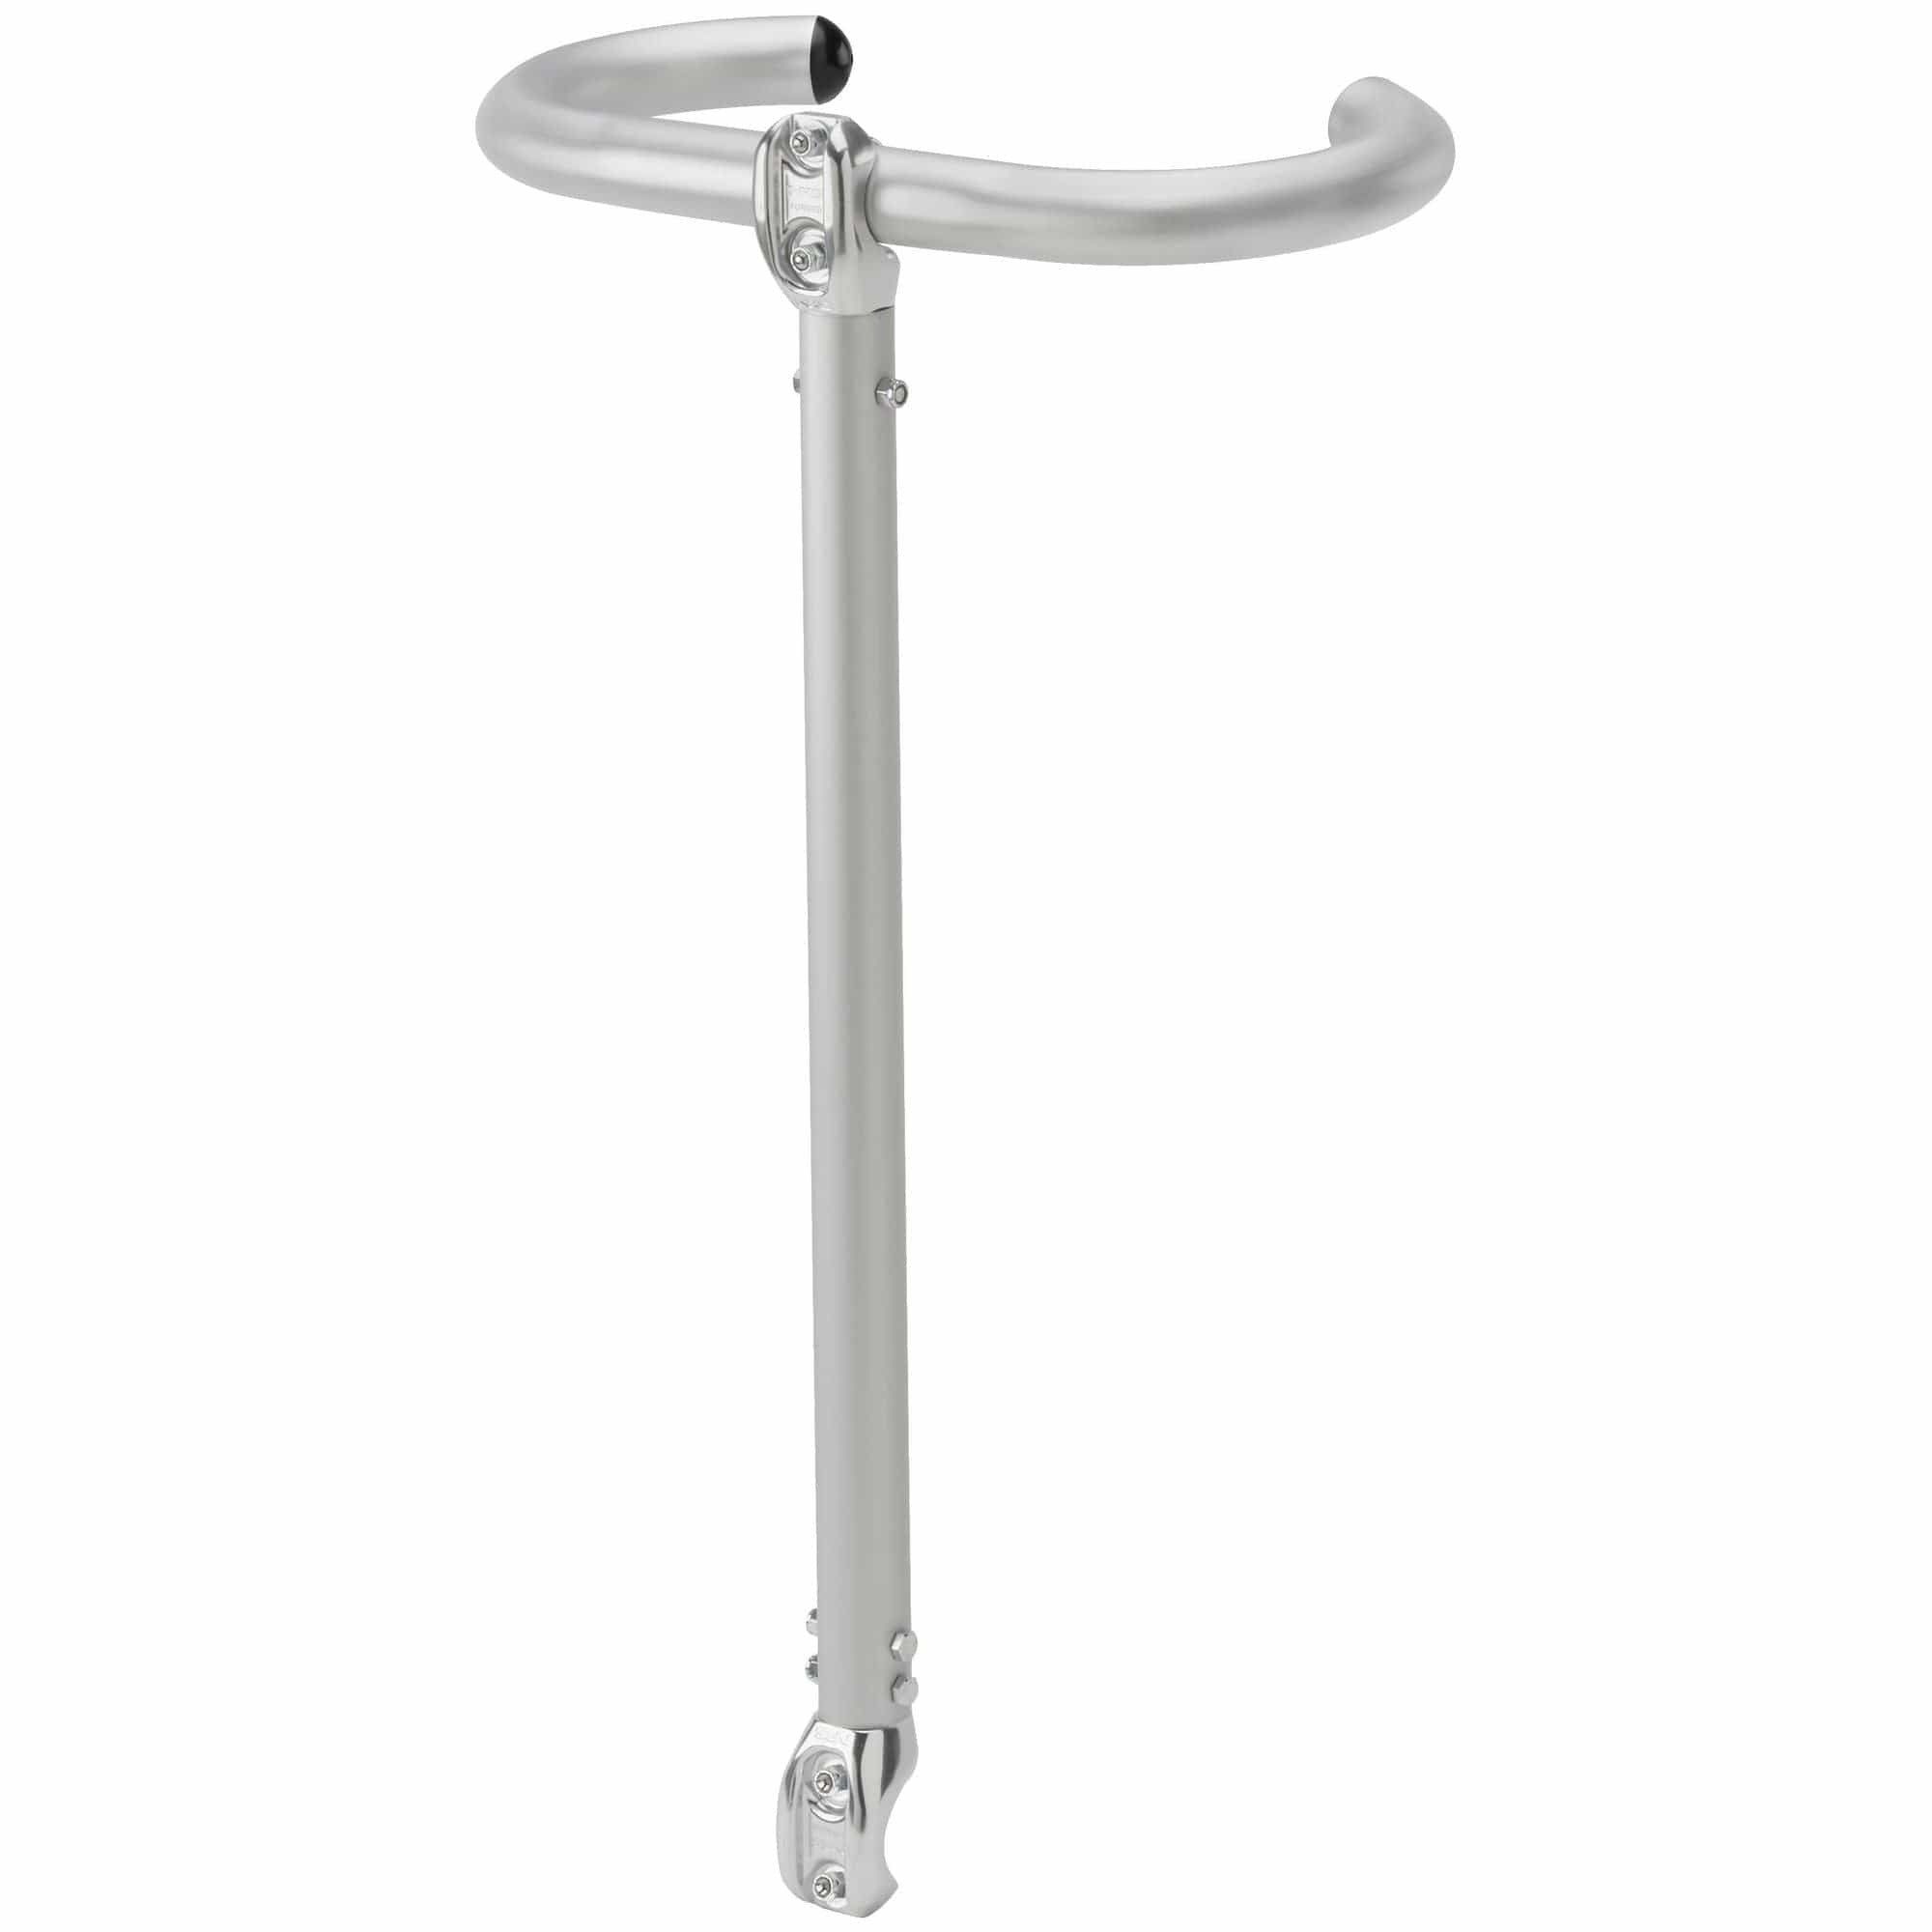
Get Your Raft Ready to Take You Fishing
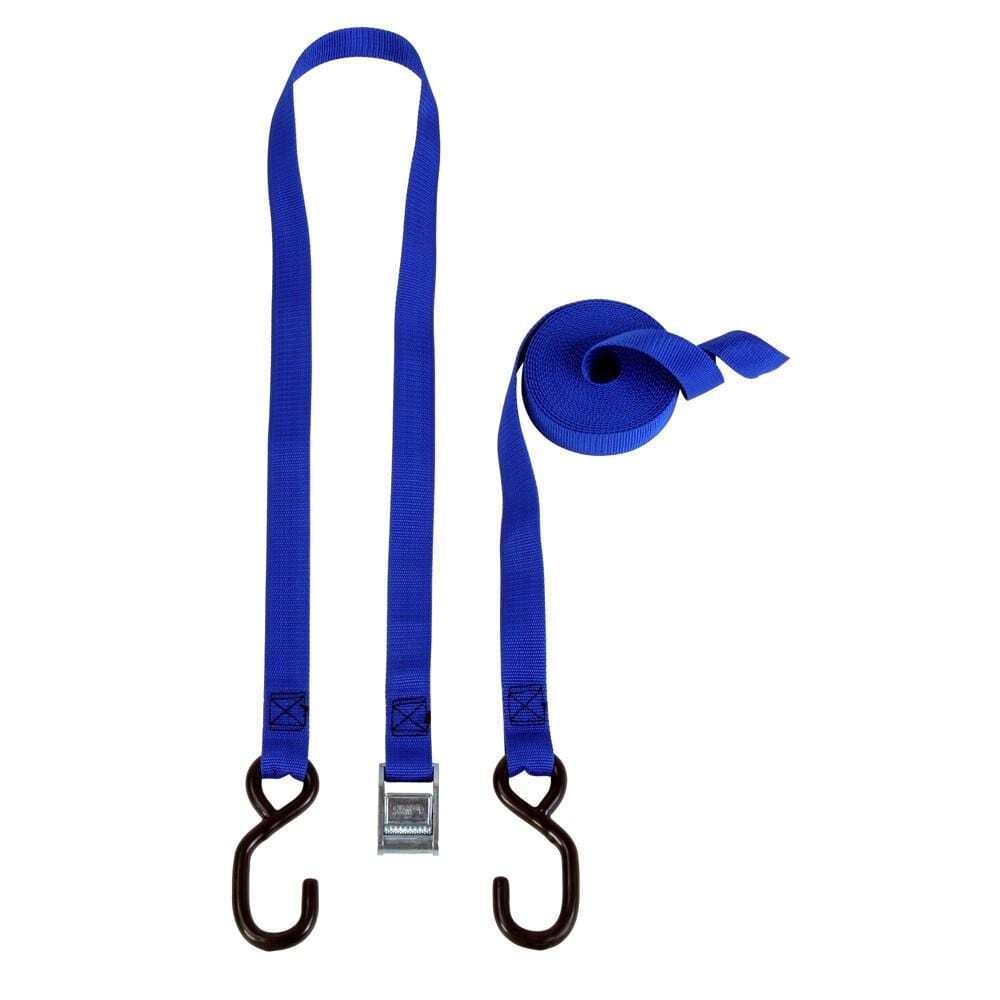
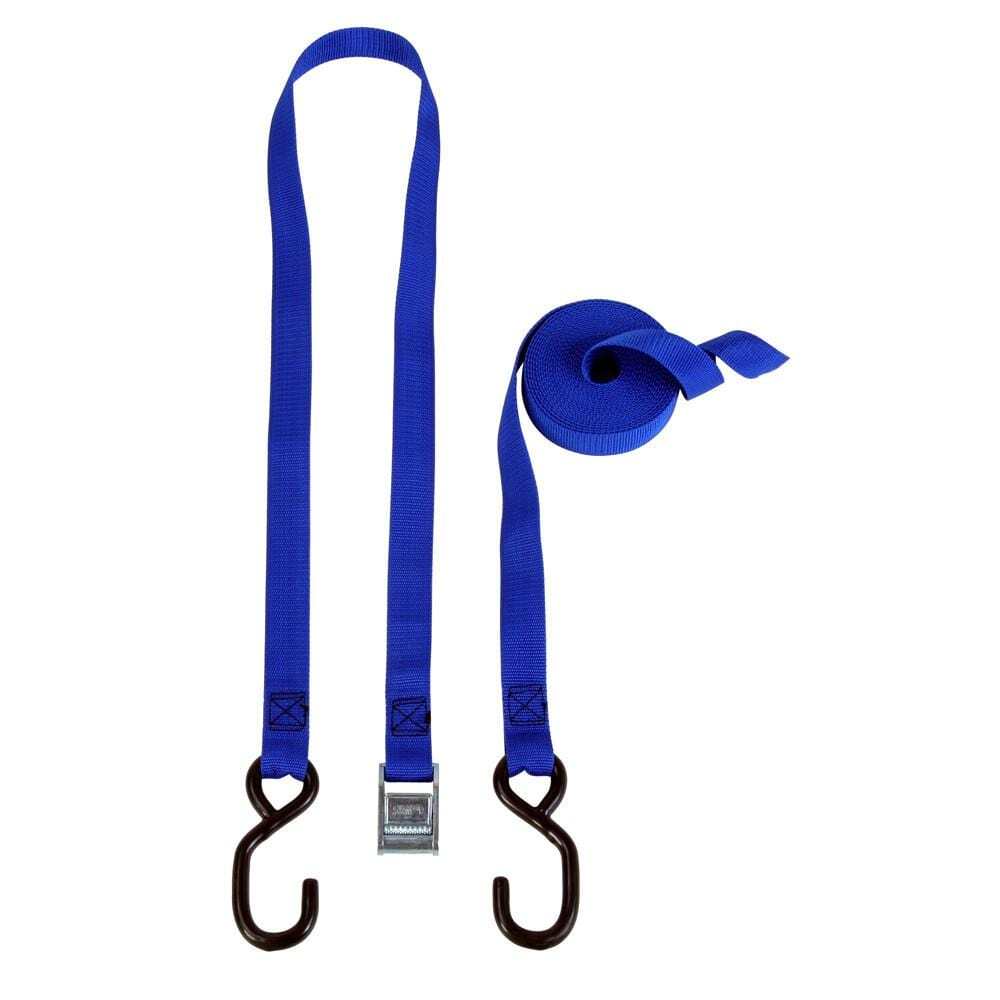
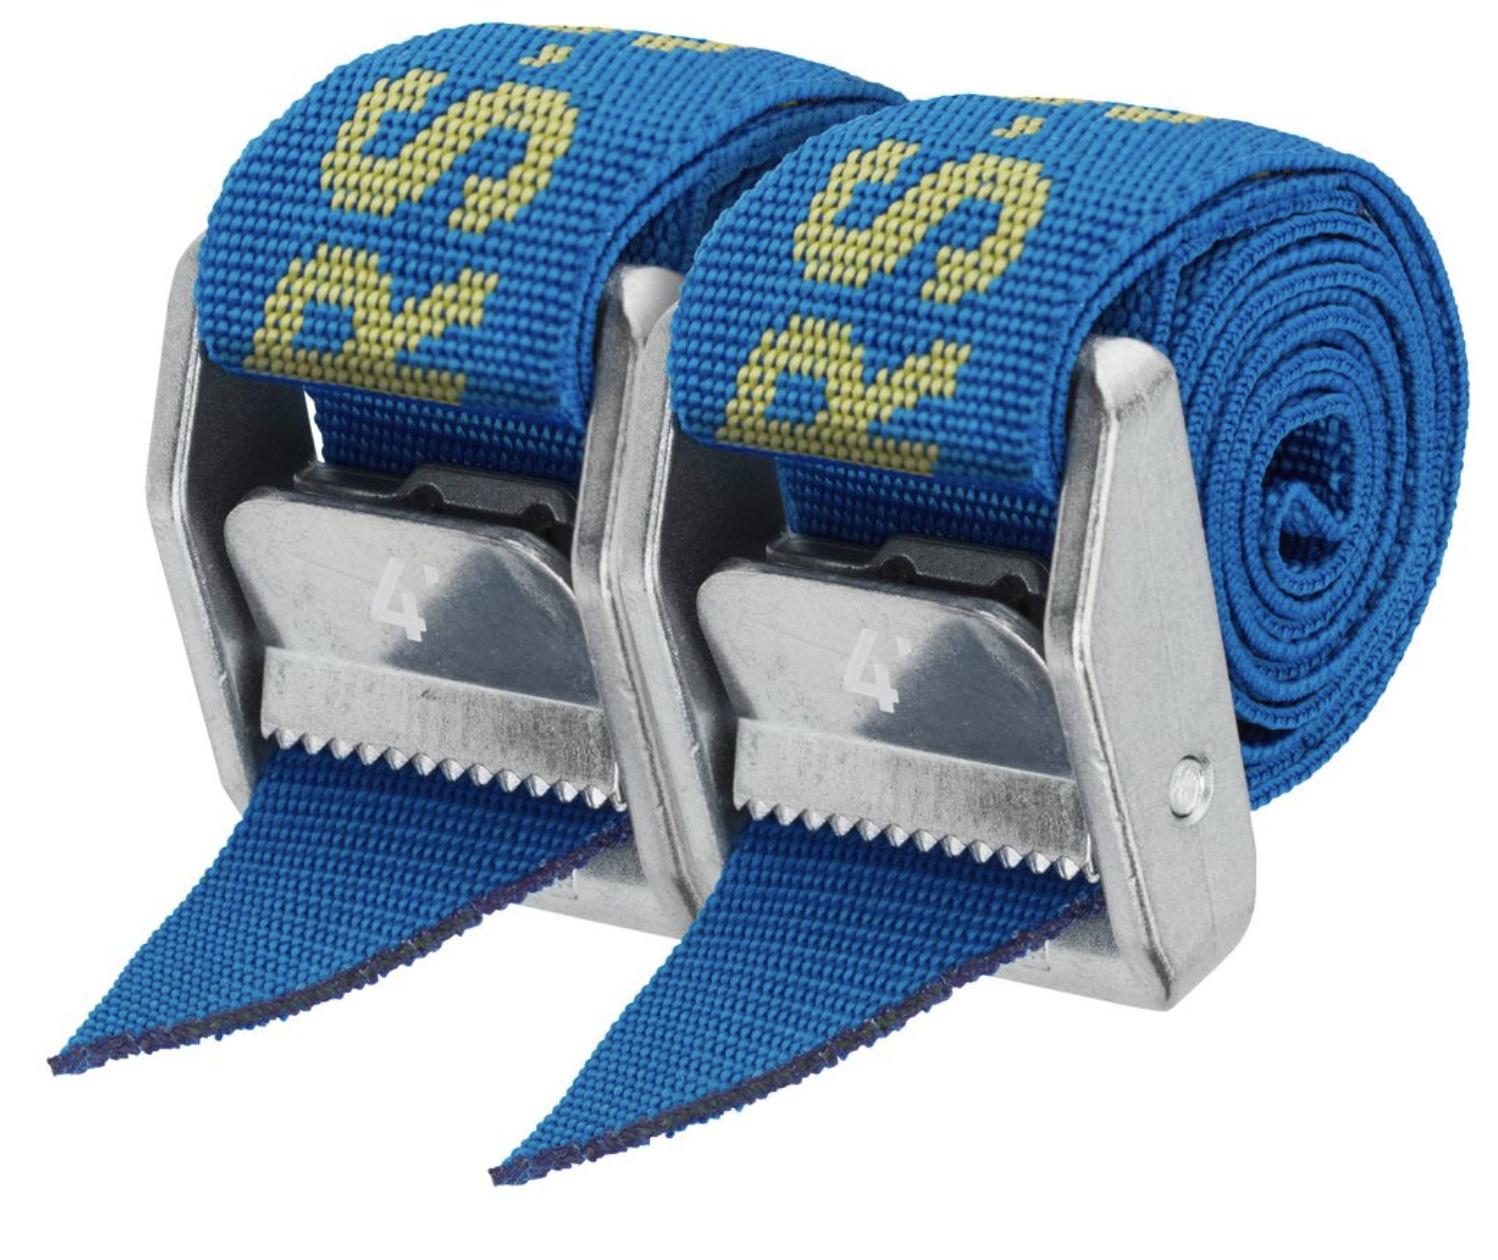
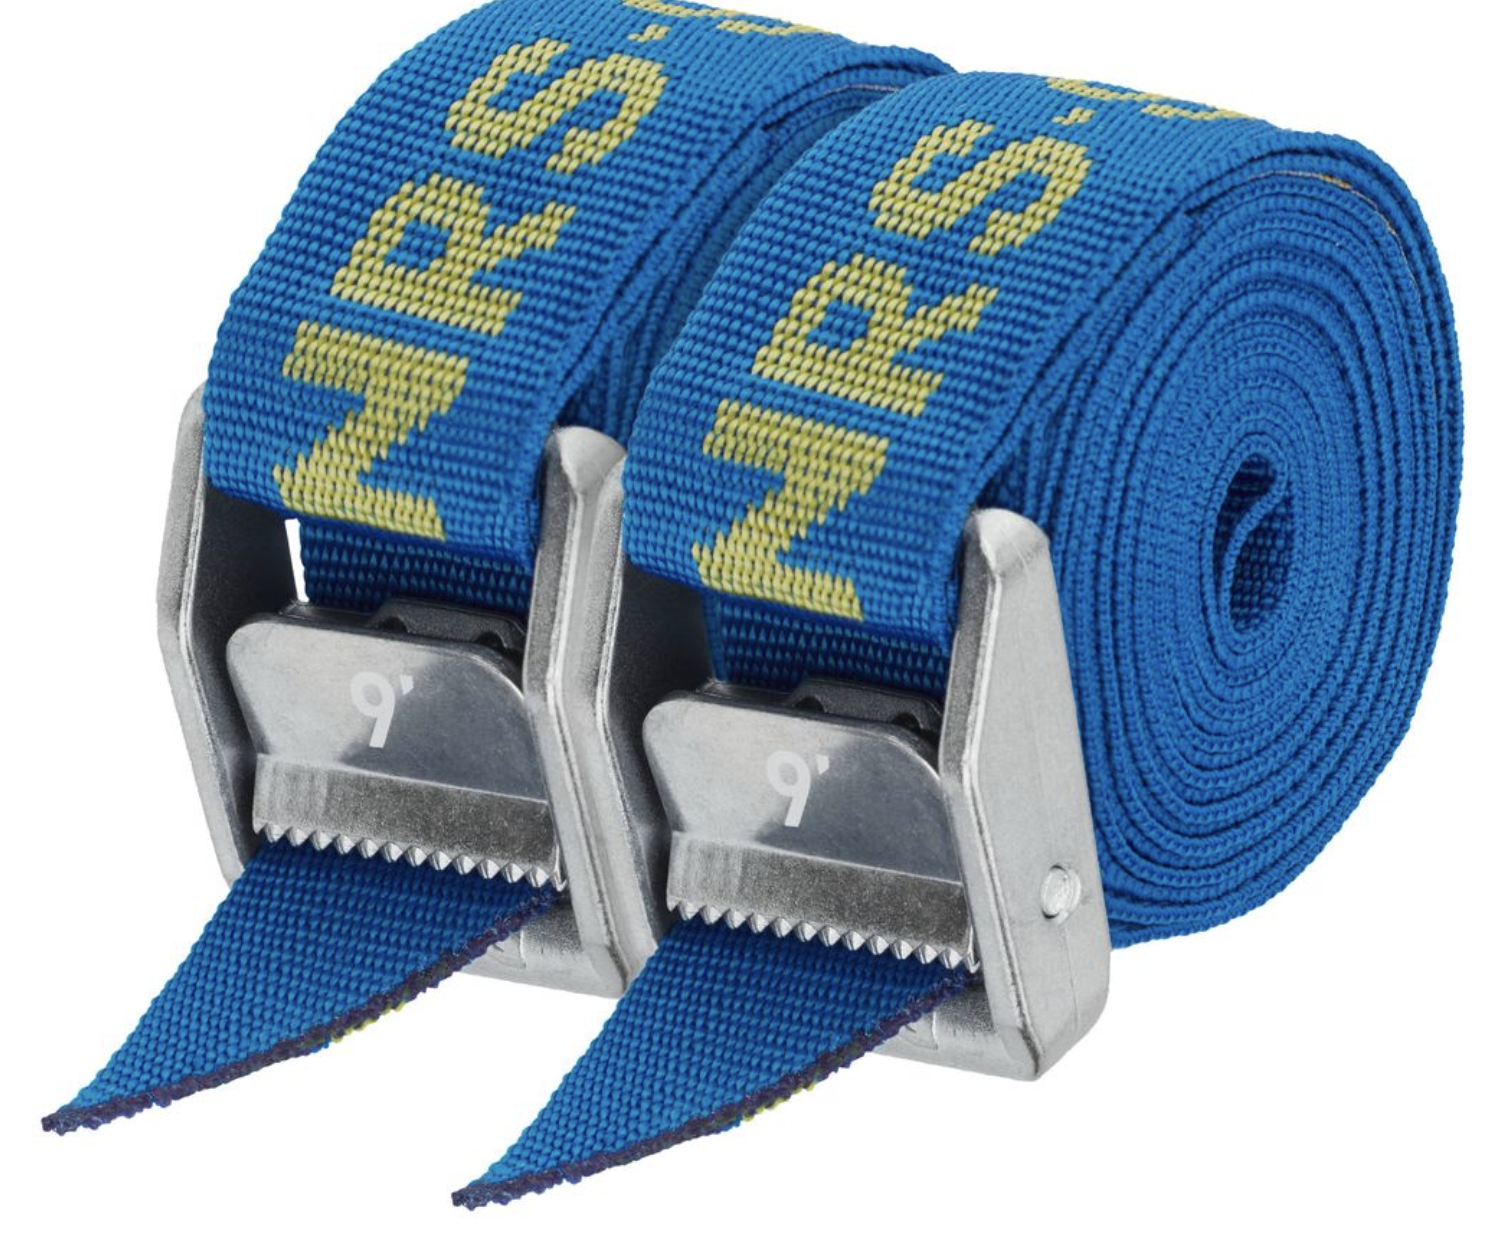
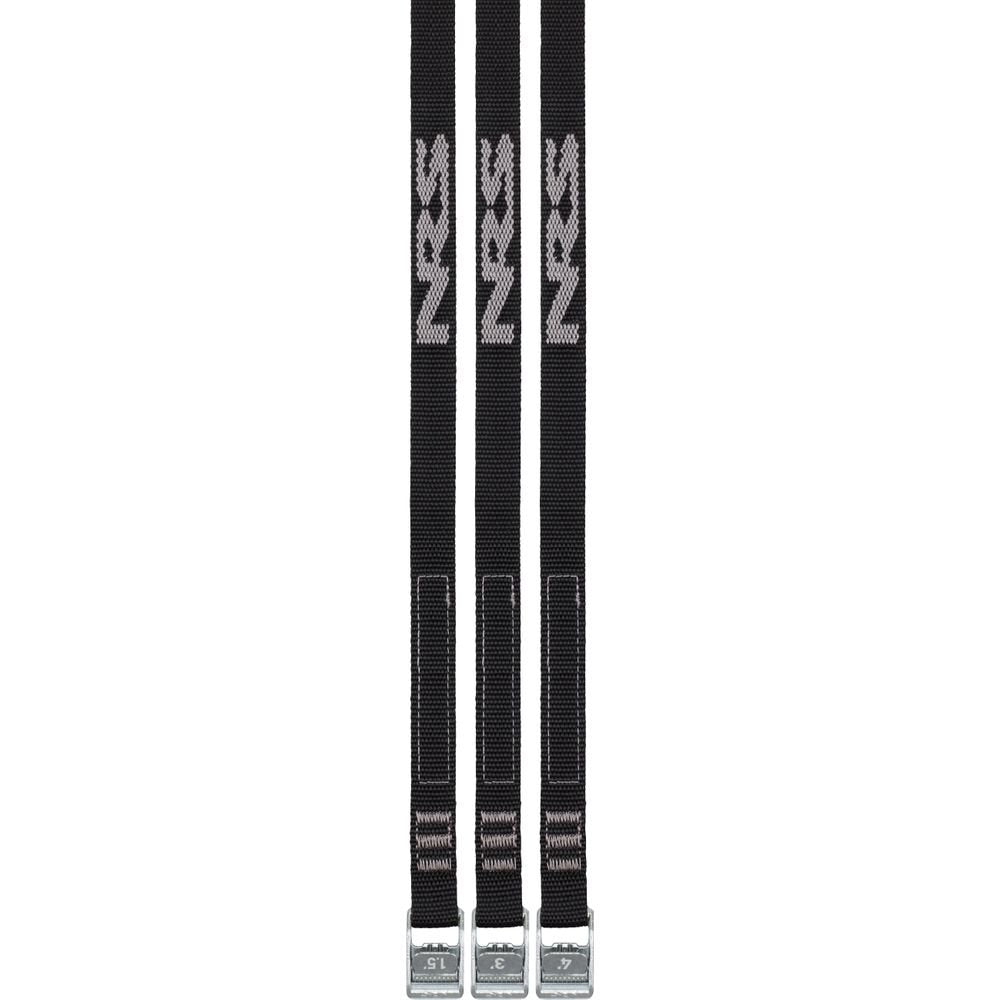
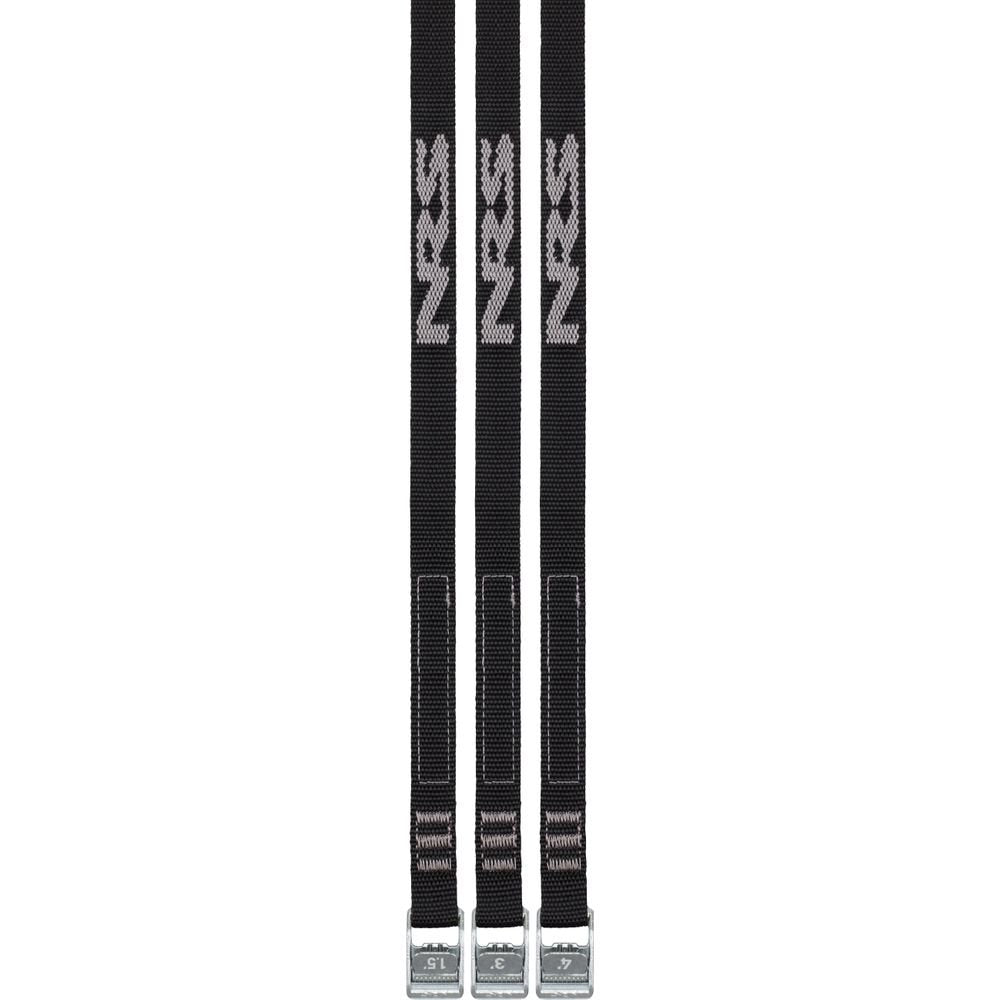
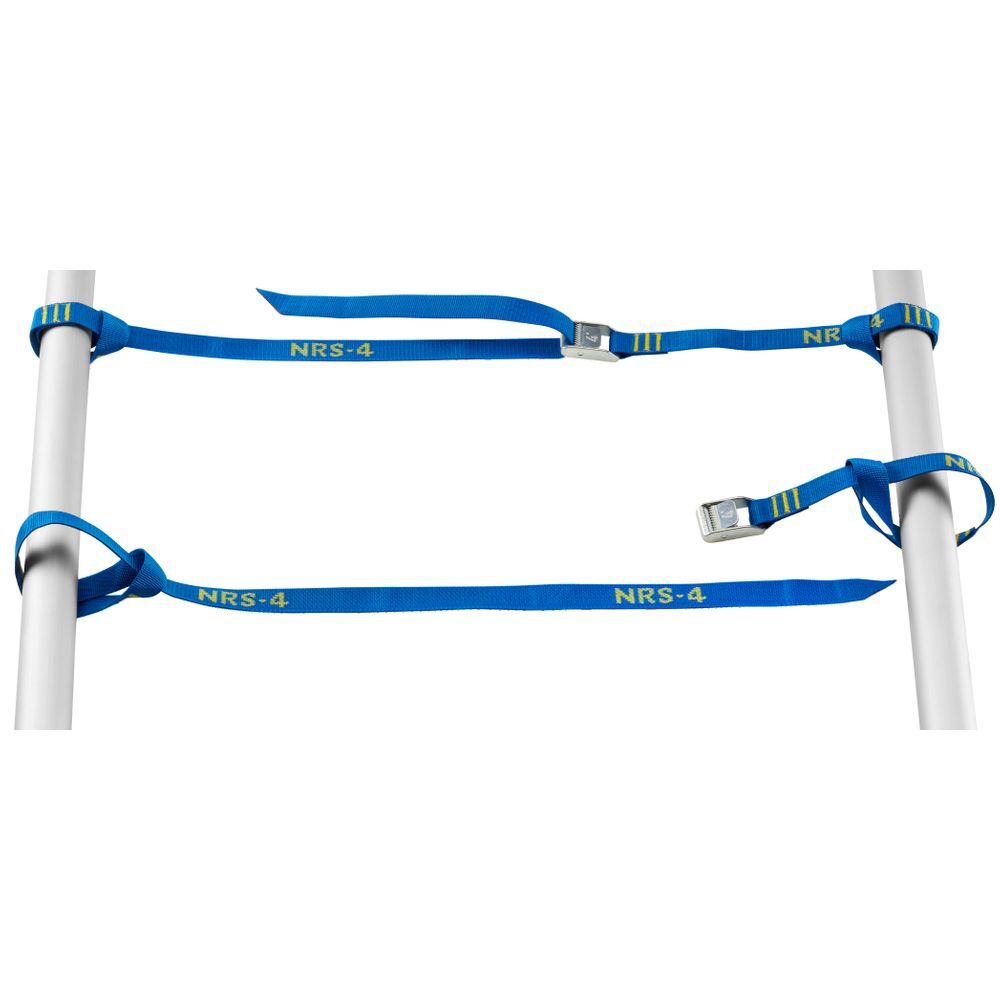
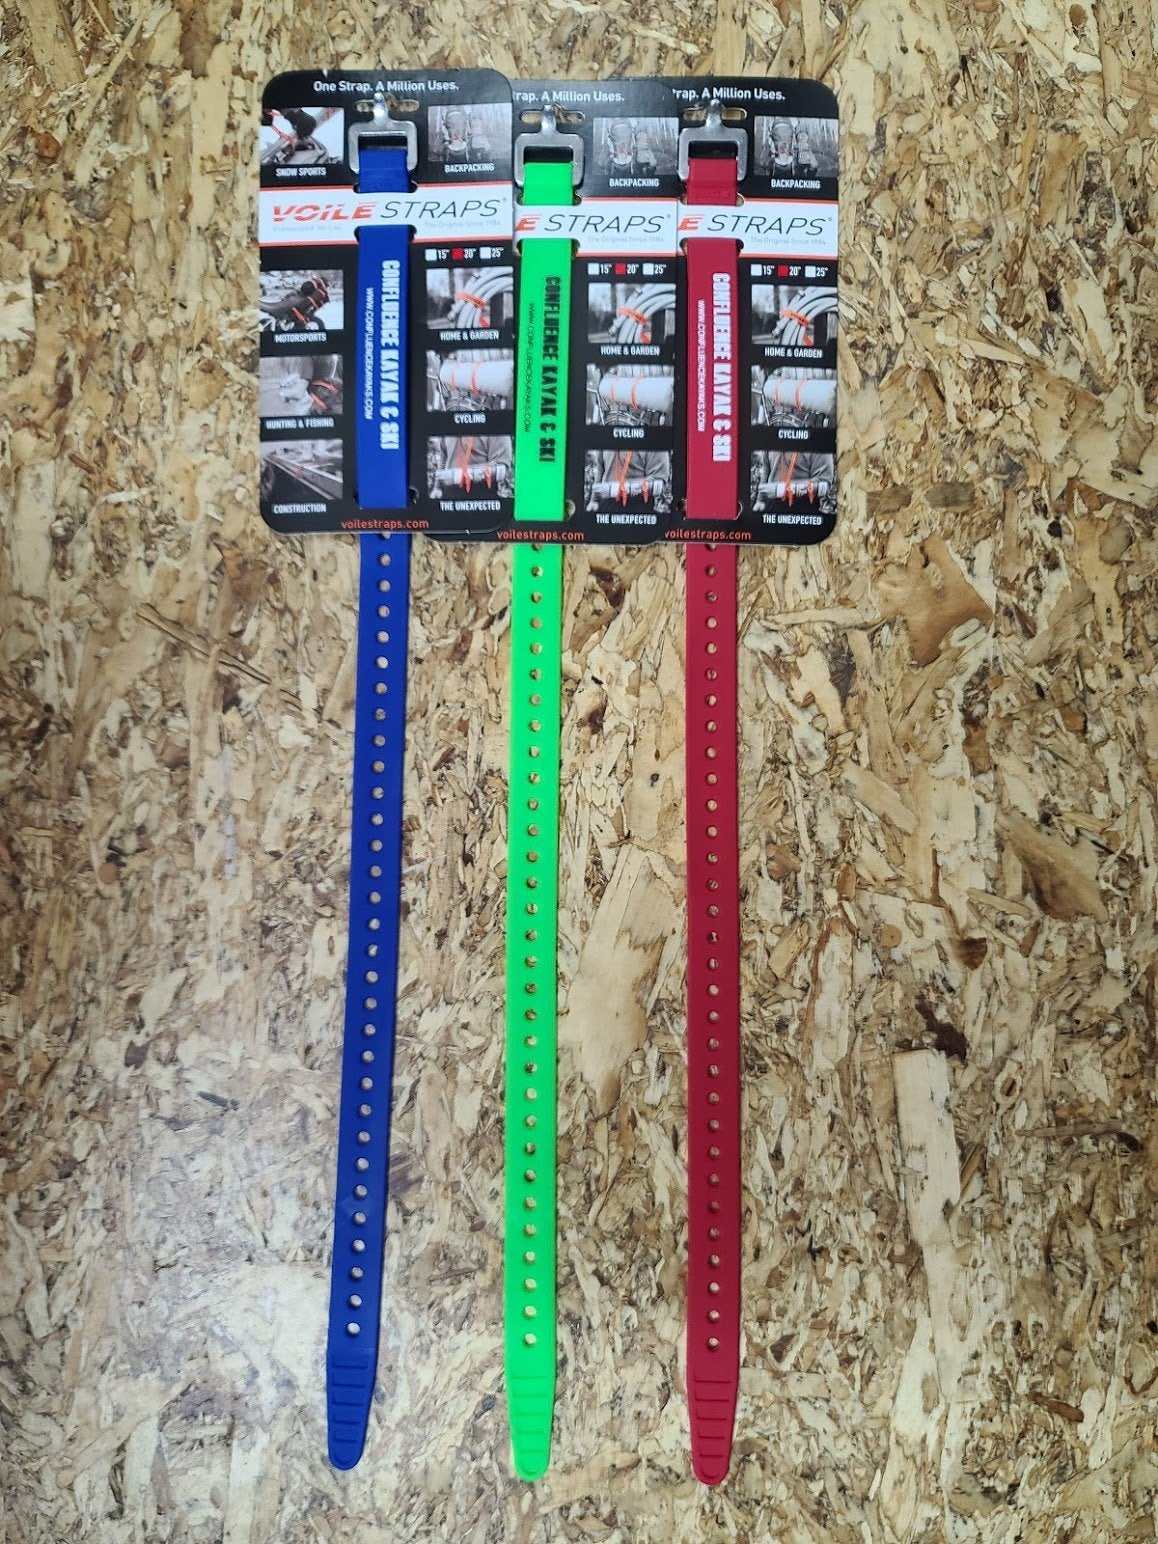
You Are Going to Need WAY More Straps Than You Think!
See You On the River
If you made it this far, we hope you now have a dialed-in rig and are eager to get out there.
Still have questions about getting your raft just right? Our Gear Experts are ready to help!
Contact Us
