We created this CKS Online Raft Frame Builder Guide because frame preference is a personal choice, and we want to give you as many options as possible to outfit your boat without overcomplicating the process. This guide to Building Your Raft Frame should help you make the right choices for you and your boat.
The three parts to building your raft frame are
|
 |
 |
 |
 |
| 1. Frame Base | 2. Oar Mount/Lock | 3. Seating |
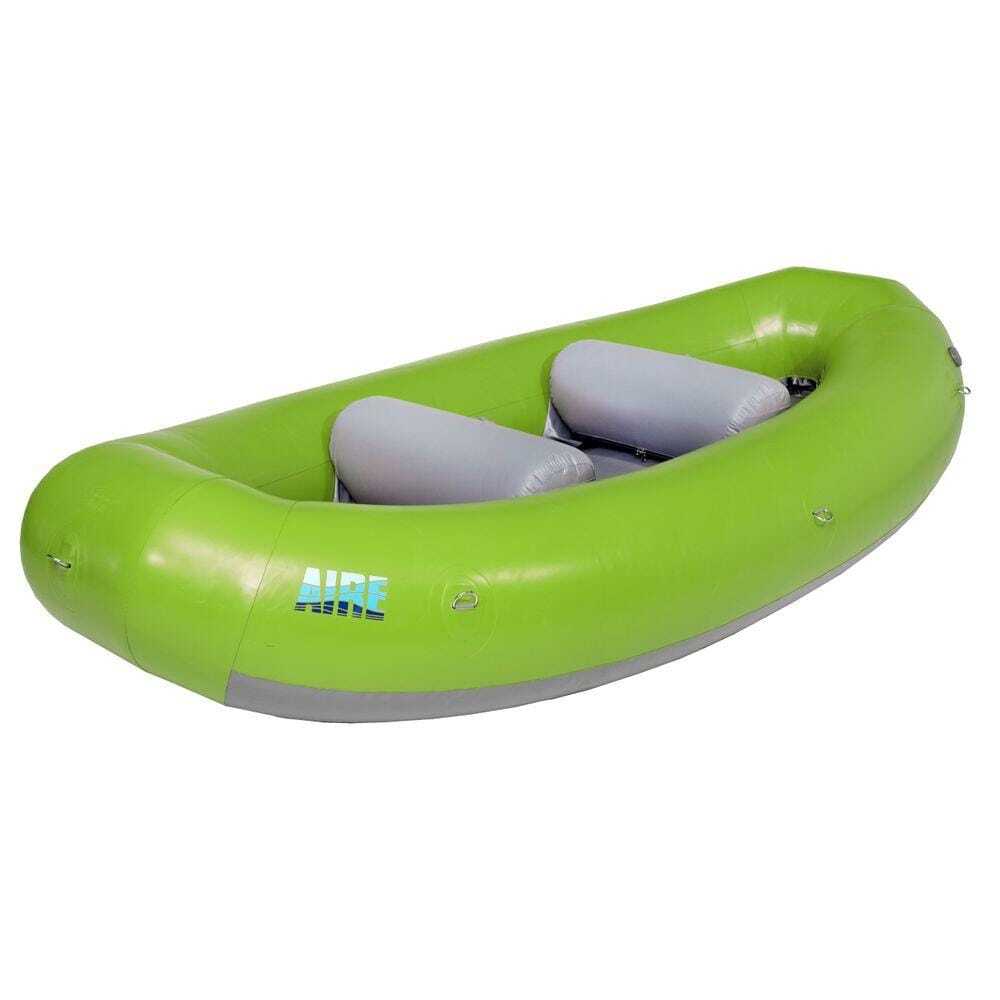
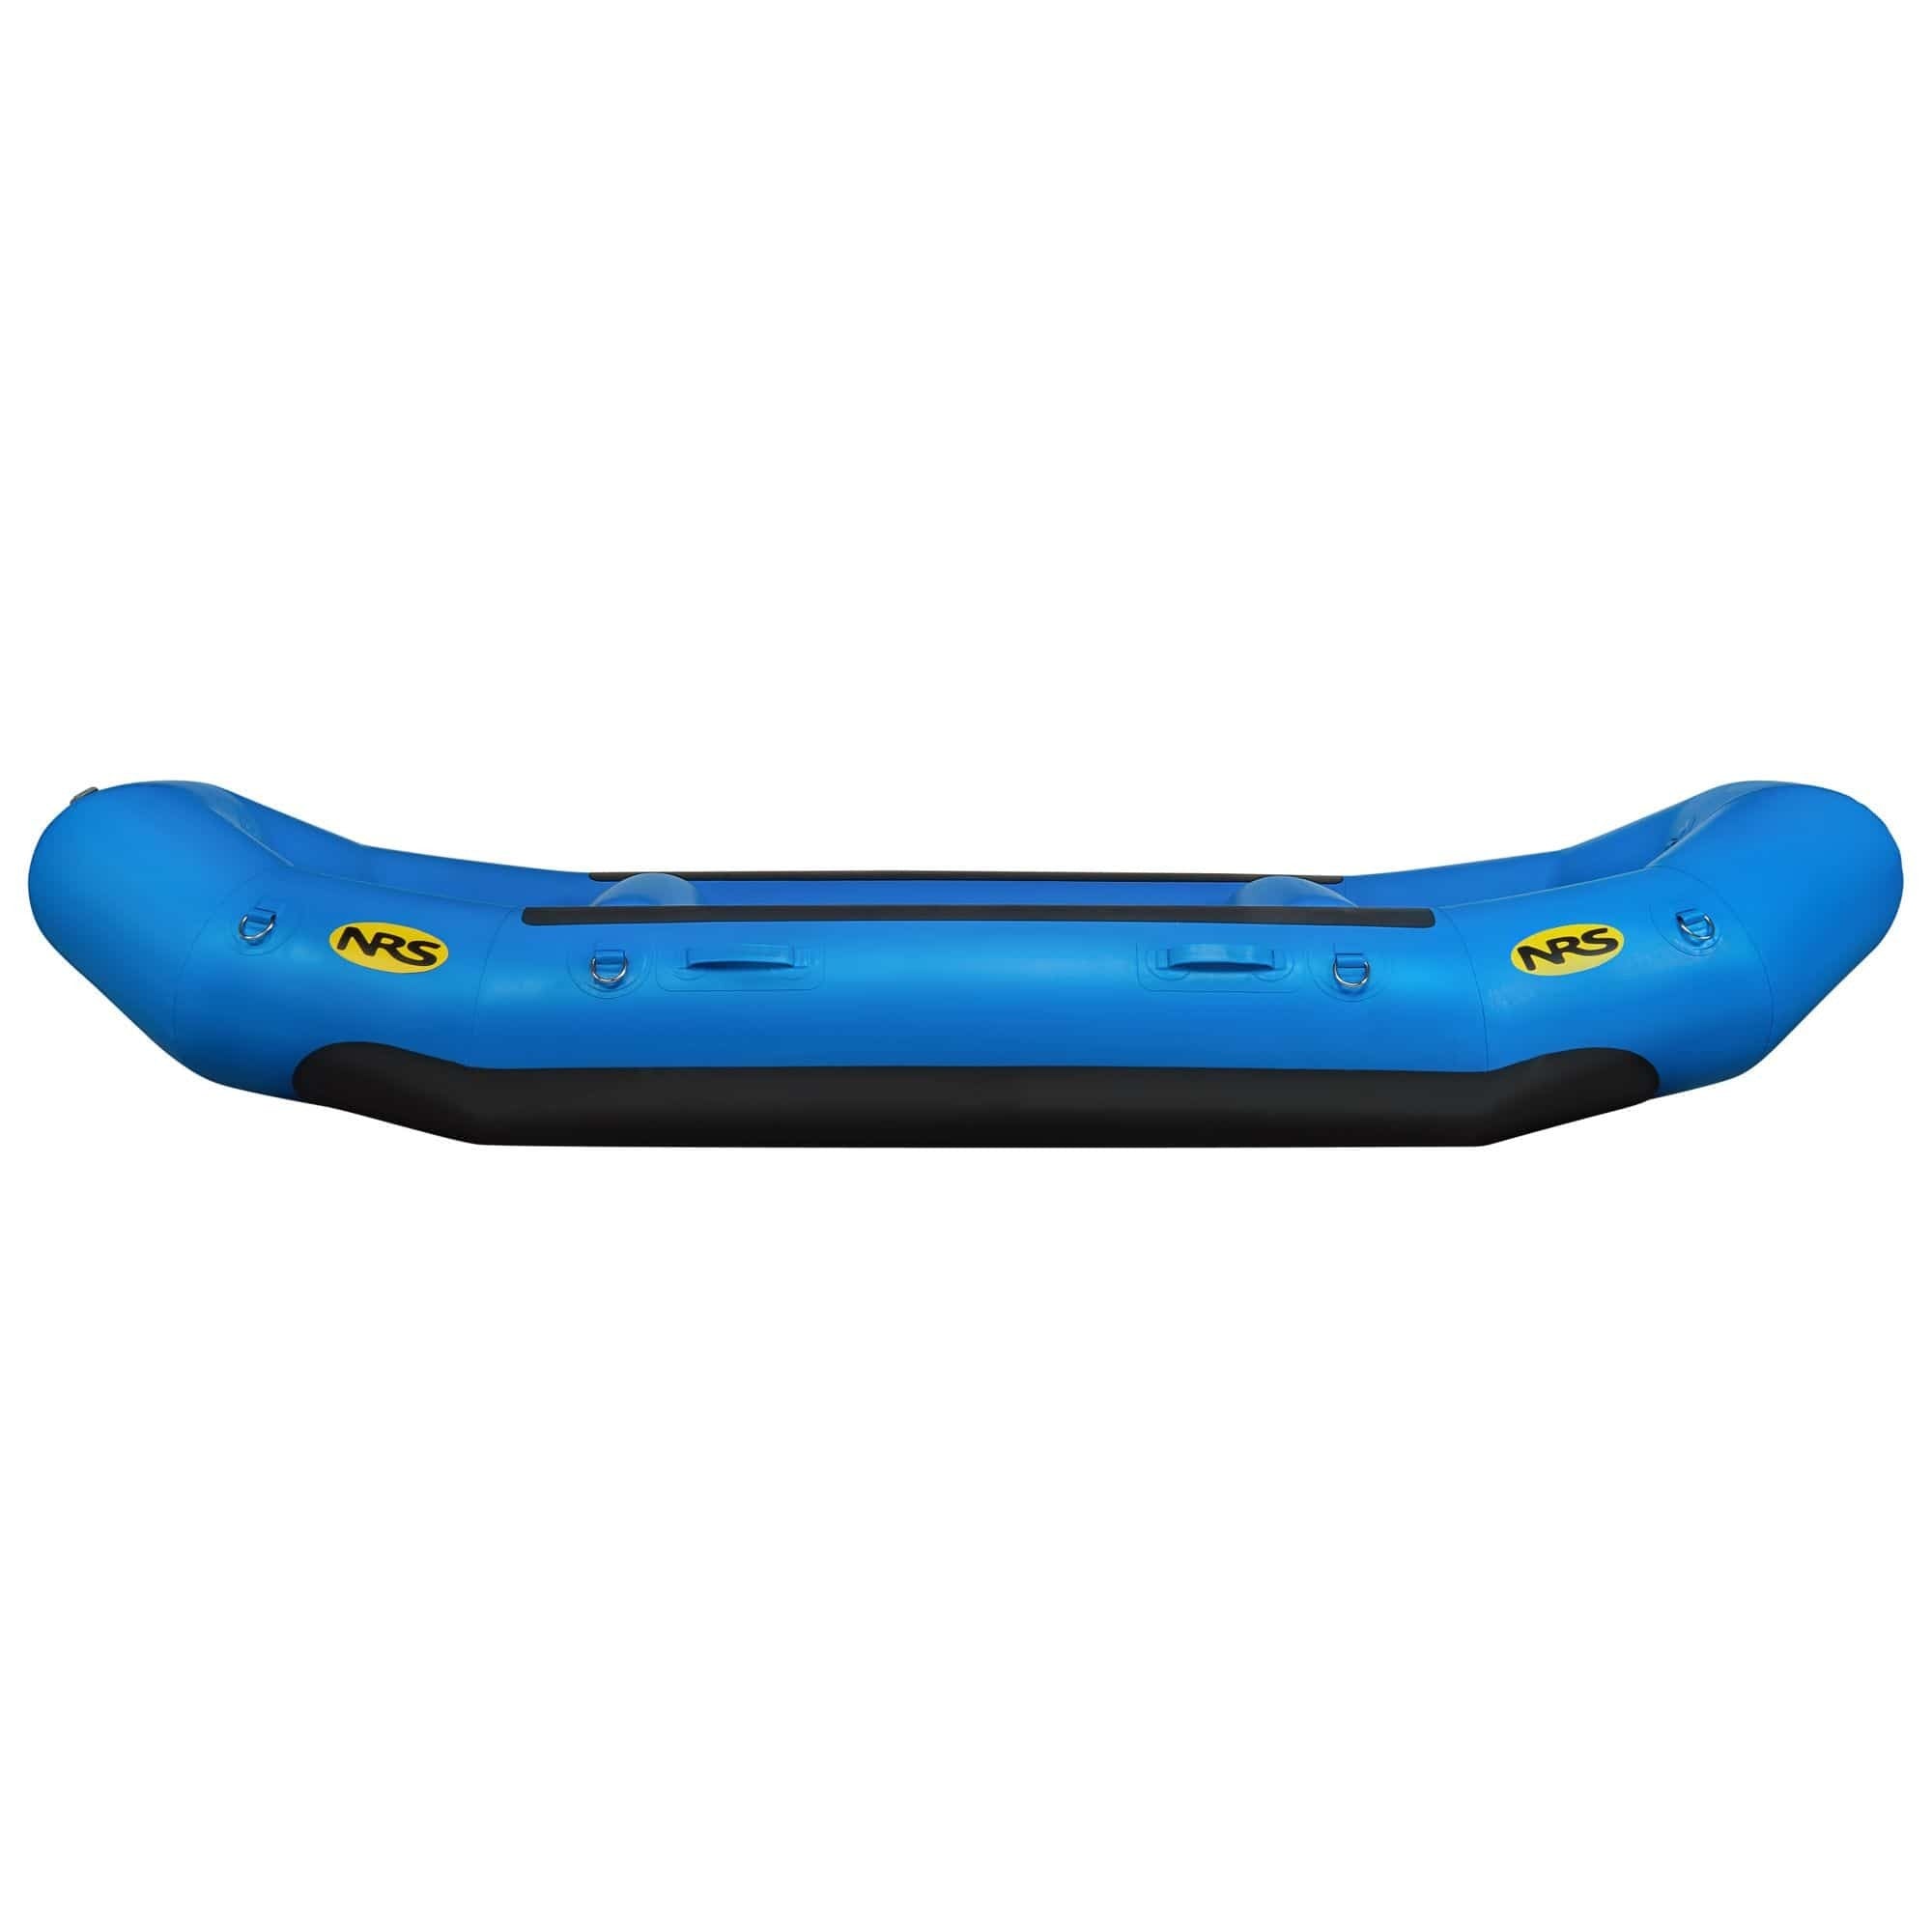
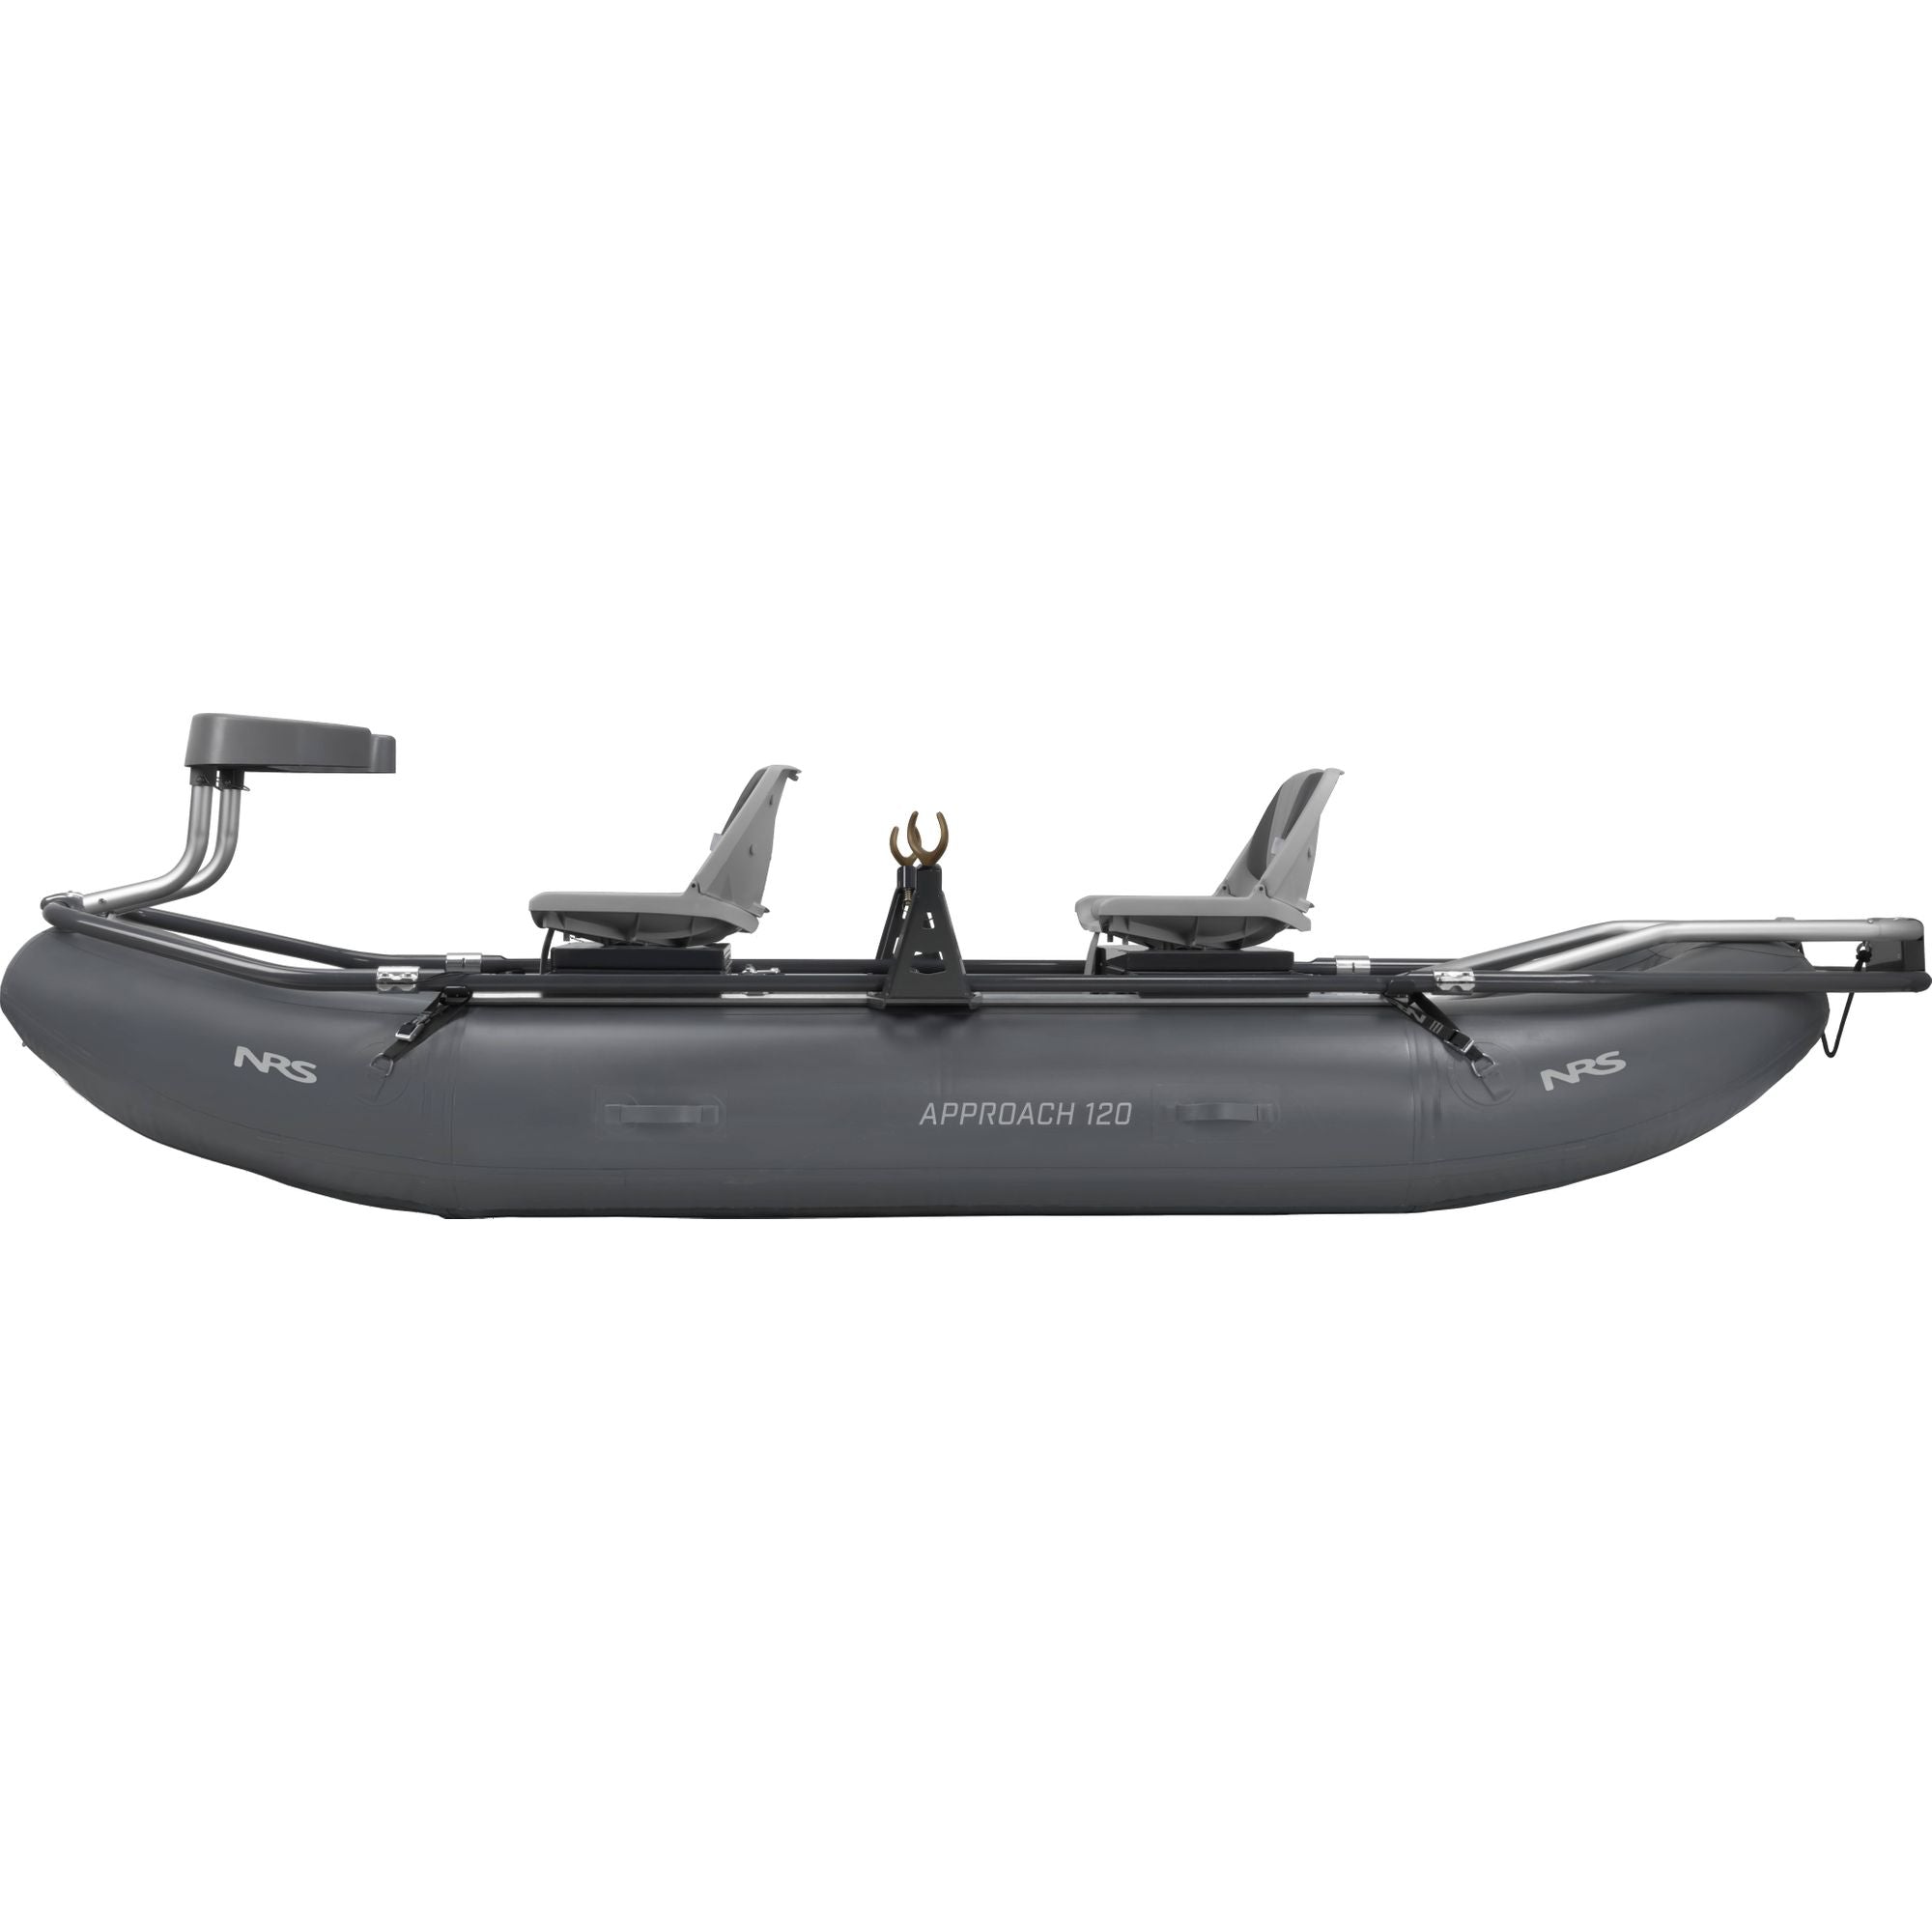
Step 1: A Frame Base that Fits Your Raft
To make things easier, we’ve done the hard work of sizing raft frame bases for maximum storage space and functionality for your boat.
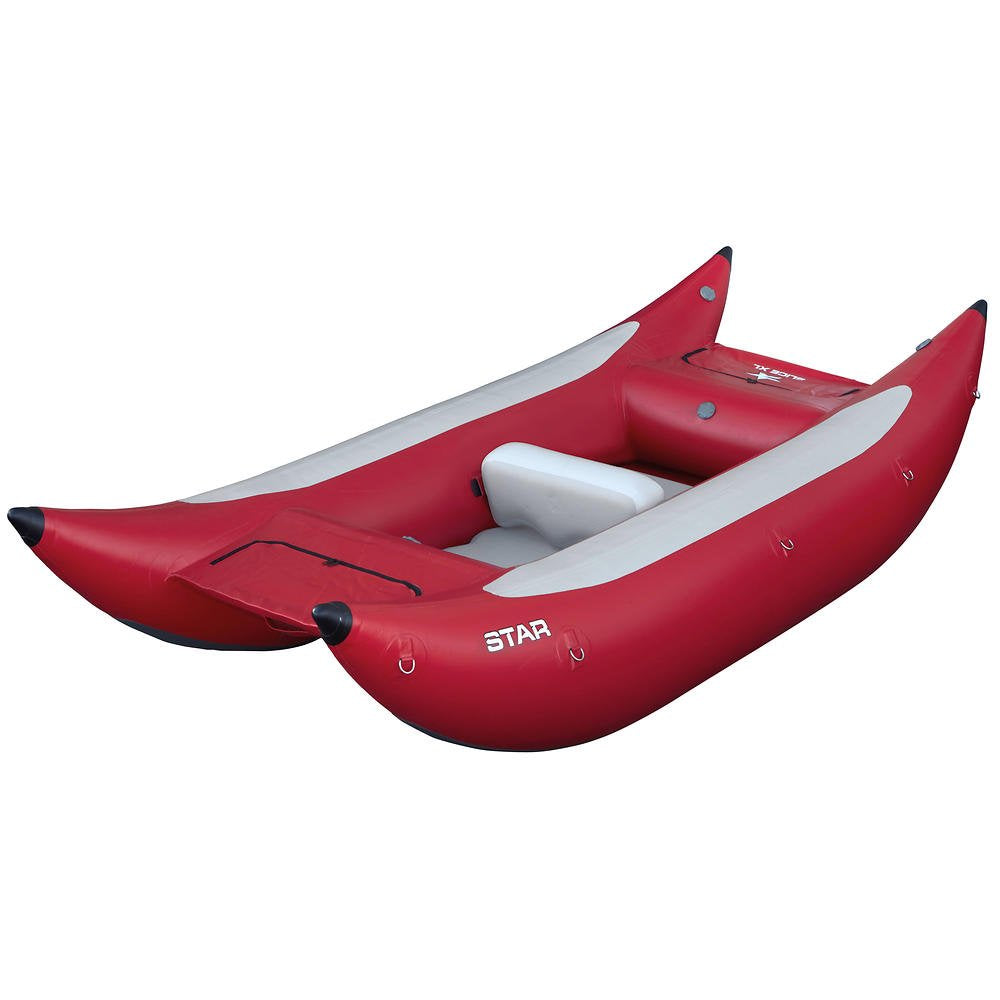
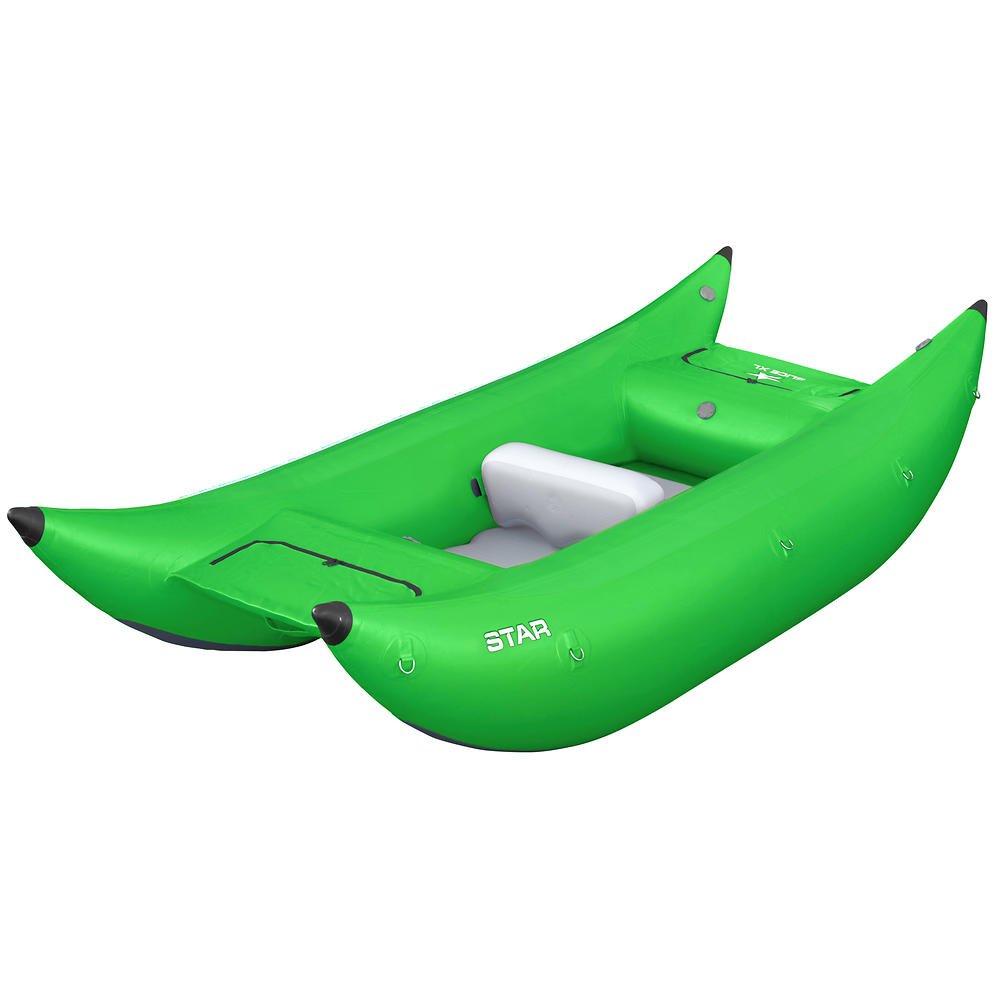
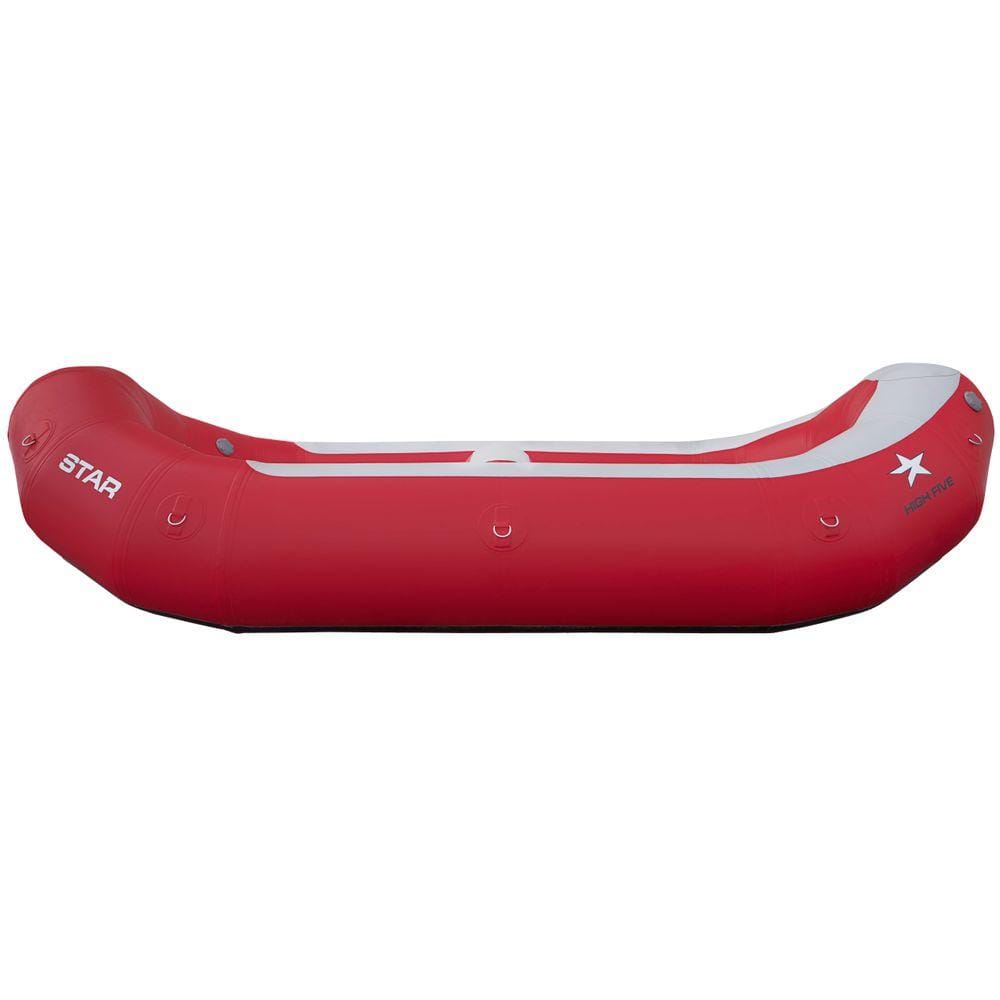
All CKS Raft Frame Bases are named after the boat they best fit. For example, if you have a Star Outlaw 130, you need the CKS frame base called CKS Raft Frame Base - Outlaw 130. CKS Raft Frame Bases are made using NRS frame parts. We like NRS’ pieces because they are modular, allowing you to add or remove pieces to customize your frame as you see fit.
A CKS Raft Frame Base allows your frame to change as your rowing style changes, preventing you from outgrowing your frame or ever having to completely replace it. Using the same key pieces, you can modify your frame to be ideal for a mellow class II fishing trip or for use on class IV-V rapids.
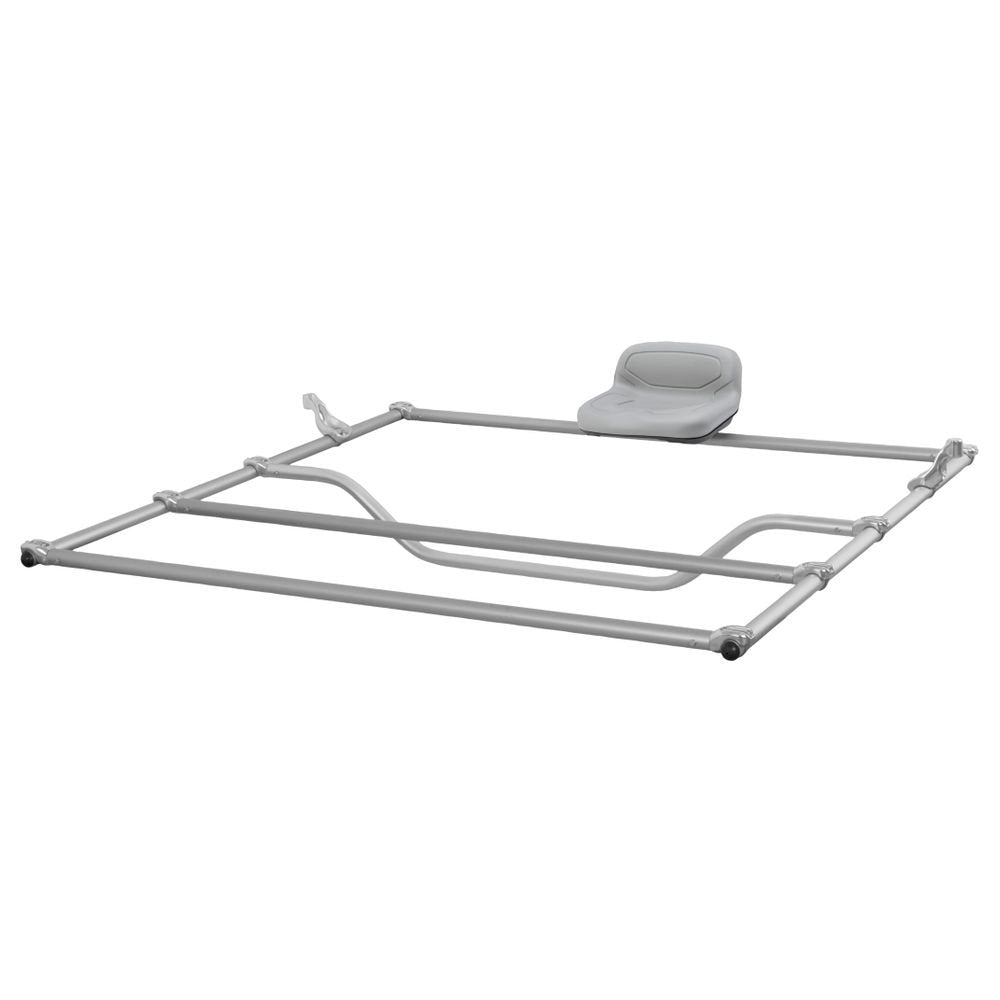
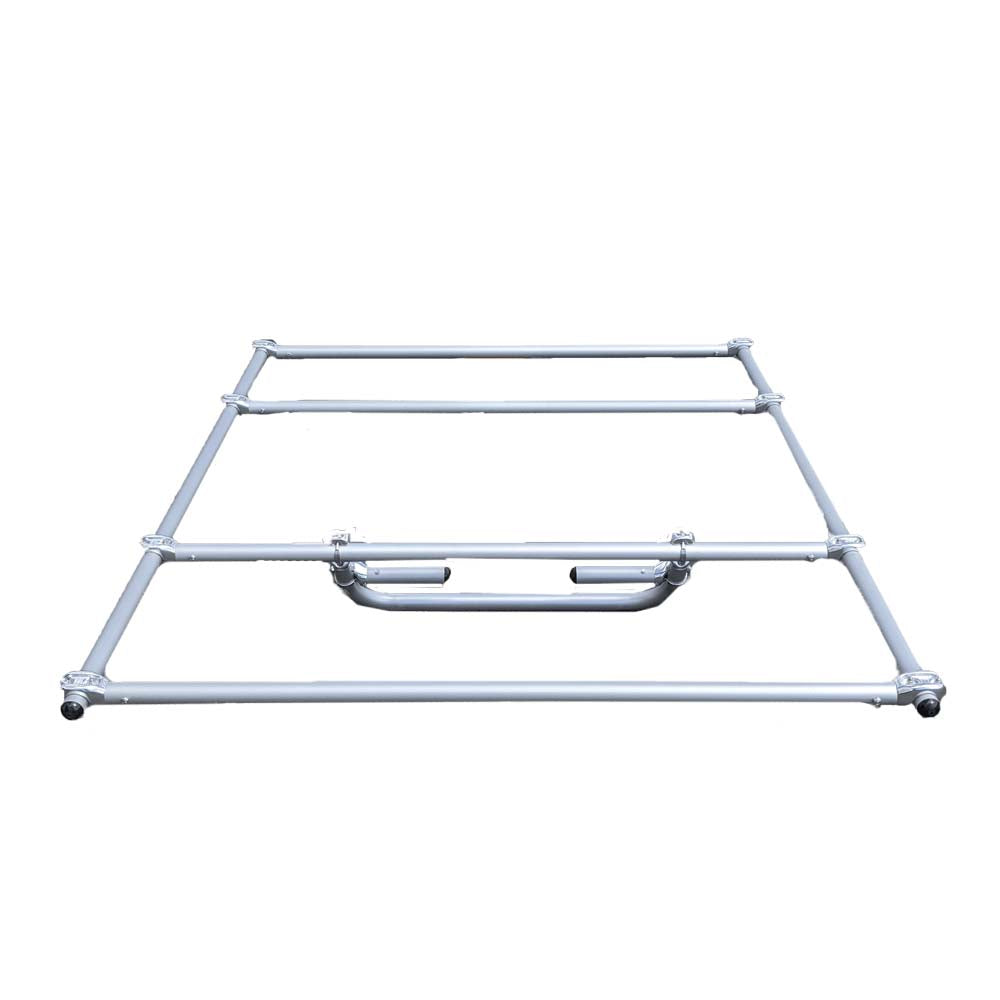
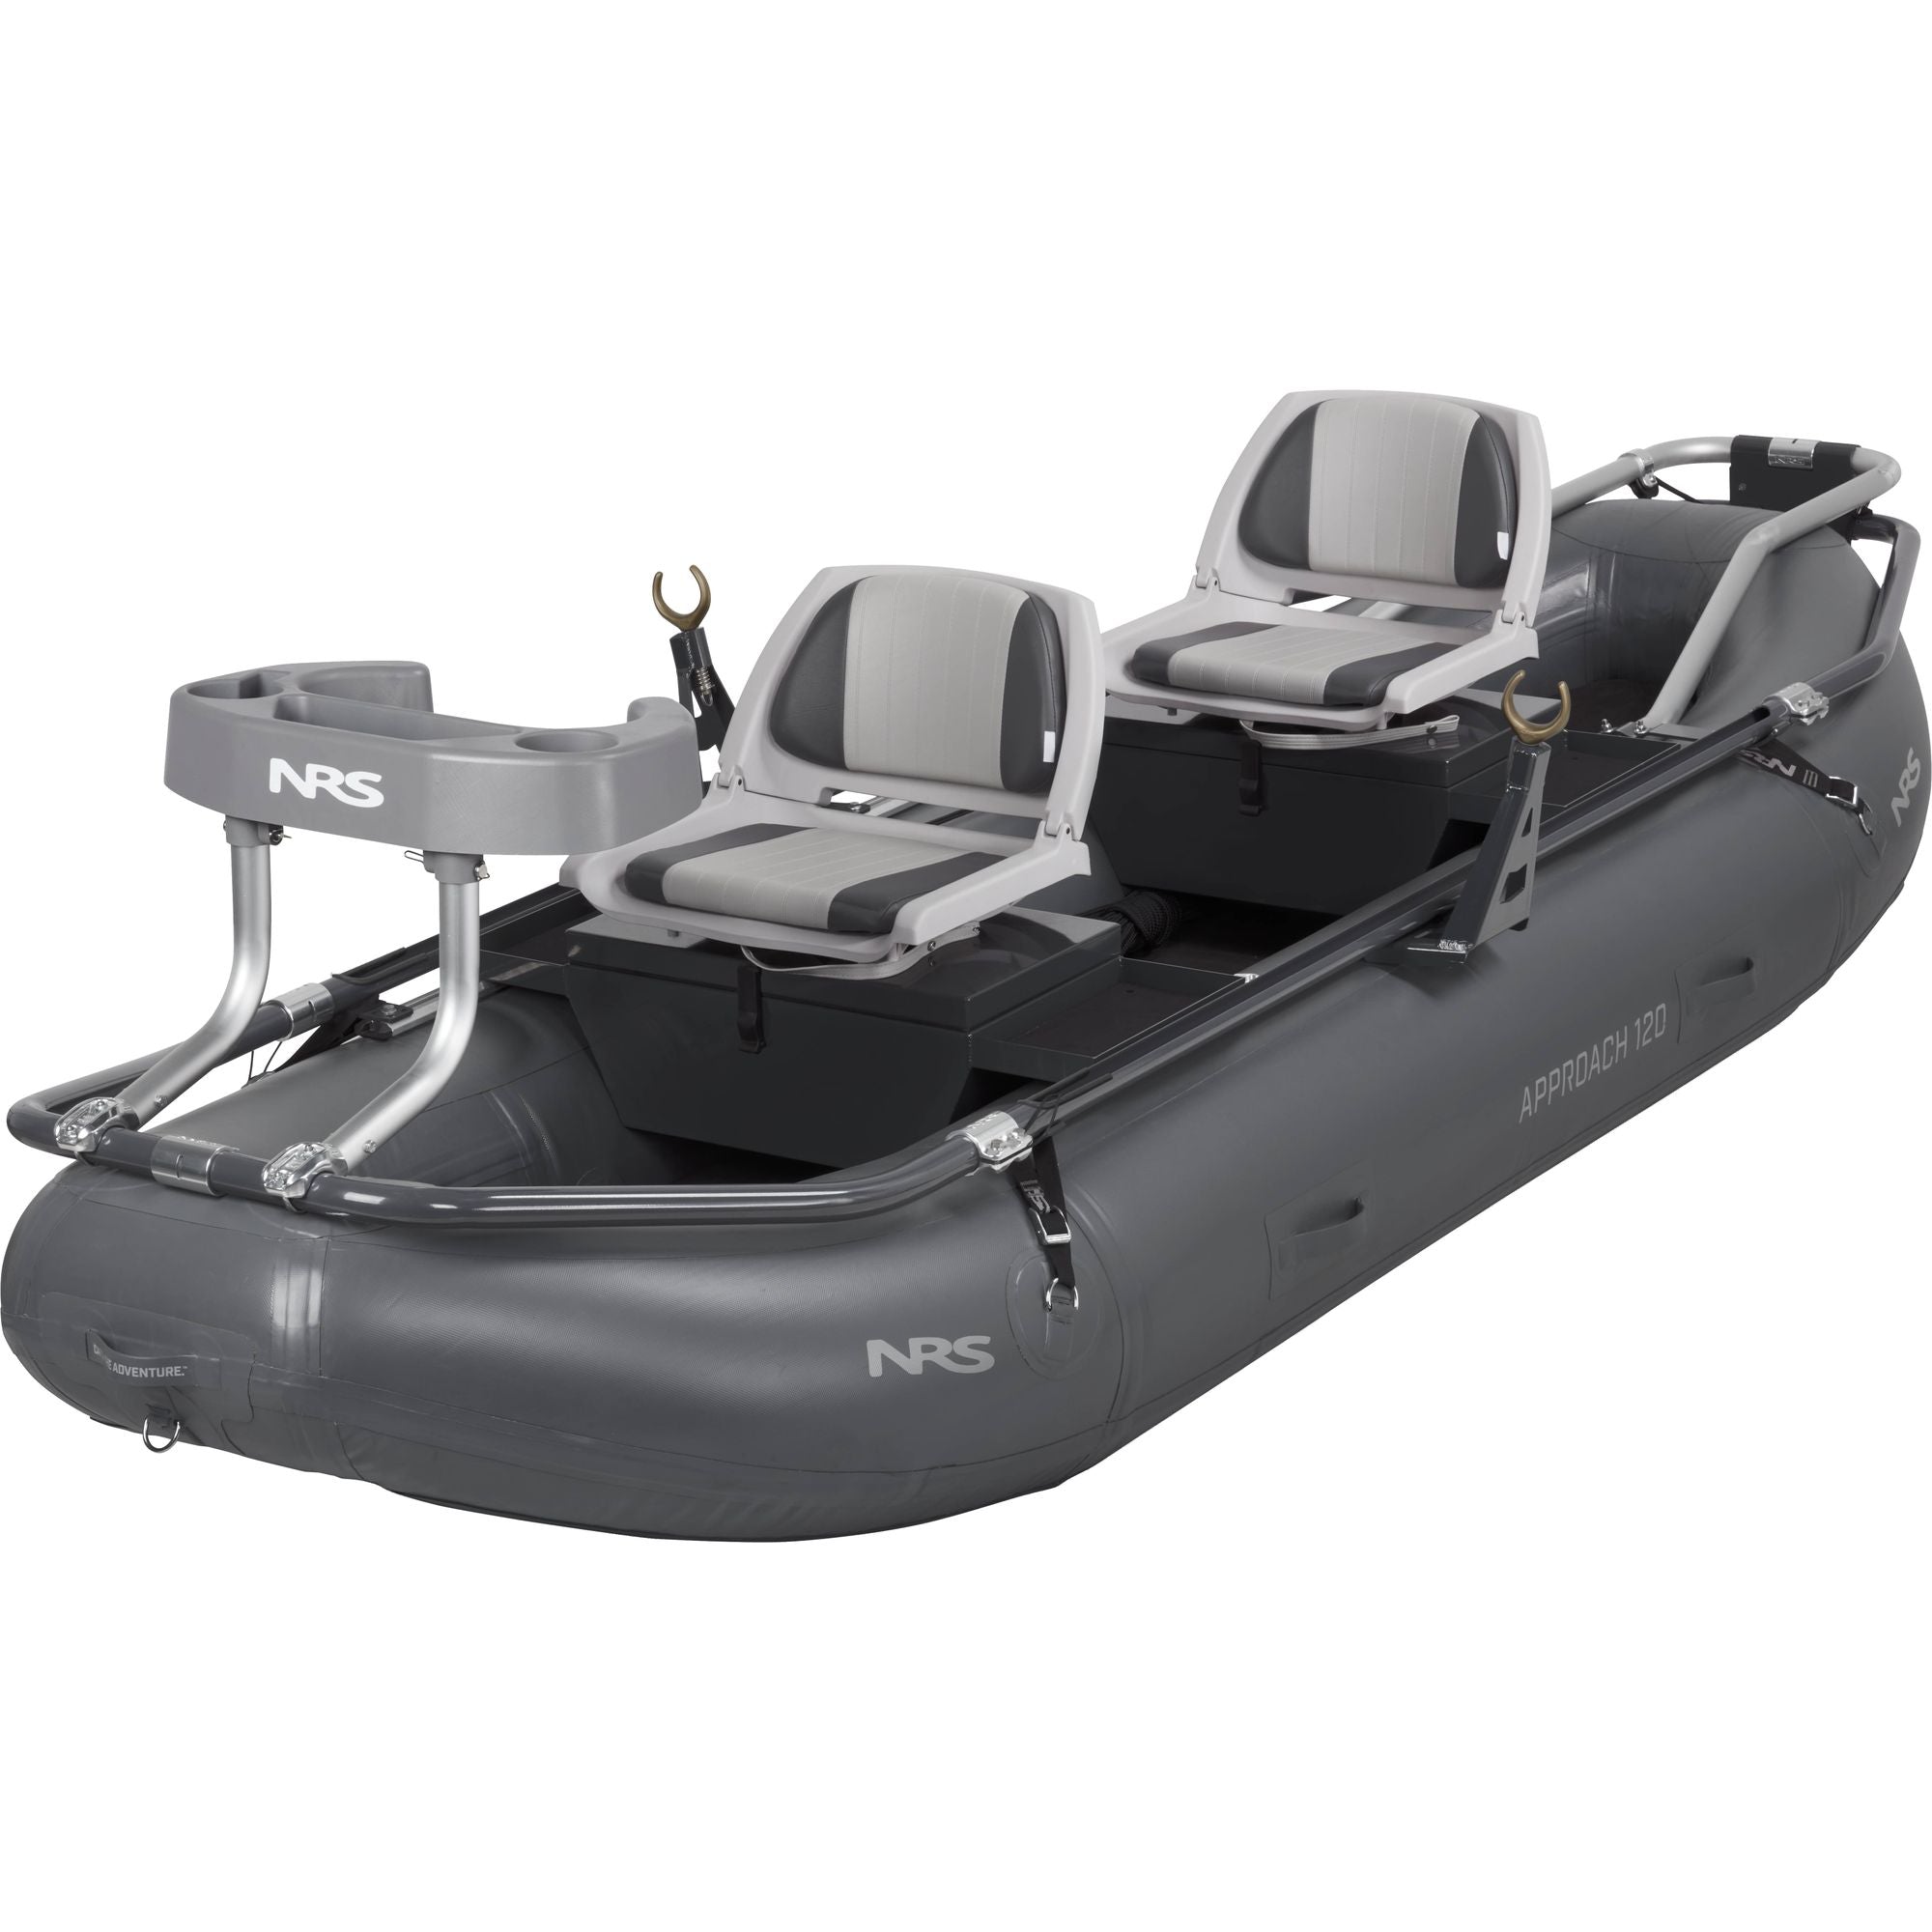
CKS Online Raft Frame Bases Consist of Four Parts
|
|
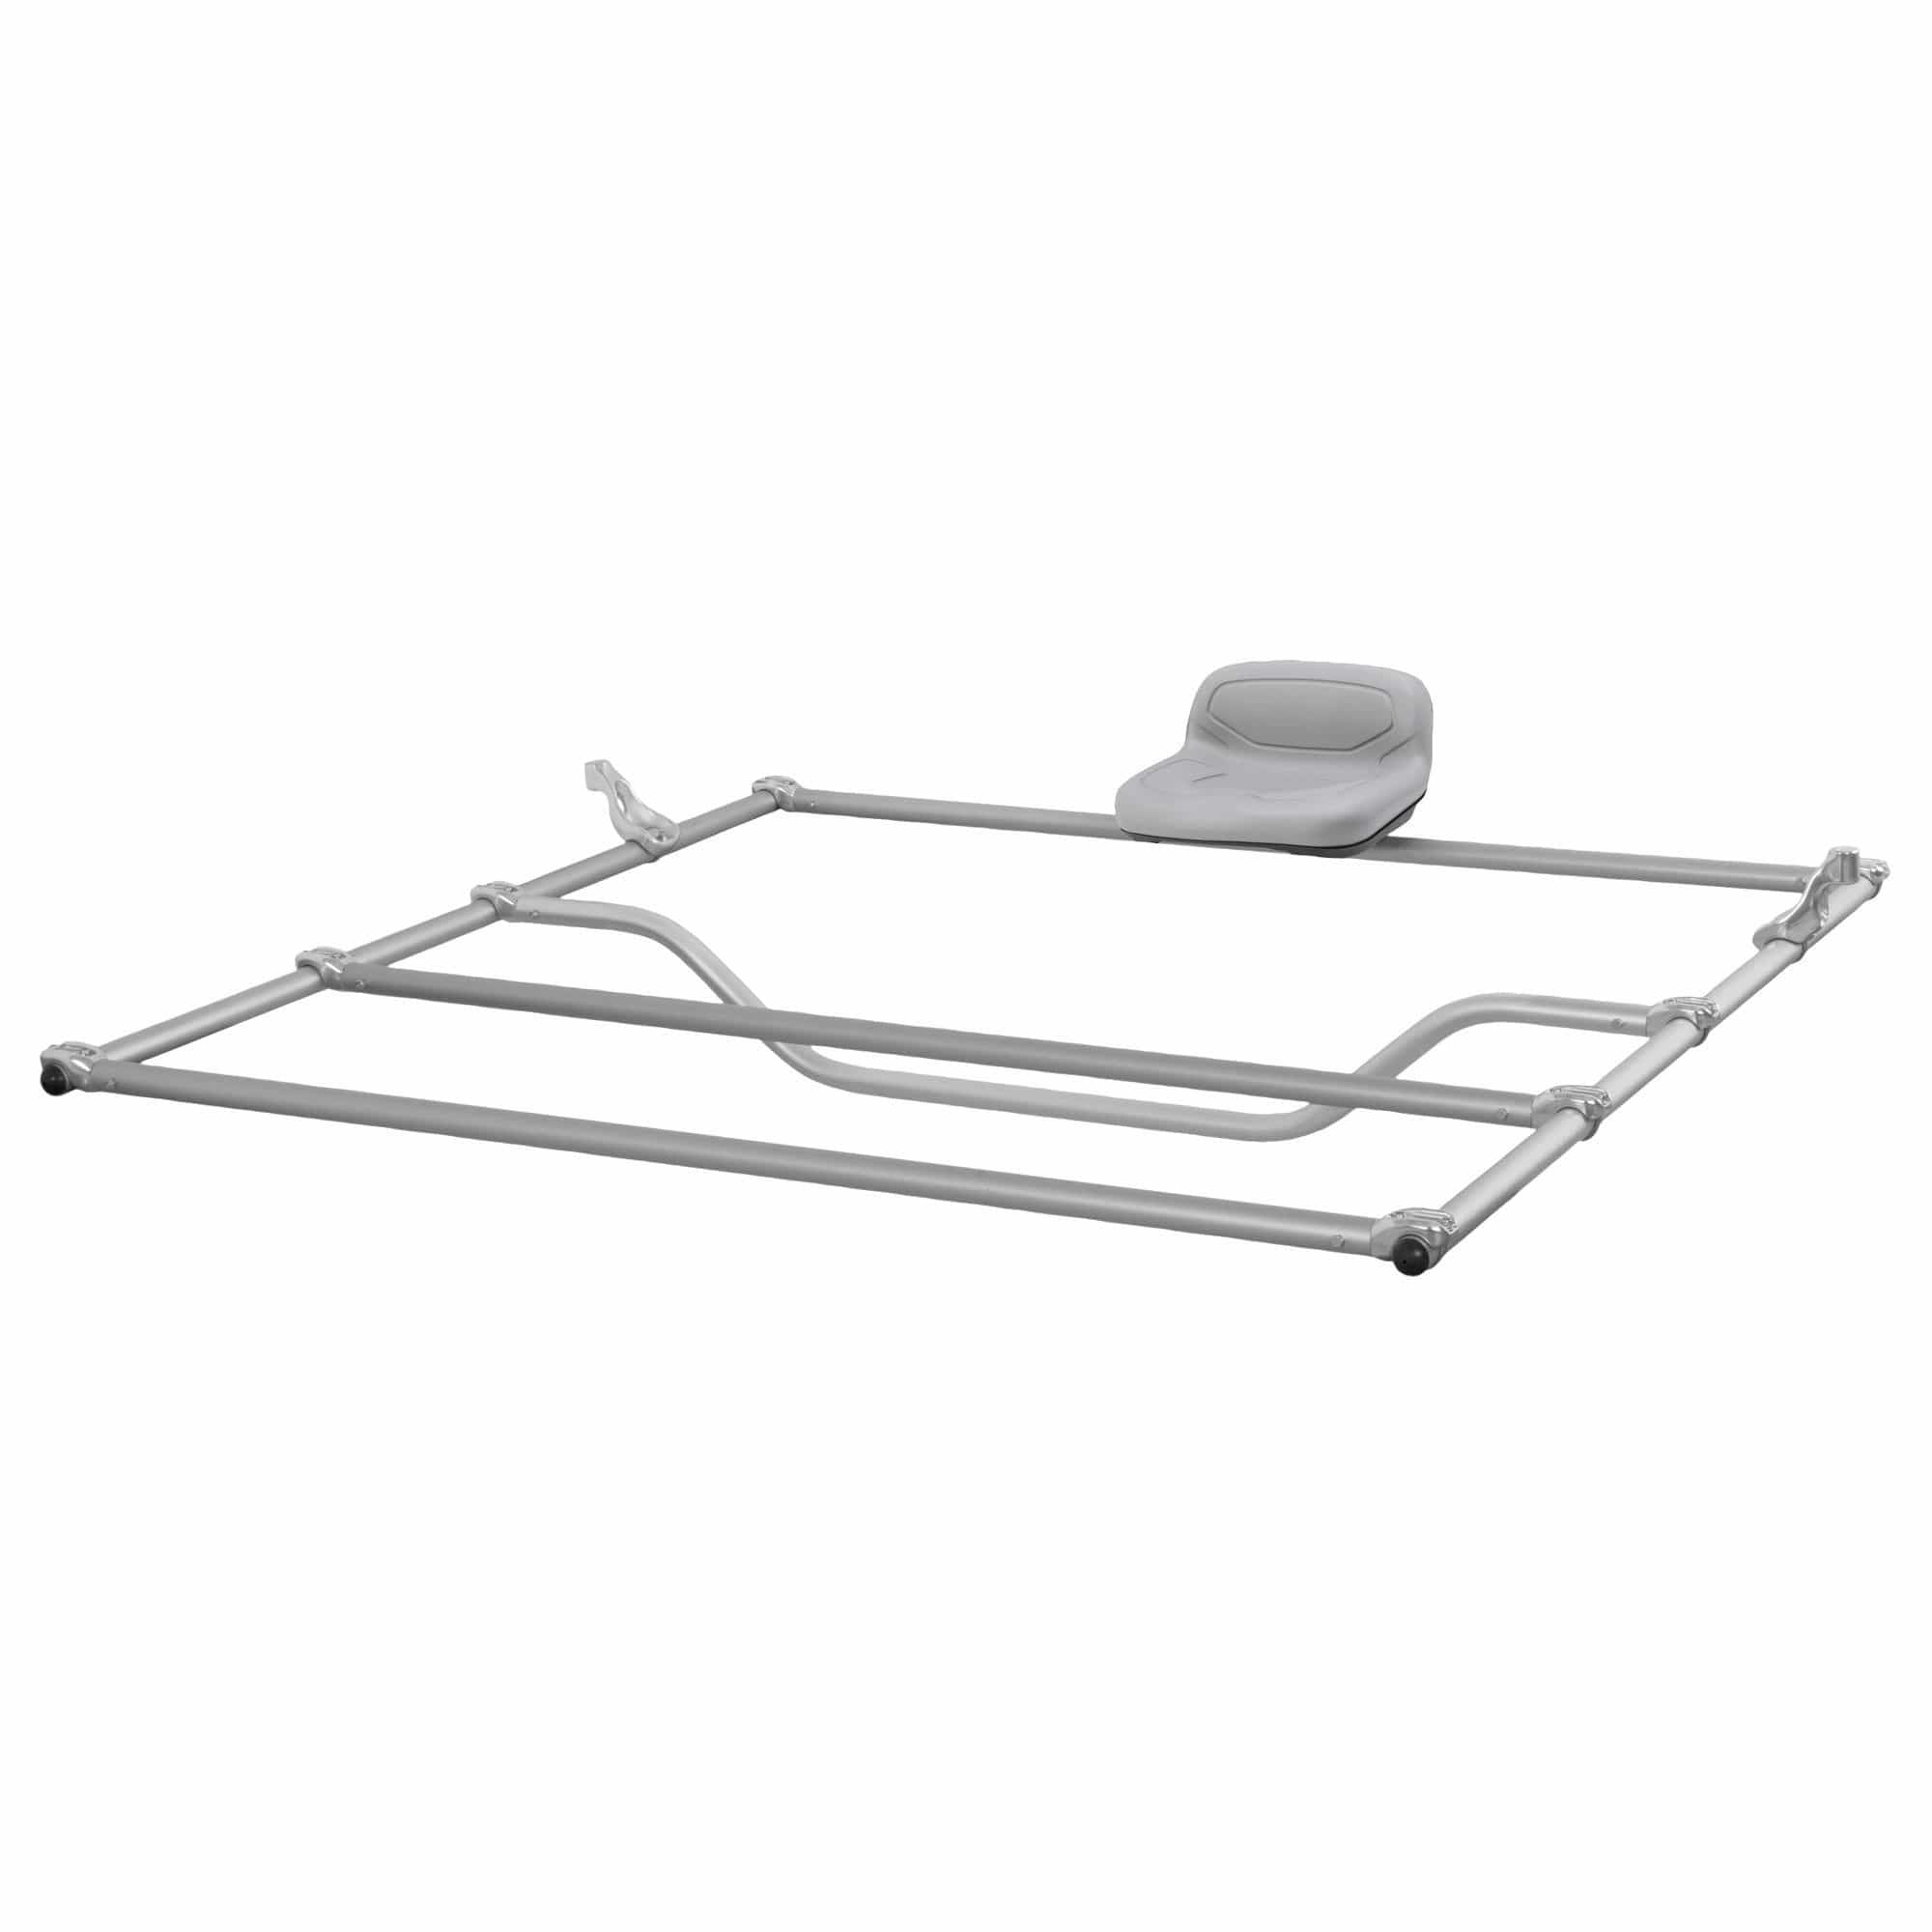
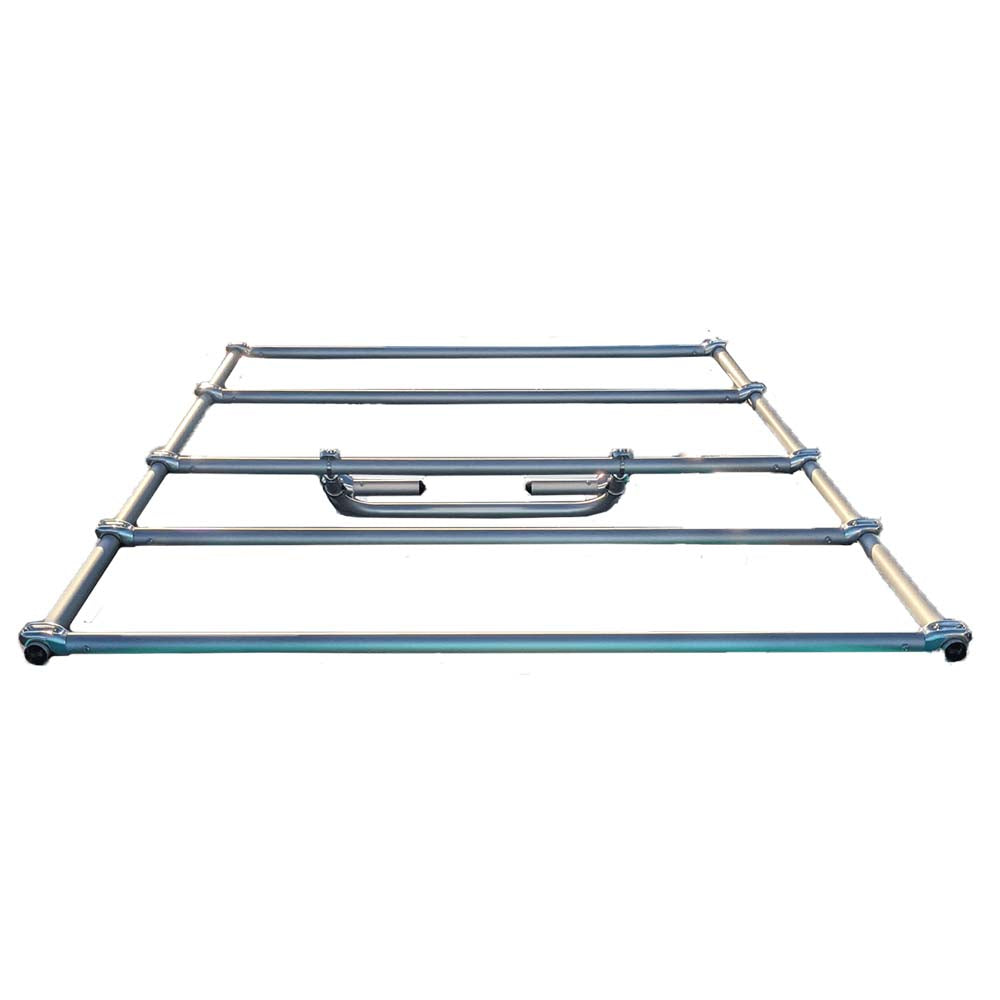
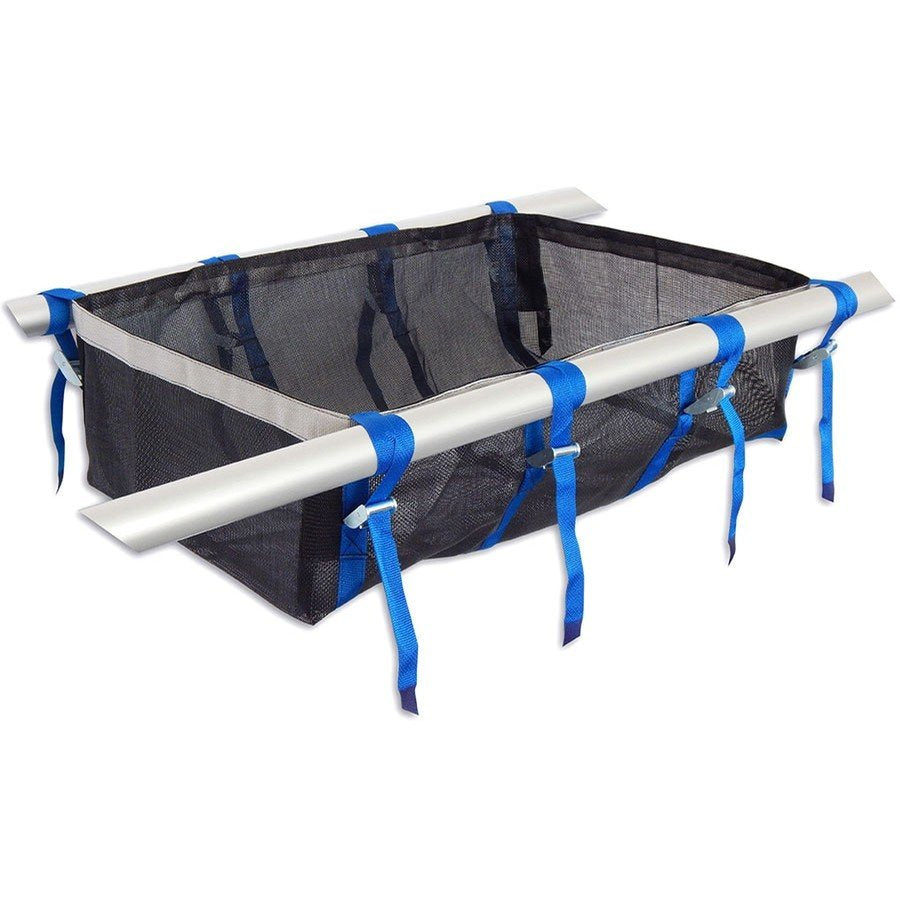
This skeleton gives you a platform to attach to your boat and is the base you'll build out the rest of your frame from. The frame base ships disassembled, and is easy to assemble at home with the included u-Bolts and nuts. Your frame can be disassembled for storage or transport.
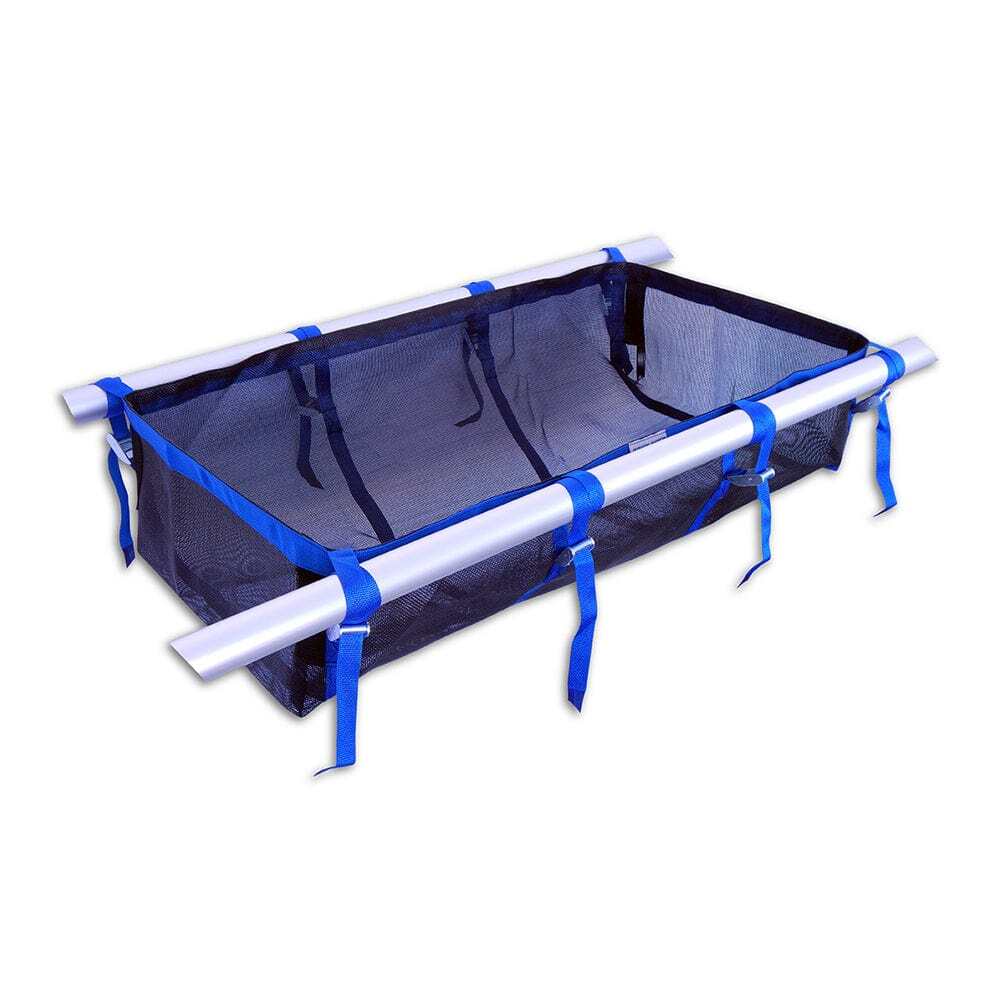
CKS Online includes a Deluxe Foot Bar instead of the standard foot bar on our frames. We're unique to offer this and stand by the upgrade, because it allows for more storage options than a Standard Foot Bar. A Deluxe Foot Bar attaches to a standard cross bar giving you the ability to rig the bay in front of you however you would like, while a Standard Foot Bar replaces a cross bar - limiting your rigging options.
CKS Raft Frame Base are set up to fit the logical number of bays. For example, most 14 foot boats will only have the option to be a 4 bay as this makes bays that aren’t too large or too small to fit standard gear. If you don’t see a CKS Raft Frame Base that fits your boat, or if you want a better sense of how we size a frame, follow the easy directions below to measure.
Alternatively, you can hit us up on the chat, or email us, and we can help you find a frame that fits your boat. Even if the frame size you need isn’t a size we normally stock, we can often build you the right size by combining parts.
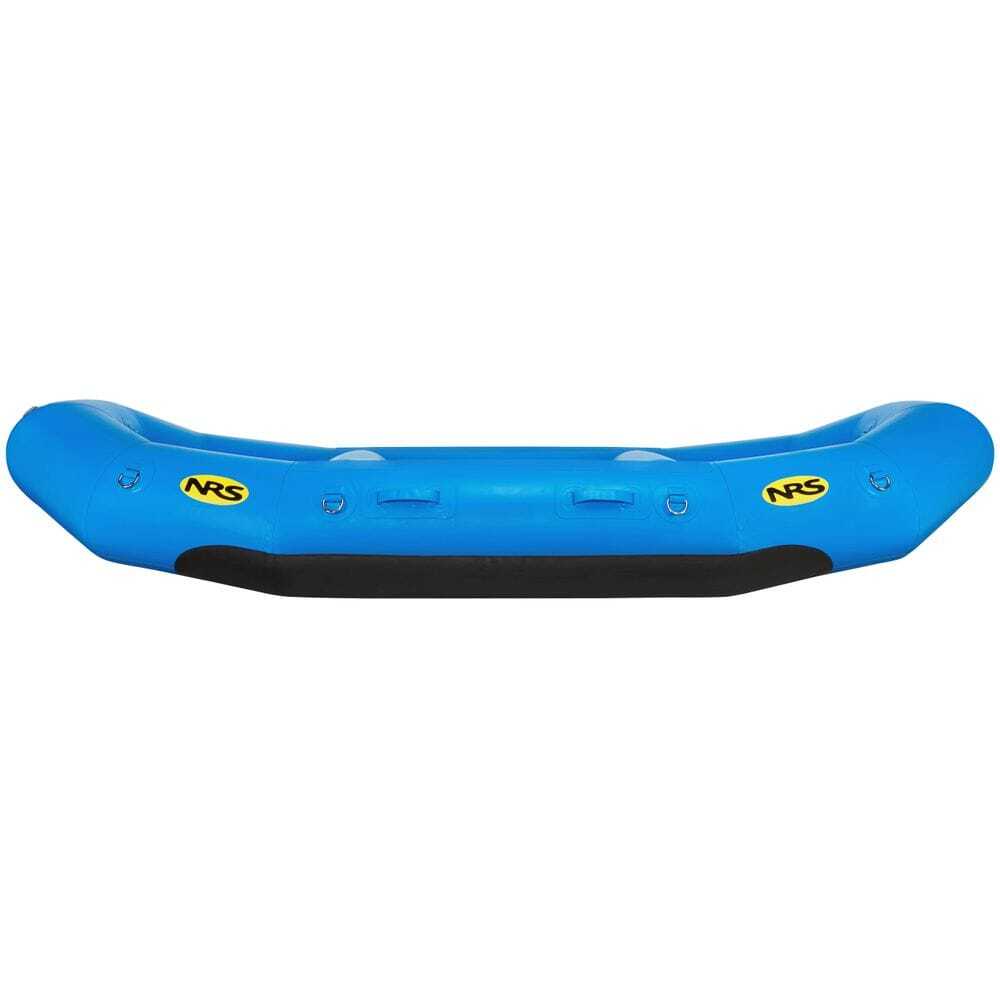
Measuring your Boat to Size Your Frame
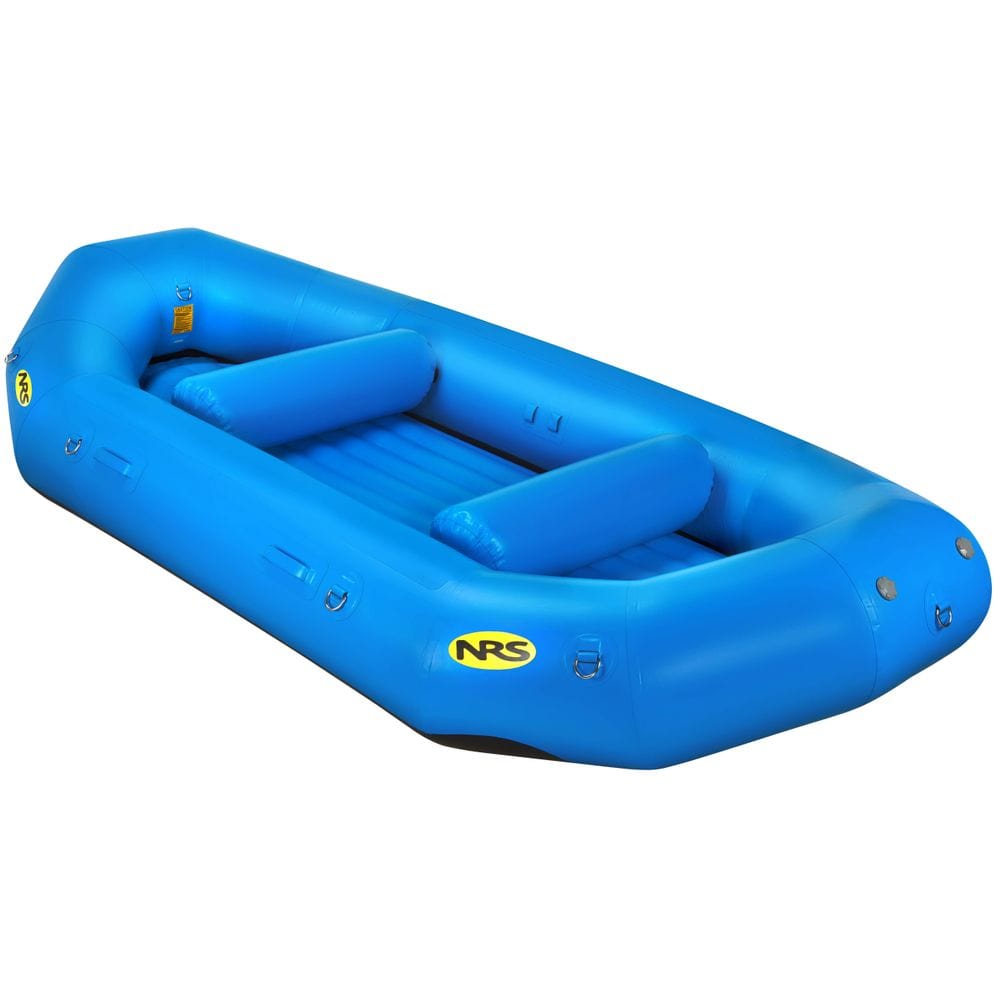
To measure your boat, there are two dimensions you need to know Width: Measured from center to center of the side tubes Length: Measured along the flat part of the side tubes First, measure the width of your boat from the center of the side tube to the center of the opposite side tube.
You will want a frame with a width that either matches or is slightly longer than the measurement you took. It’s best to size up on width as a slightly wider frame will be easier to strap to the D-rings compared to a frame that is slightly too narrow.
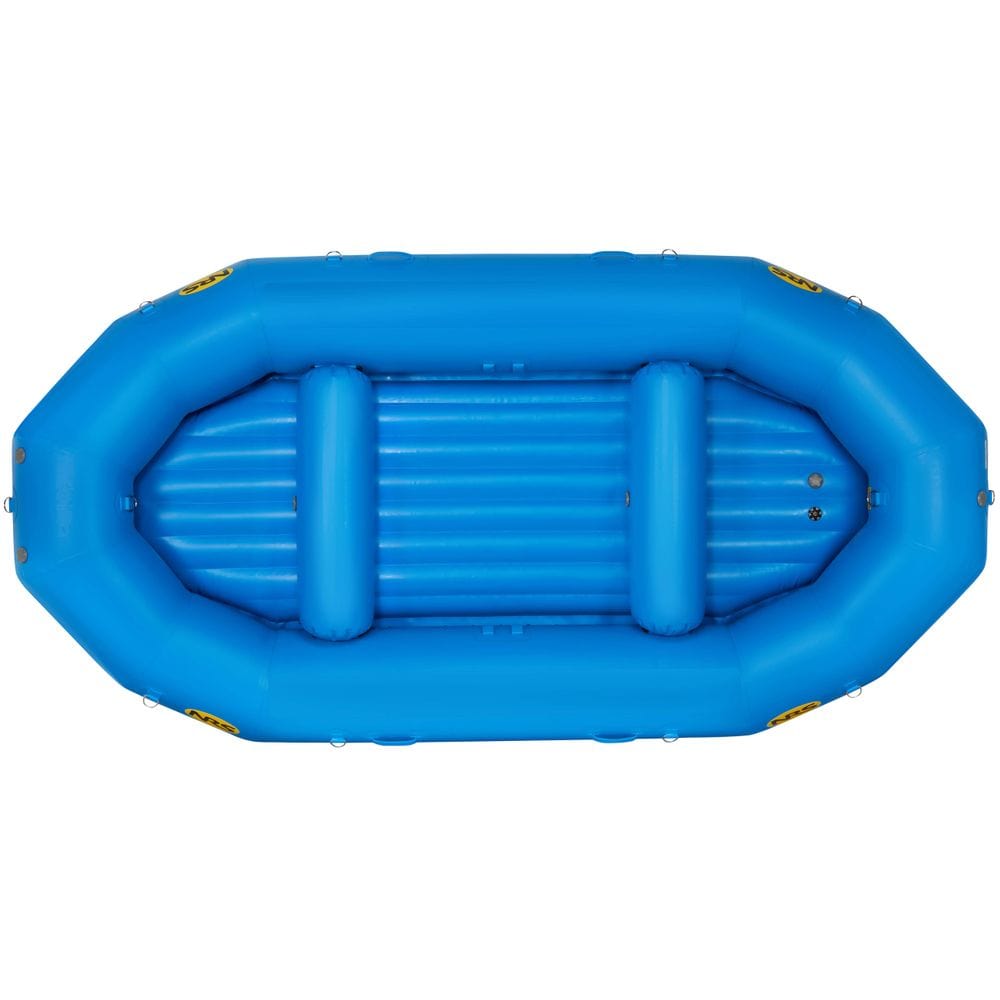
The next measurement you need is the length of the flat part of your boat. Measure along the side tube from tip to tail, but only measure the flat part of the top of the tube.It’s best to pick a frame that either matches or is slightly shorter than the length of the flat part of the tube. This ensures that the frame will rest evenly along the top of the boat and won’t put extra pressure on the boat at the front or back of the side tube where the rocker starts.
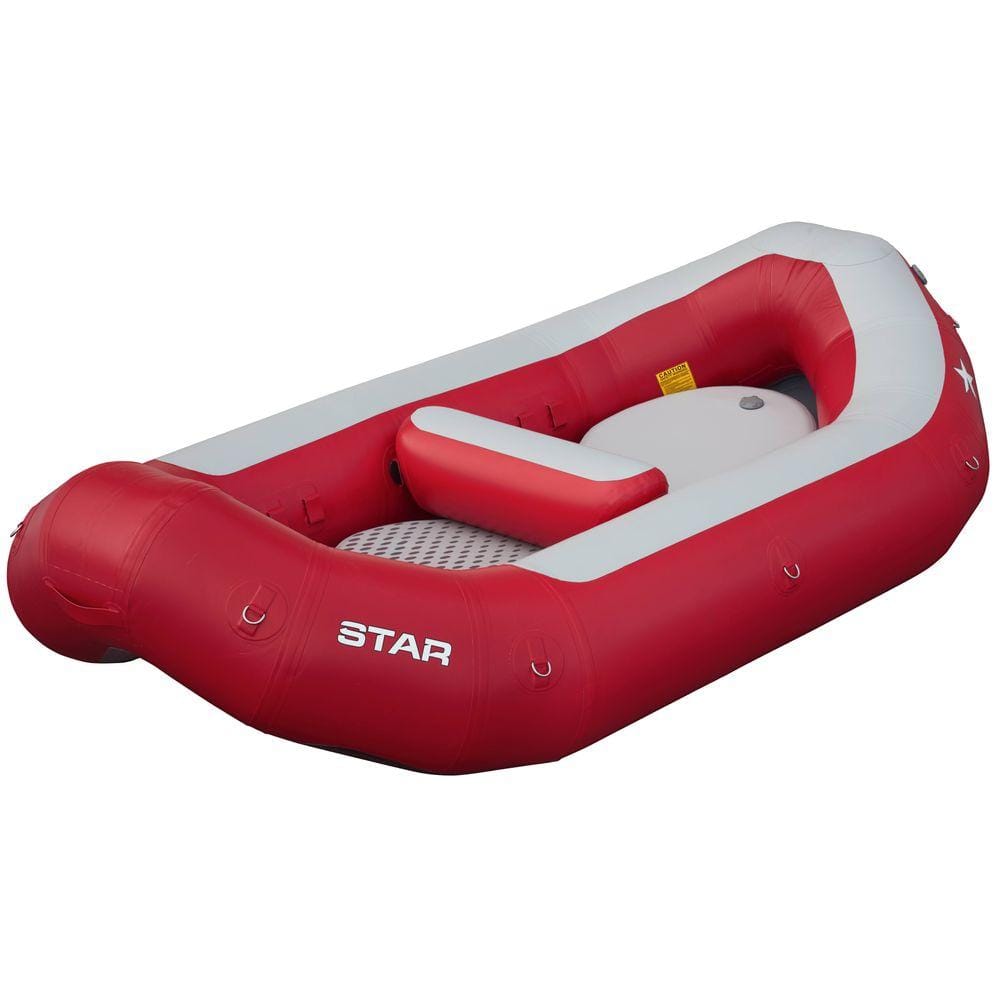
Decide on Number of Bays You Want
Once you find the frame base size that matches your boat, you need to decide how many bays you want in your raft. Each bay is separated by a crossbar, and more bays mean more storage. Keep in mind that one bay needs to be reserved for your feet as you row. For example, a 3 bay frame has two bays for storage, and one bay for your feet. Typically, boats 9-10 feet long have 2 bays, 10-13 feet long have 3, and 14 feet long or larger have 4.
When you choose the number of bays on your boat, keep in mind how wide you want each bay to be in order to best outfit your boat.
Step 2: Choose an oar mount/lock combo
Next, you need a way to attach your oars to the frame. A great option for attaching your oars, is the CKS Oar Towers & Oarlocks Combo.
Oar towers elevate your oars off the frame Oar locks attach your oars to the frame (while allowing the oar to still pivot freely)
Oar mounts come in 3 sizes: 6", 8" + 10"
Taller paddlers and those sitting higher up prefer taller tower heights, while a shorter paddler in a smaller boat might prefer a smaller tower.
A 6” tower is ideal for smaller rafts (under 11 ft) or shorter paddlers An 8” tower fits most rafts A 10” tower is ideal if you are sitting on a flip seat or captain's chair that extends above the frame and/or if you are a taller paddler.
CKS Online offers three oar lock choices in our CKS Oar Towers & Oarlocks Combo
- NRS Superston Oarlock: A tried and true classic steel oar lock. Extremely durable and reliable.
- NRS Atomic Oarlock: Aluminum and lightweight, while still maintaining durability.
- Sawyer Cobra Oarlock: Wider horns on this oarlock spread pressure out more evenly along your oars, and is great for high or low angle rowing. Many paddlers consider this the best option for difficult whitewater.
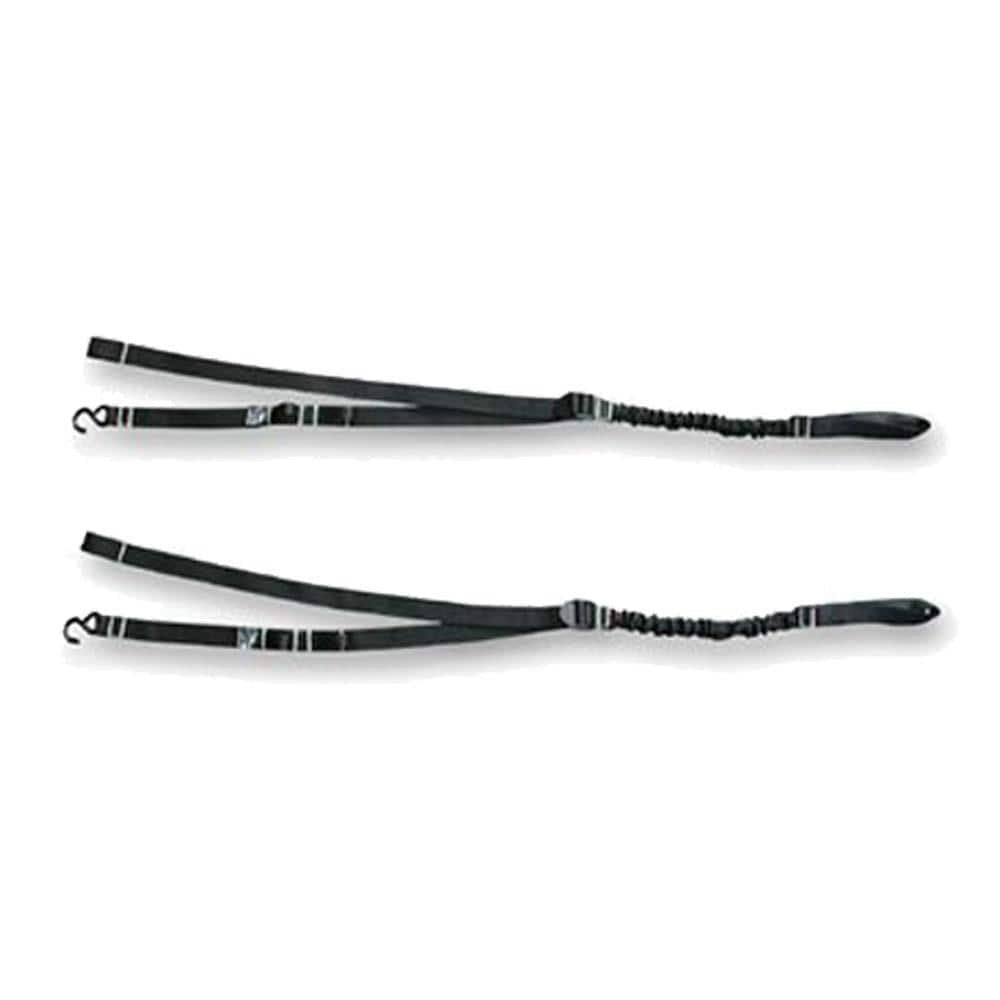
The CKS Oar Towers & Oarlocks Combo also includes oar tethers which fit around your oar to strap them to the frame. This way, if an oar pops out of the lock, you won’t lose it to the river and the tether will prevent it from floating away from the boat.
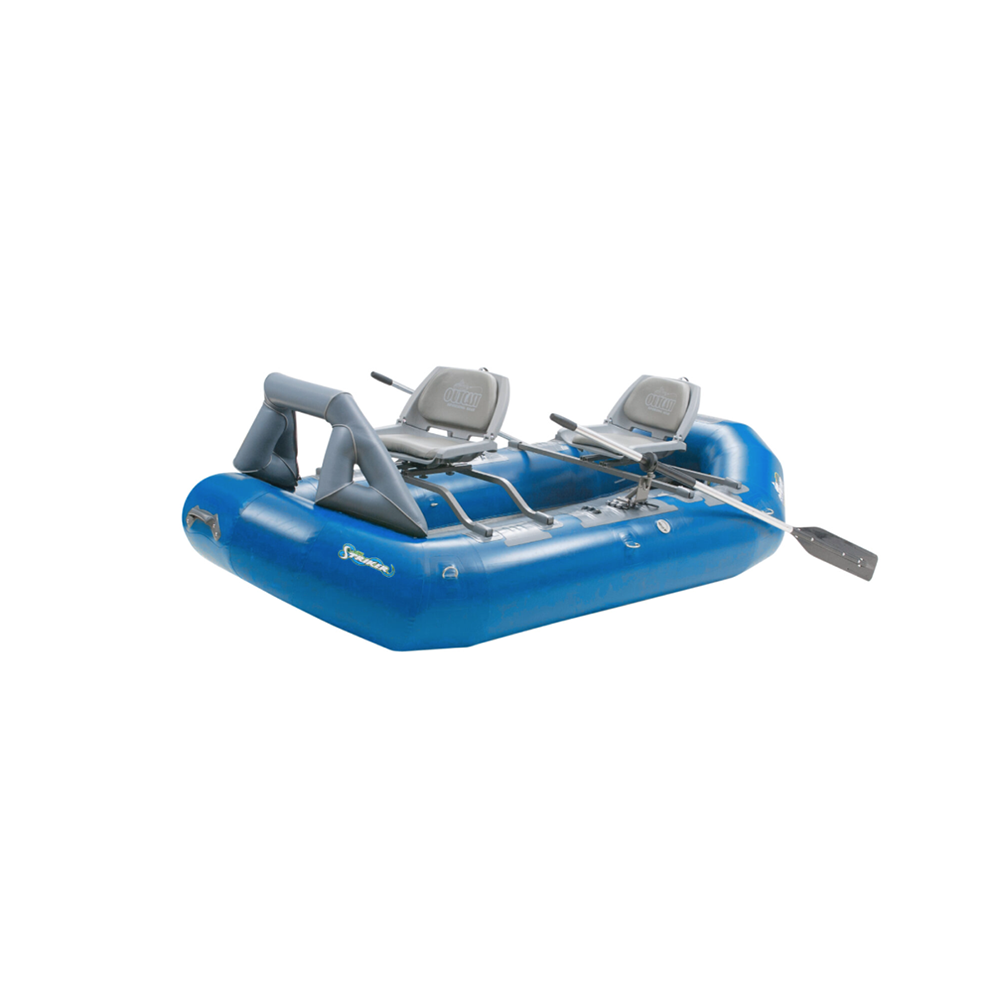
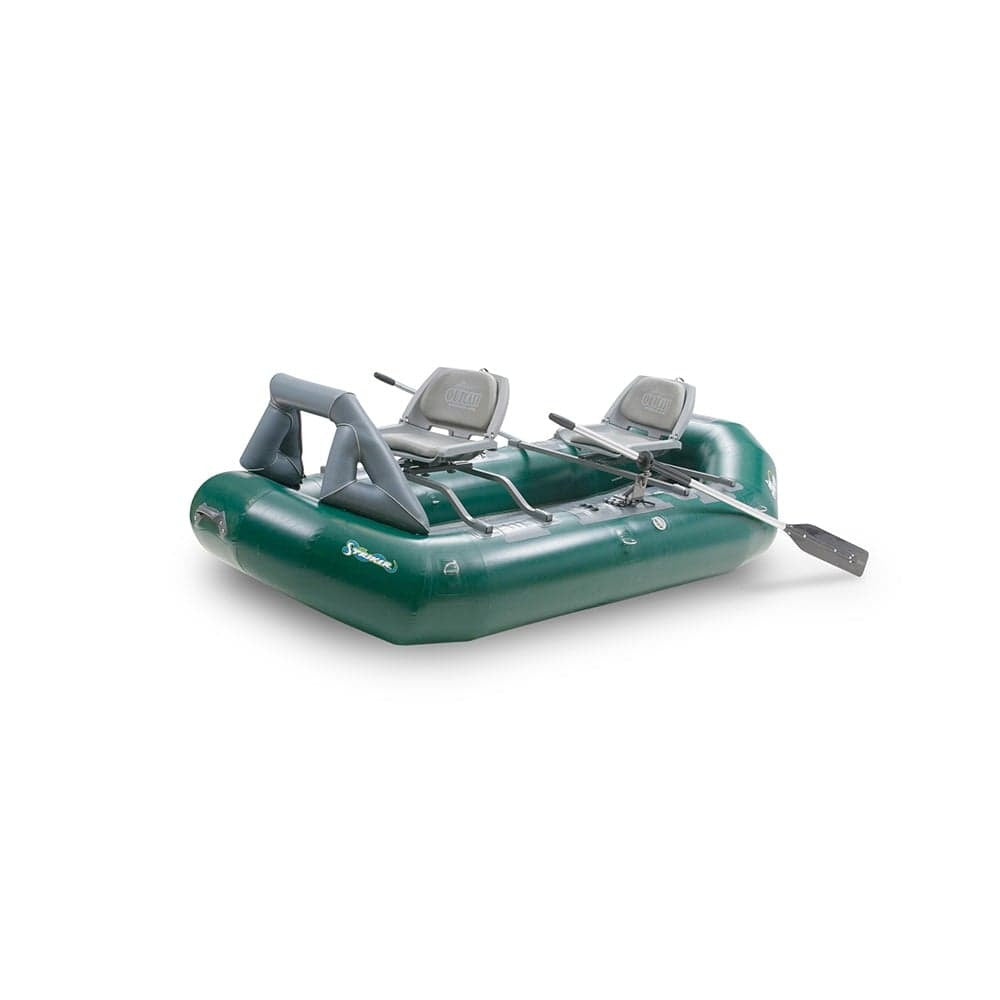
Step 3: Select a seat for your frame, or choose a cooler/drybox to sit on
There are two options for your captain's chair
Sit on a cooler or drybox Install a raft-specific seat
Many people will simply sit on a cooler or a dry box as their seat.
If you go this route, you will want to get some loop straps or specific cooler mounts so you can attach your cooler to your frame. It is ideal to use the widest-possible cooler that fits between the side tubes in your raft to fill the bay. Most people will strap a sleeping pad or other padding on top of the cooler to make the seat more comfortable.
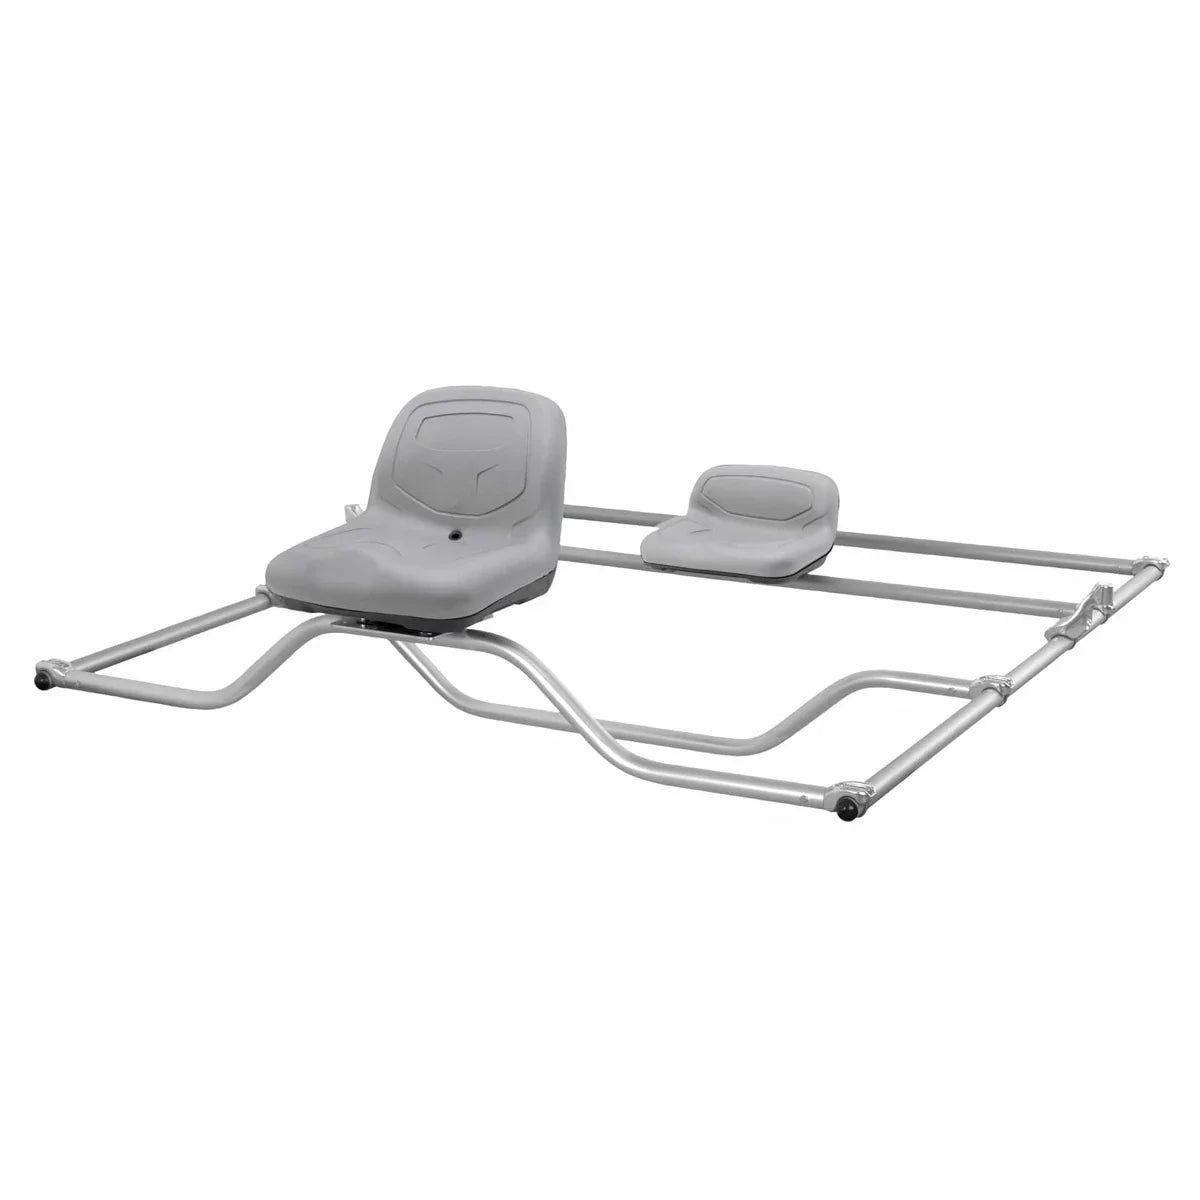
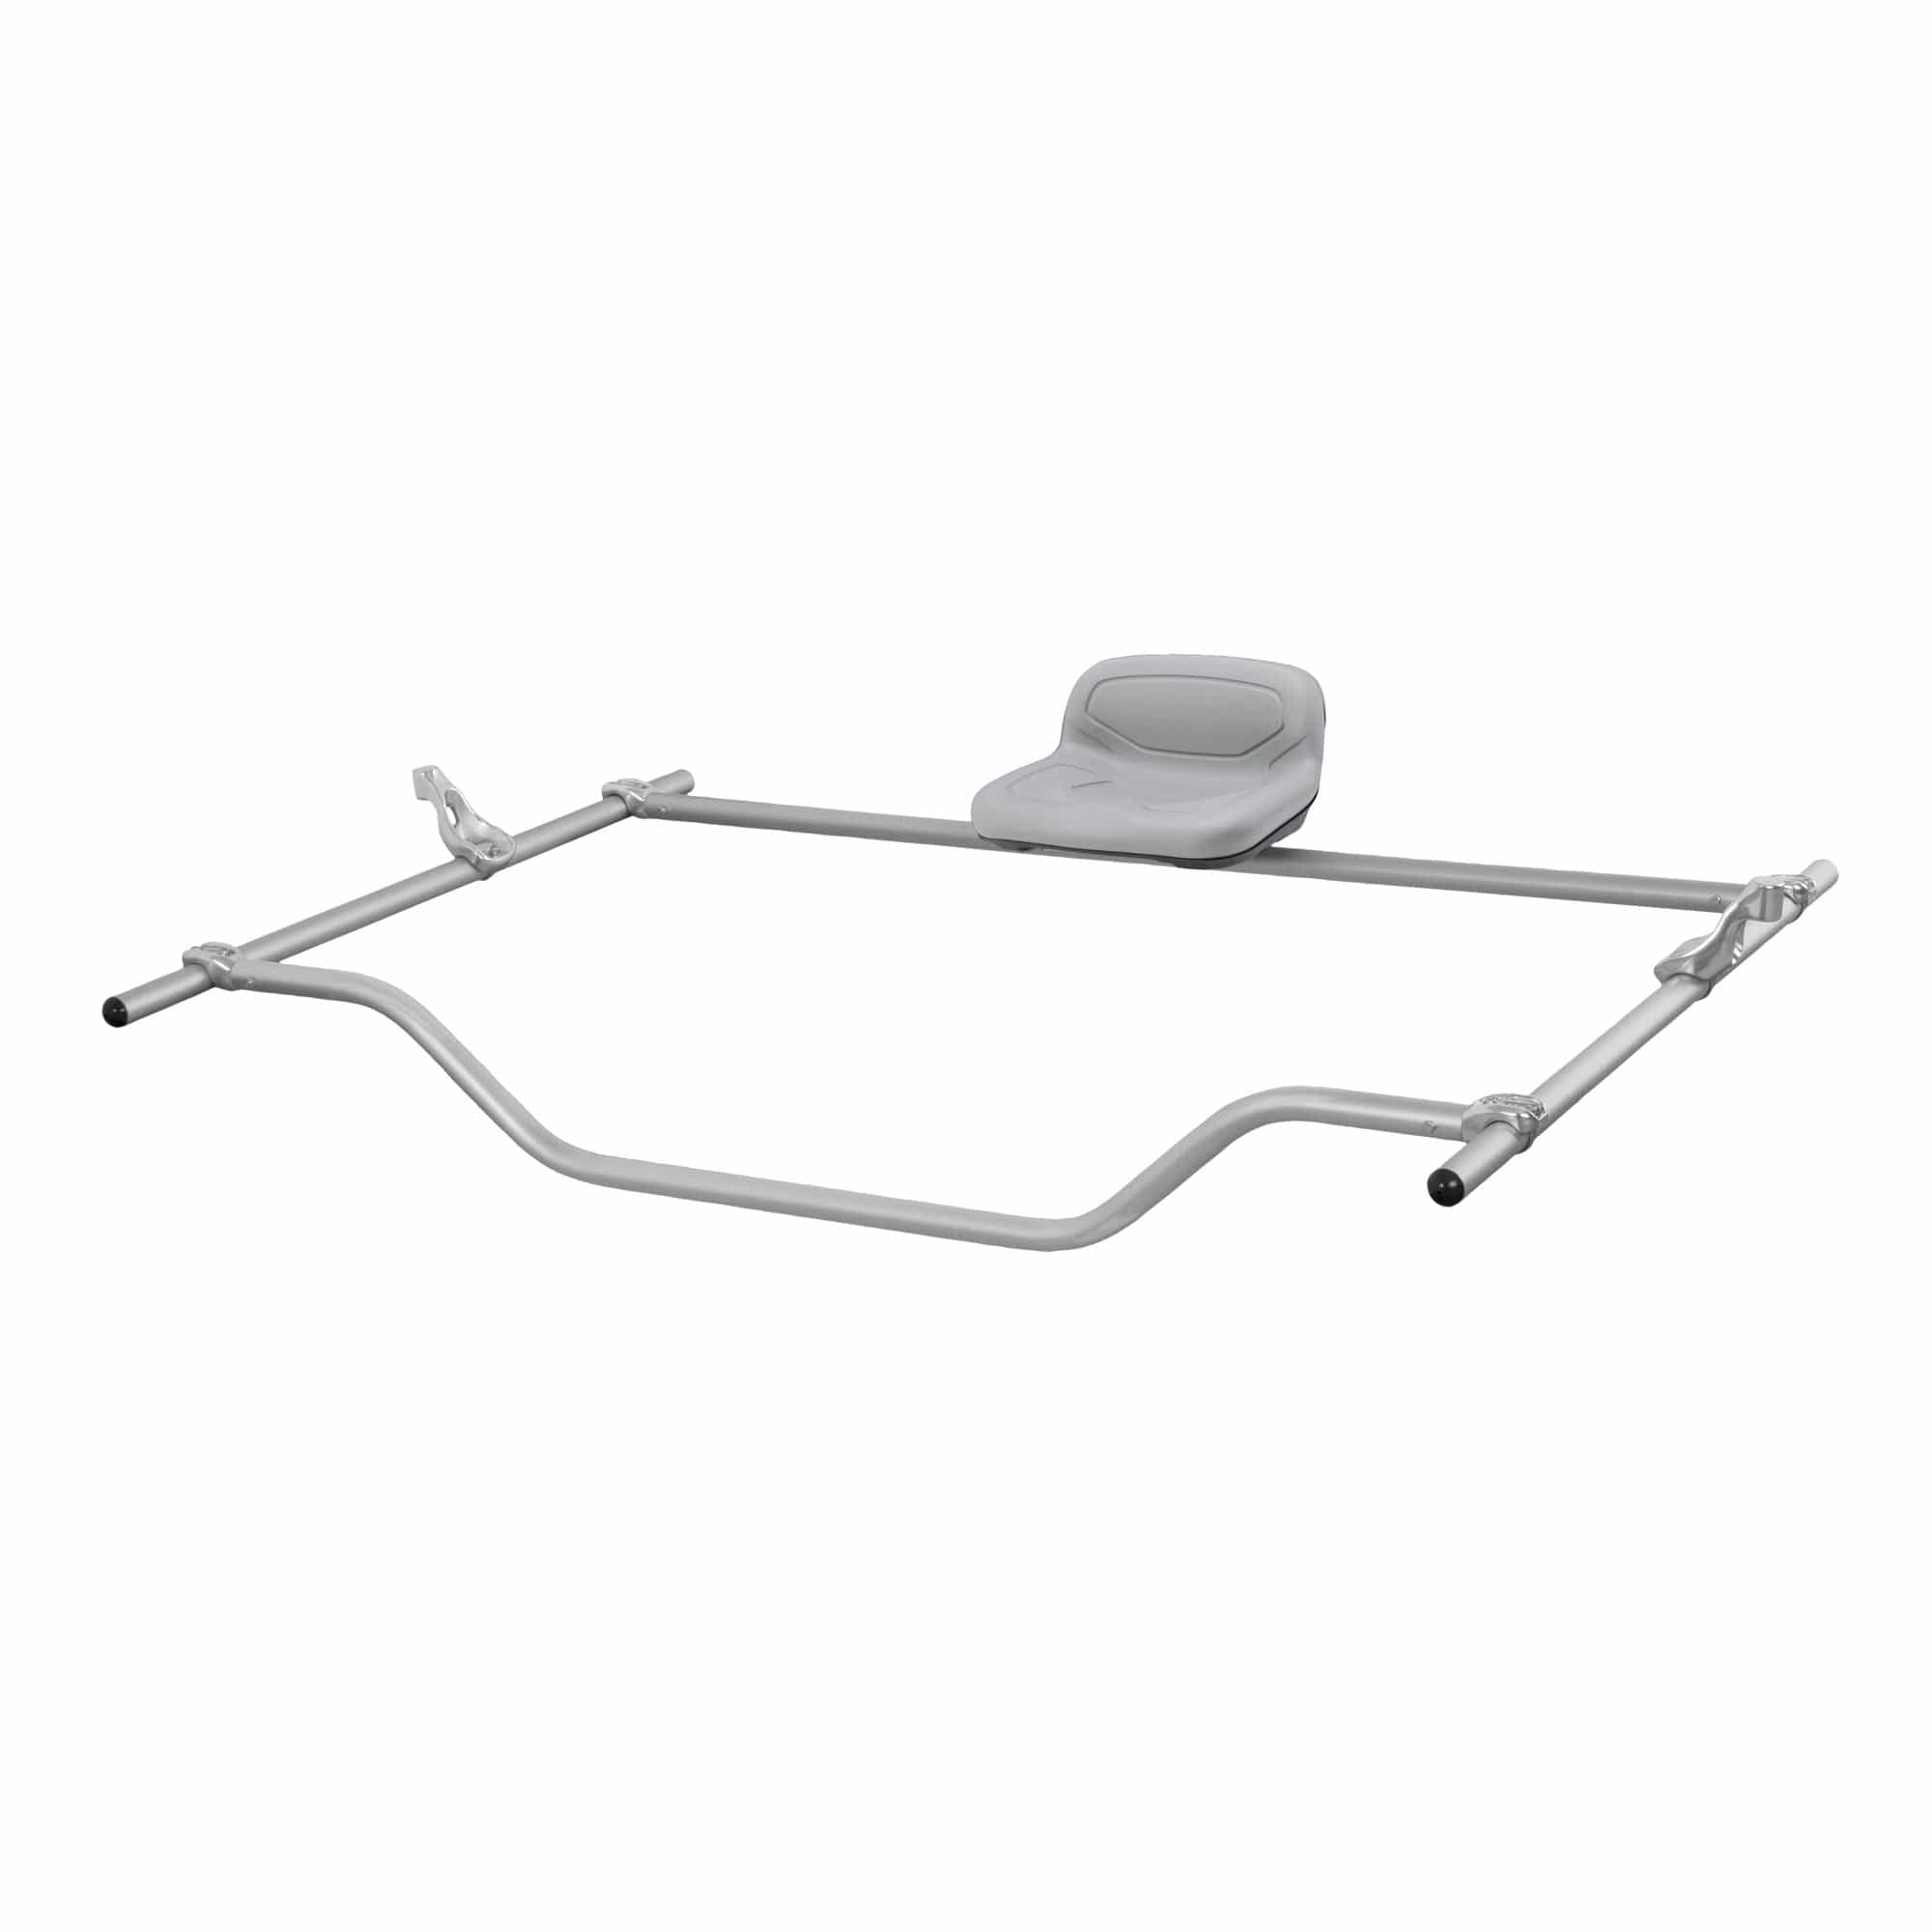
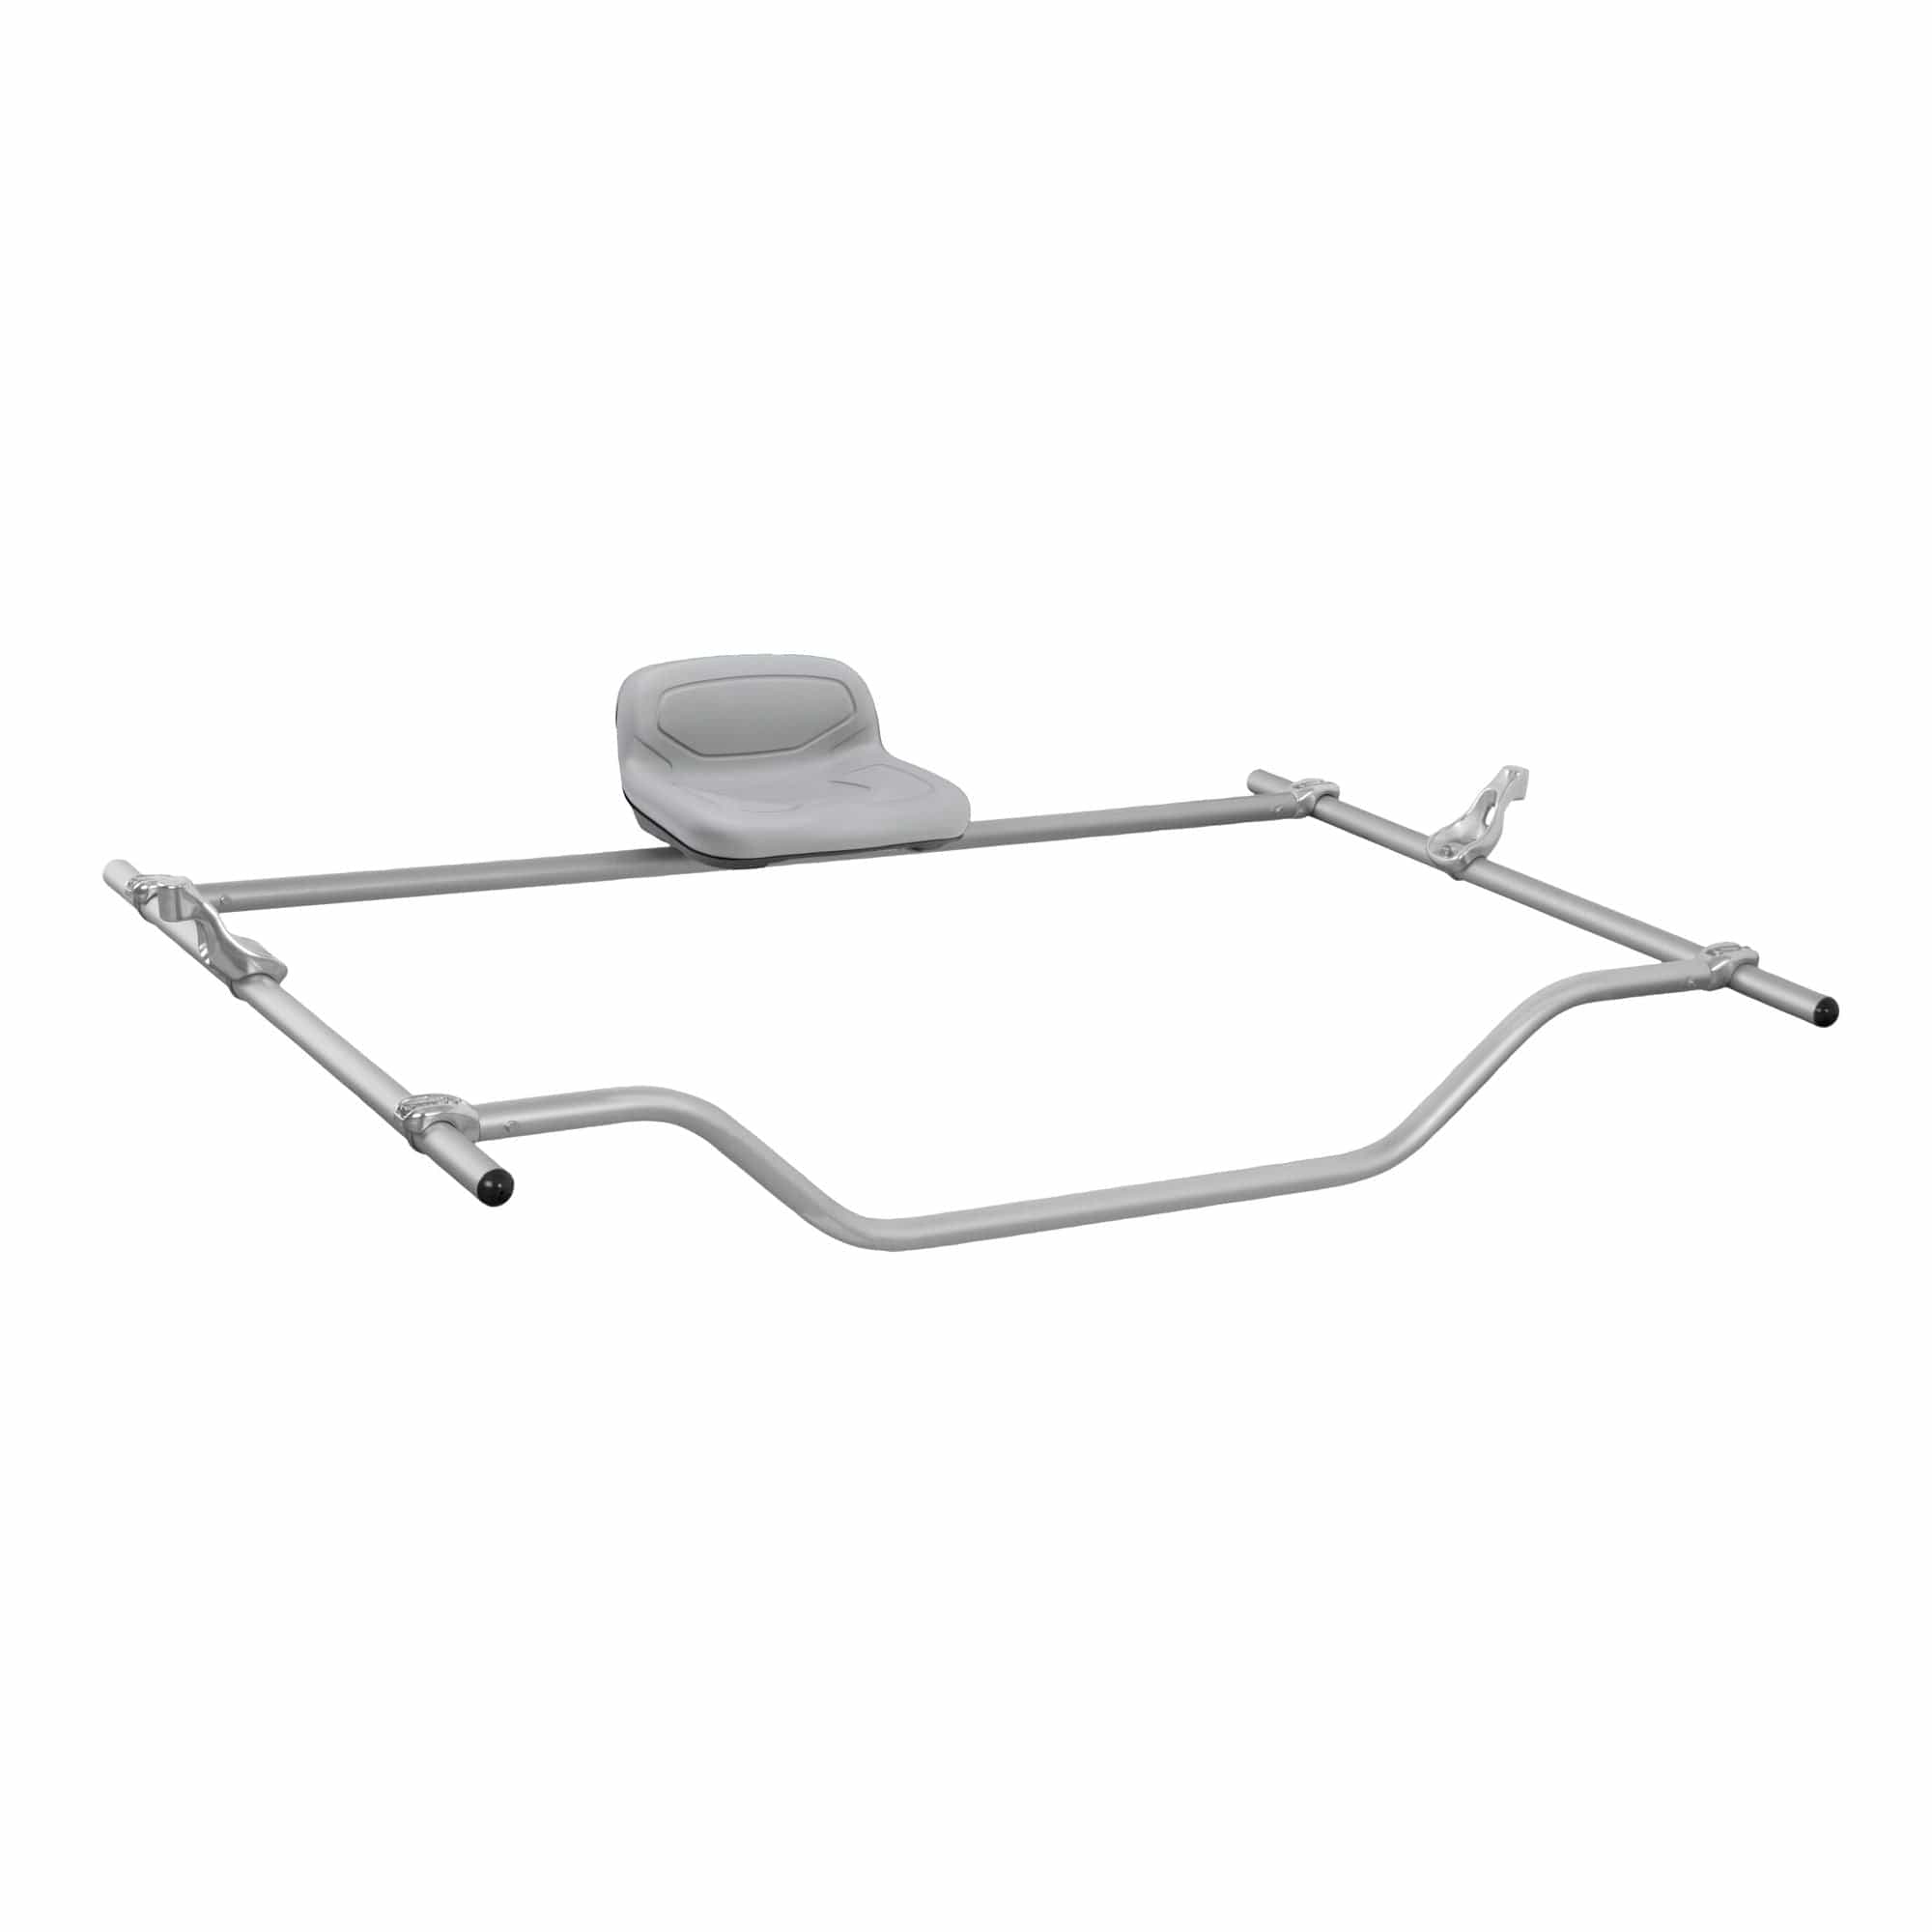
Another, more common seat option is a raft-specific seat.
These come with a high back or a low back. Low-Back seats interact better with most PFDs and give you better range of motion while rowing High-Back seats can provide more back support on easier rivers.
To attach your seat to the frame you have two options
Flip seat can flip up, allowing you to access a cooler or other cargo under your seat Universal seat mount (standard setup) will save you money but make it tougher to access anything stored under your seat.
Check out the CKS Raft Frame Base - Seat Option Combo to find the seat that is right for you and your raft.
What else do you need to get on the water?
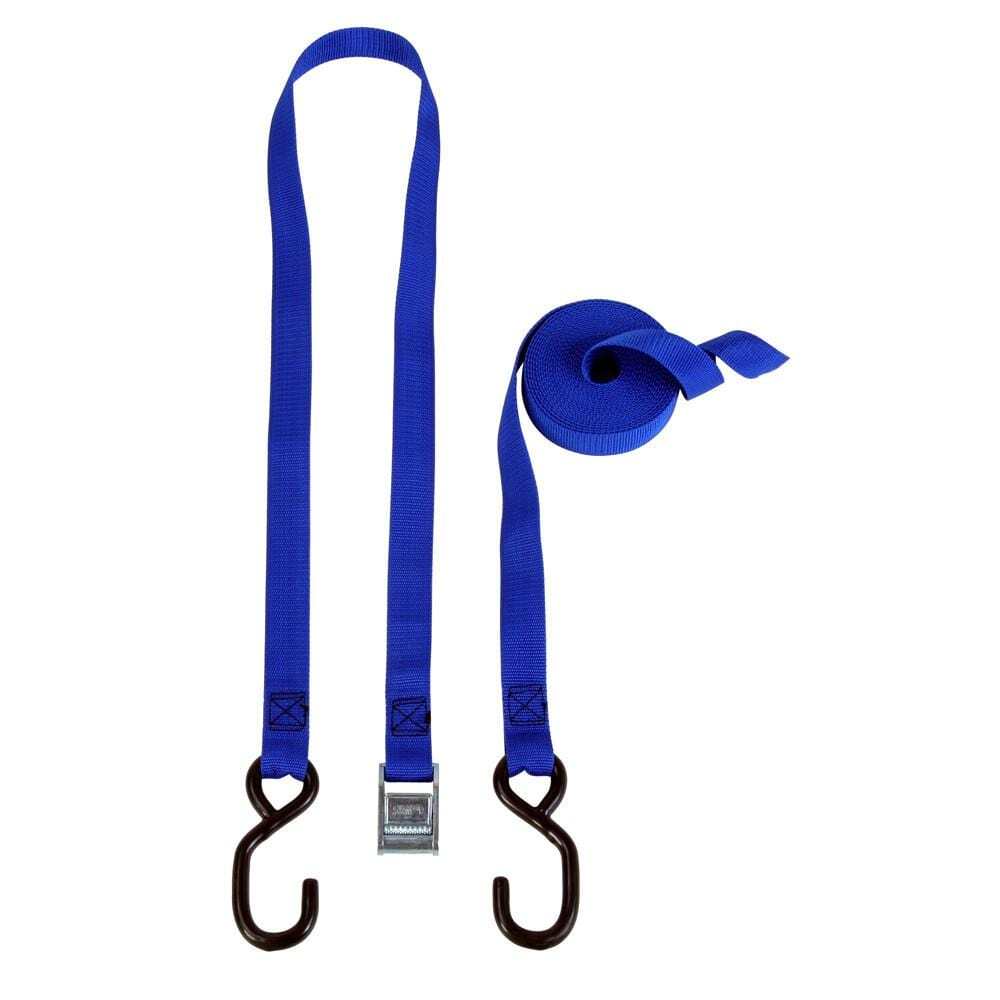
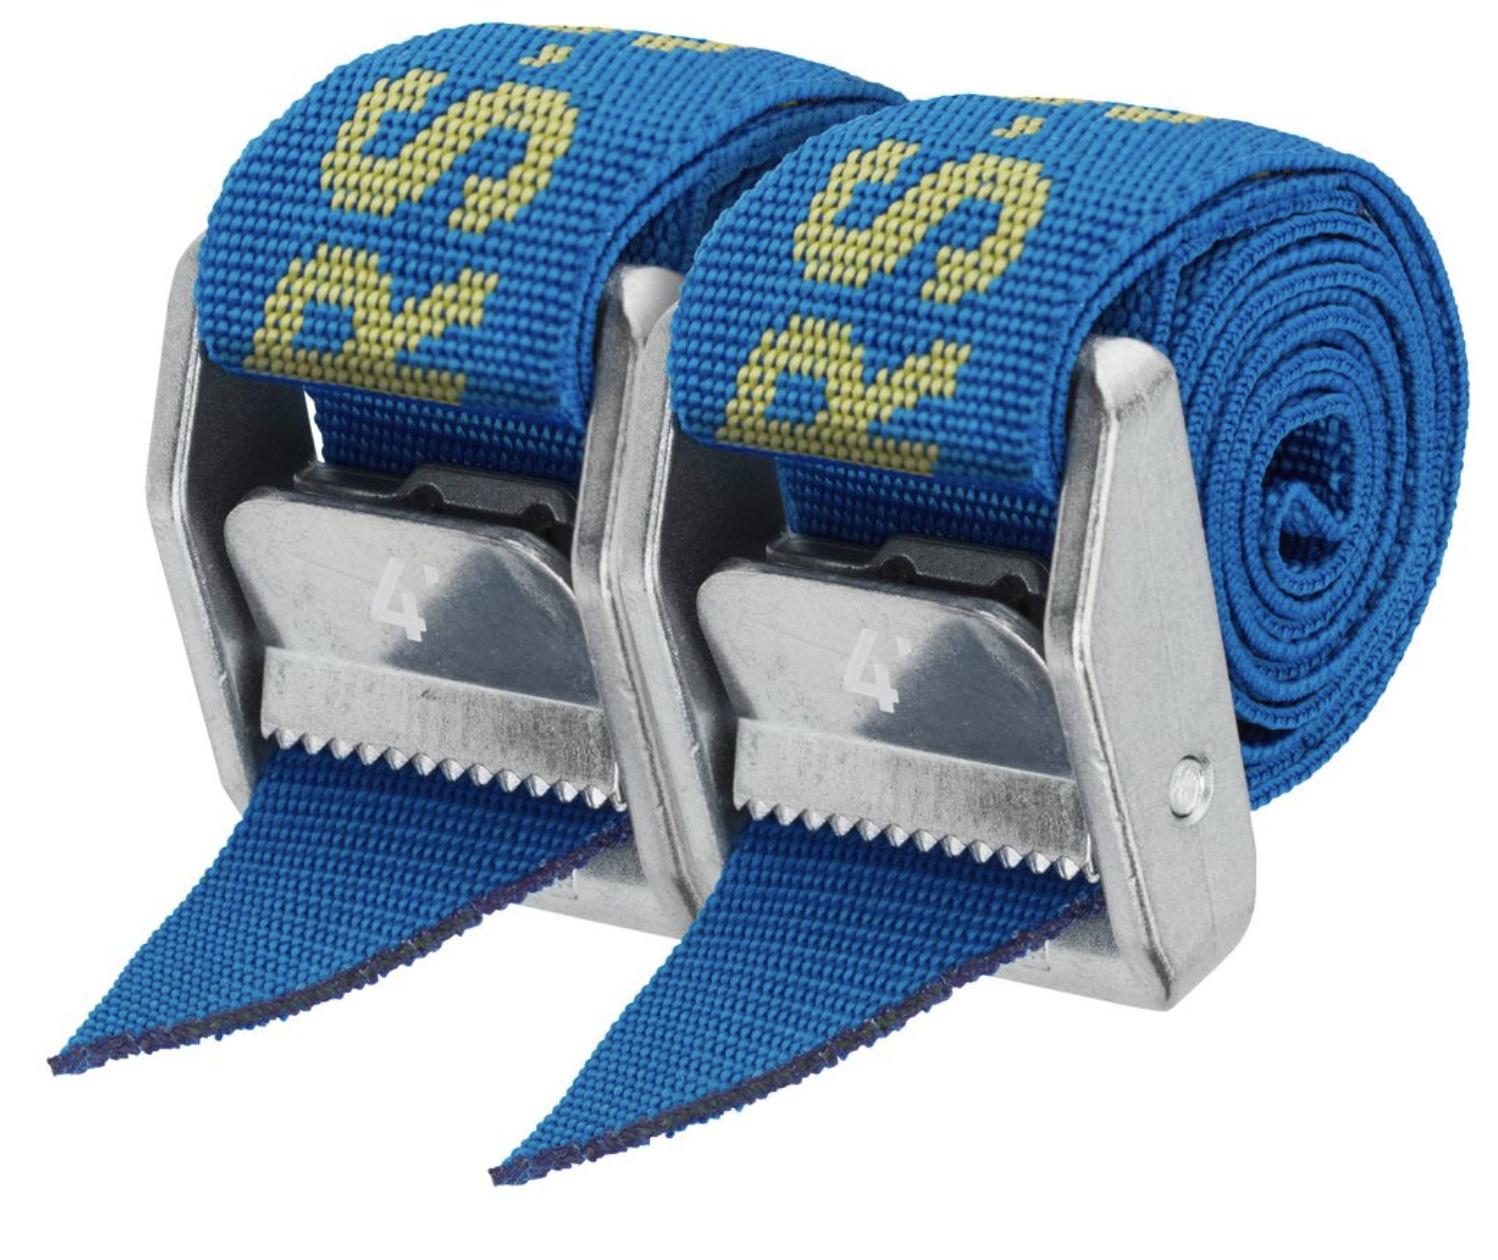
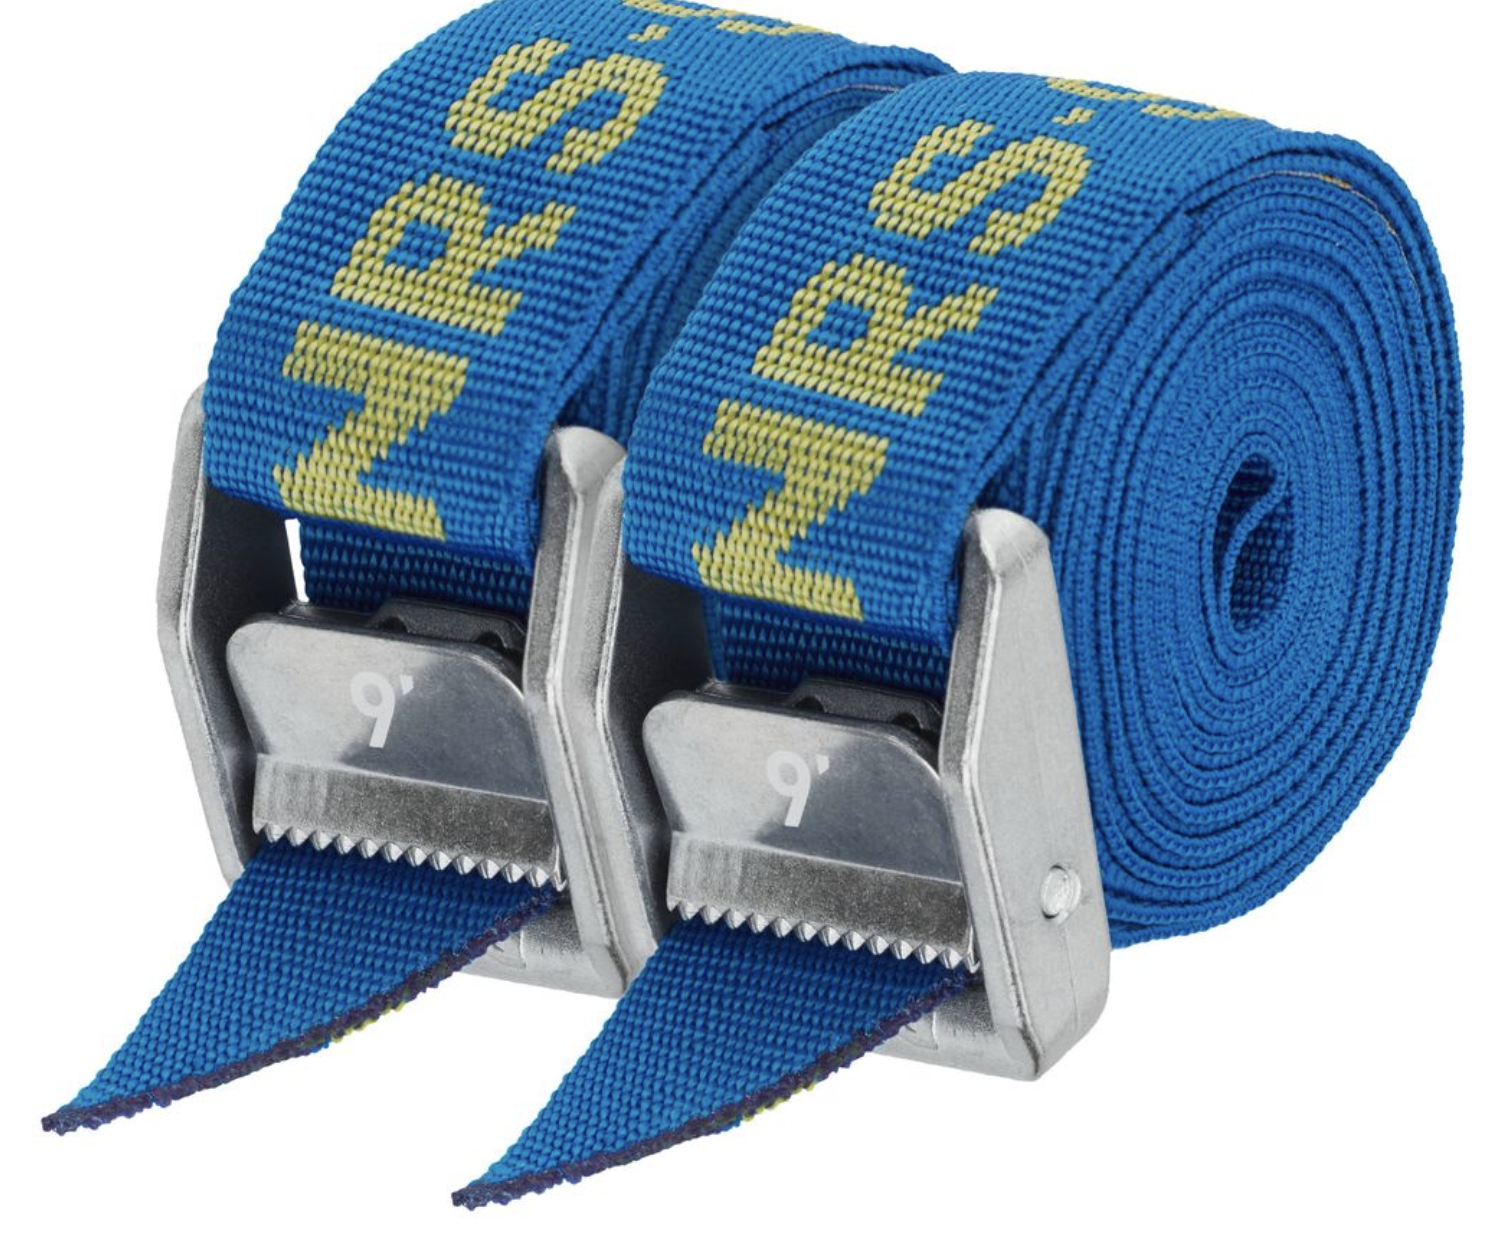
- You will need at least 4 cam straps to attach your frame to your boat. For larger boats, 6-8 straps is ideal to better secure the frame.
- A pair of oars (shaft + blades) are necessary to row your boat
- A spare oar is required on all permitted rivers and is considered a necessity to almost everyone.
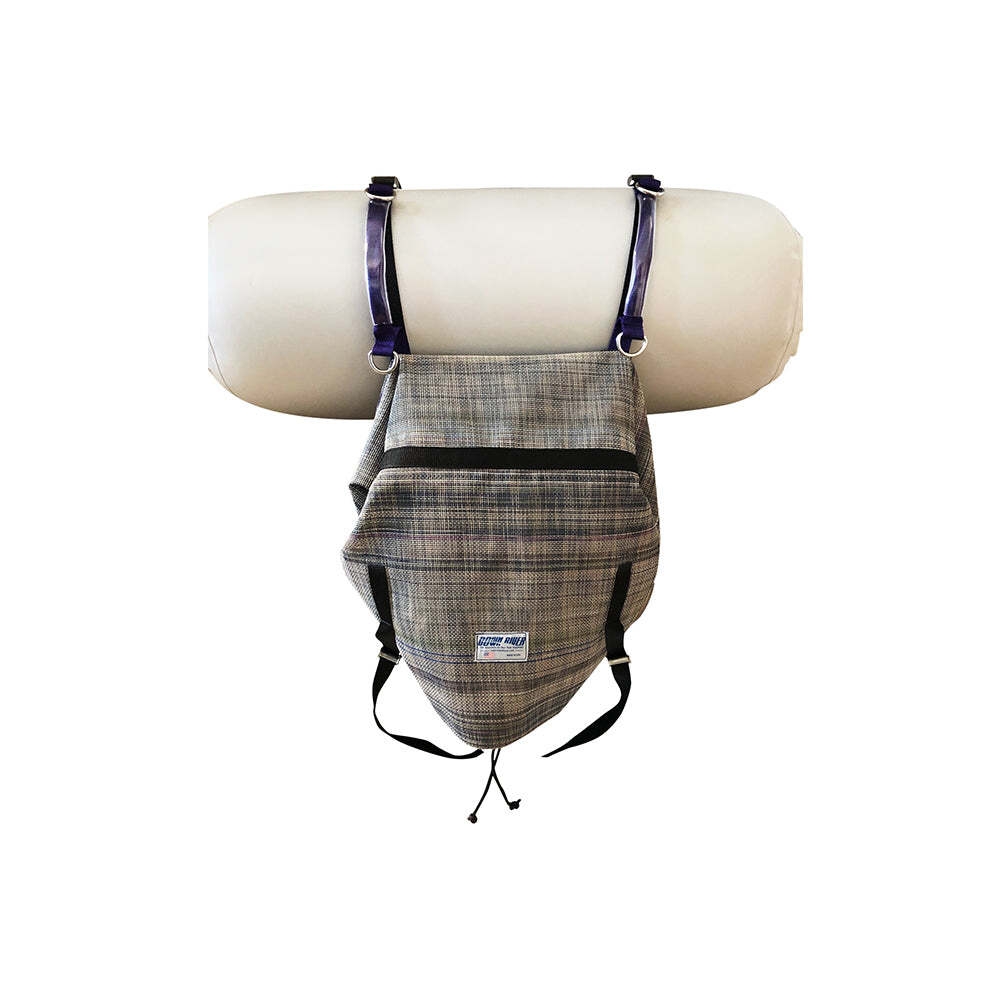
- A spare oar keeper to hold your extra oar.
- Many people get a frame wrench to make adjustments to their frame or to help with assembly.
- A handful of extra straps are great to attach gear; loop straps are especially nice to hold gear between bays.
While there are unlimited ways to set up your raft, starting with these basics will be enough to get you on the water for your first day. As you get your setup dialed in the following additional items will help you round out a multi-day whitewater rafting setup
|
|